
How to Improve the Look of Your Bathroom with One Simple DIY
/
Awhile back I wrote an article entitled “How to Distress a Mirror to Look Like a Beautiful Antique”. I discussed how to take a plain or eyesore mirror and turn it into a thing of beauty; something to proudly display in your home.
The inspiration for that post came when we moved into our current house several years ago. The master and two guest bathroom mirrors had dark-toned frames which did not match the light decor I wanted to implement. Renovating was getting expensive so I needed to get creative with stretching my decorating dollars.
Updating a mirror is one decor technique that can dramatically transform a room. If purchasing a new mirror is not in your budget then consider antiquing. Antiquing, or distressing, is an easy inexpensive was to make your home look rich!
My first choice was to find a fabulous antique Louis Phillippe mirror. But that pretty piece has a pretty price tag. Even basic mirrors from your local home store can be pricey. However, with a bit of distressing you can convert any cheap, second-hand, or kinda hideous mirror into something gorgeous! All it takes is a few layers of chalk paint, easy sanding and, perhaps, a bit of gilding and dark wax.
Here are a few more DIY transformations to inspire you to create your own mirror magic!
Master Bathroom Mirror Transformation
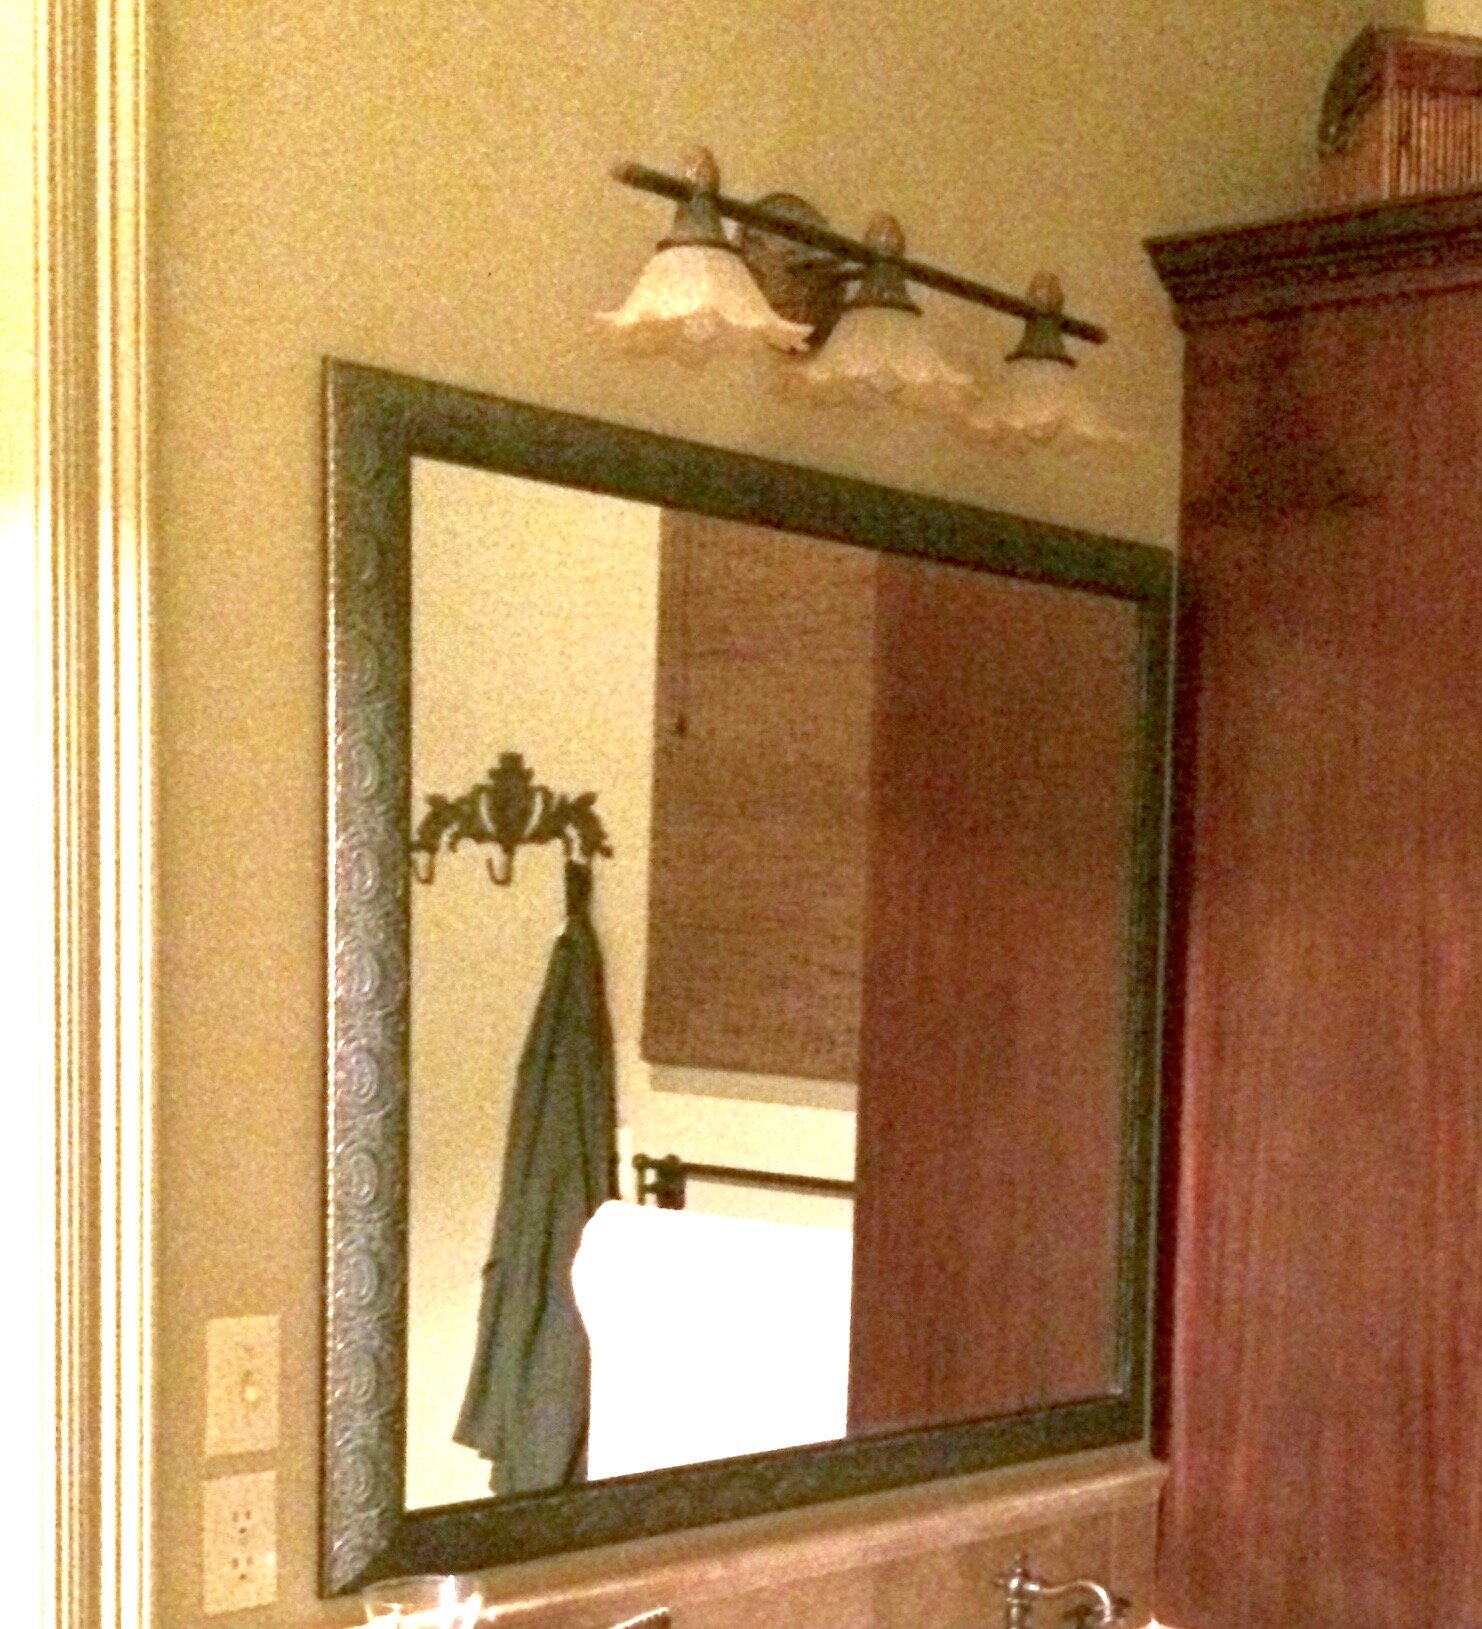
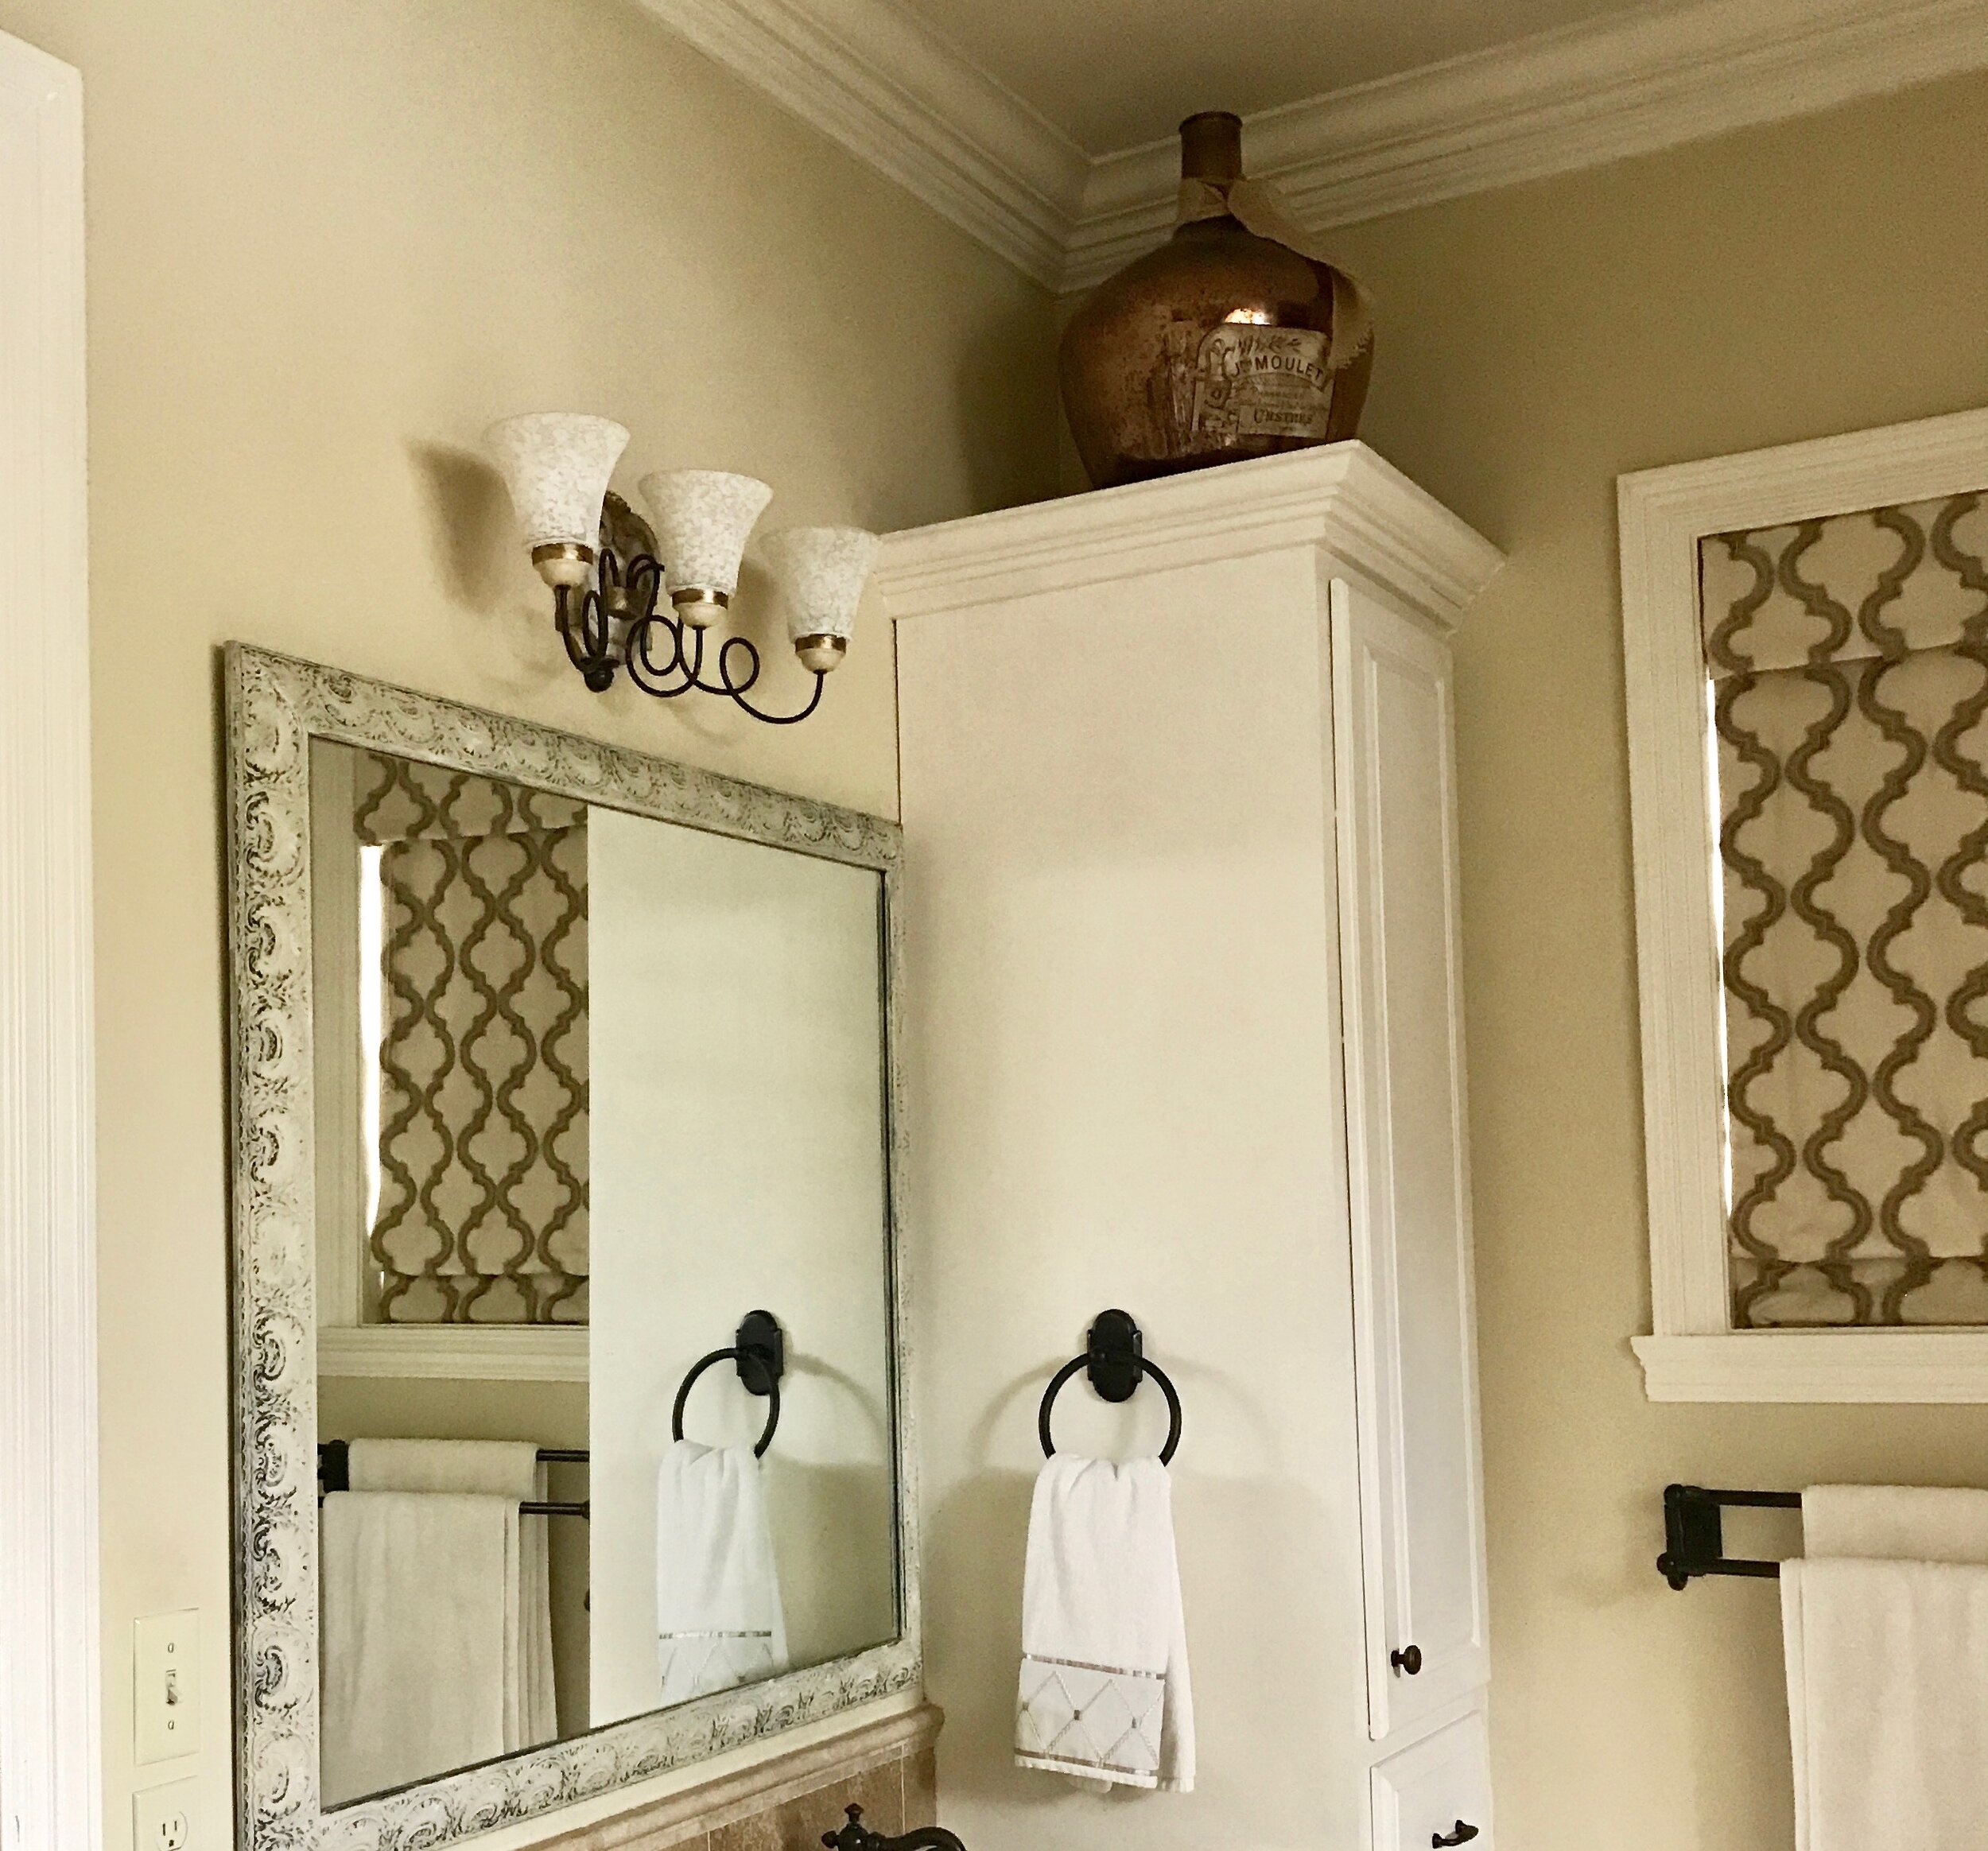
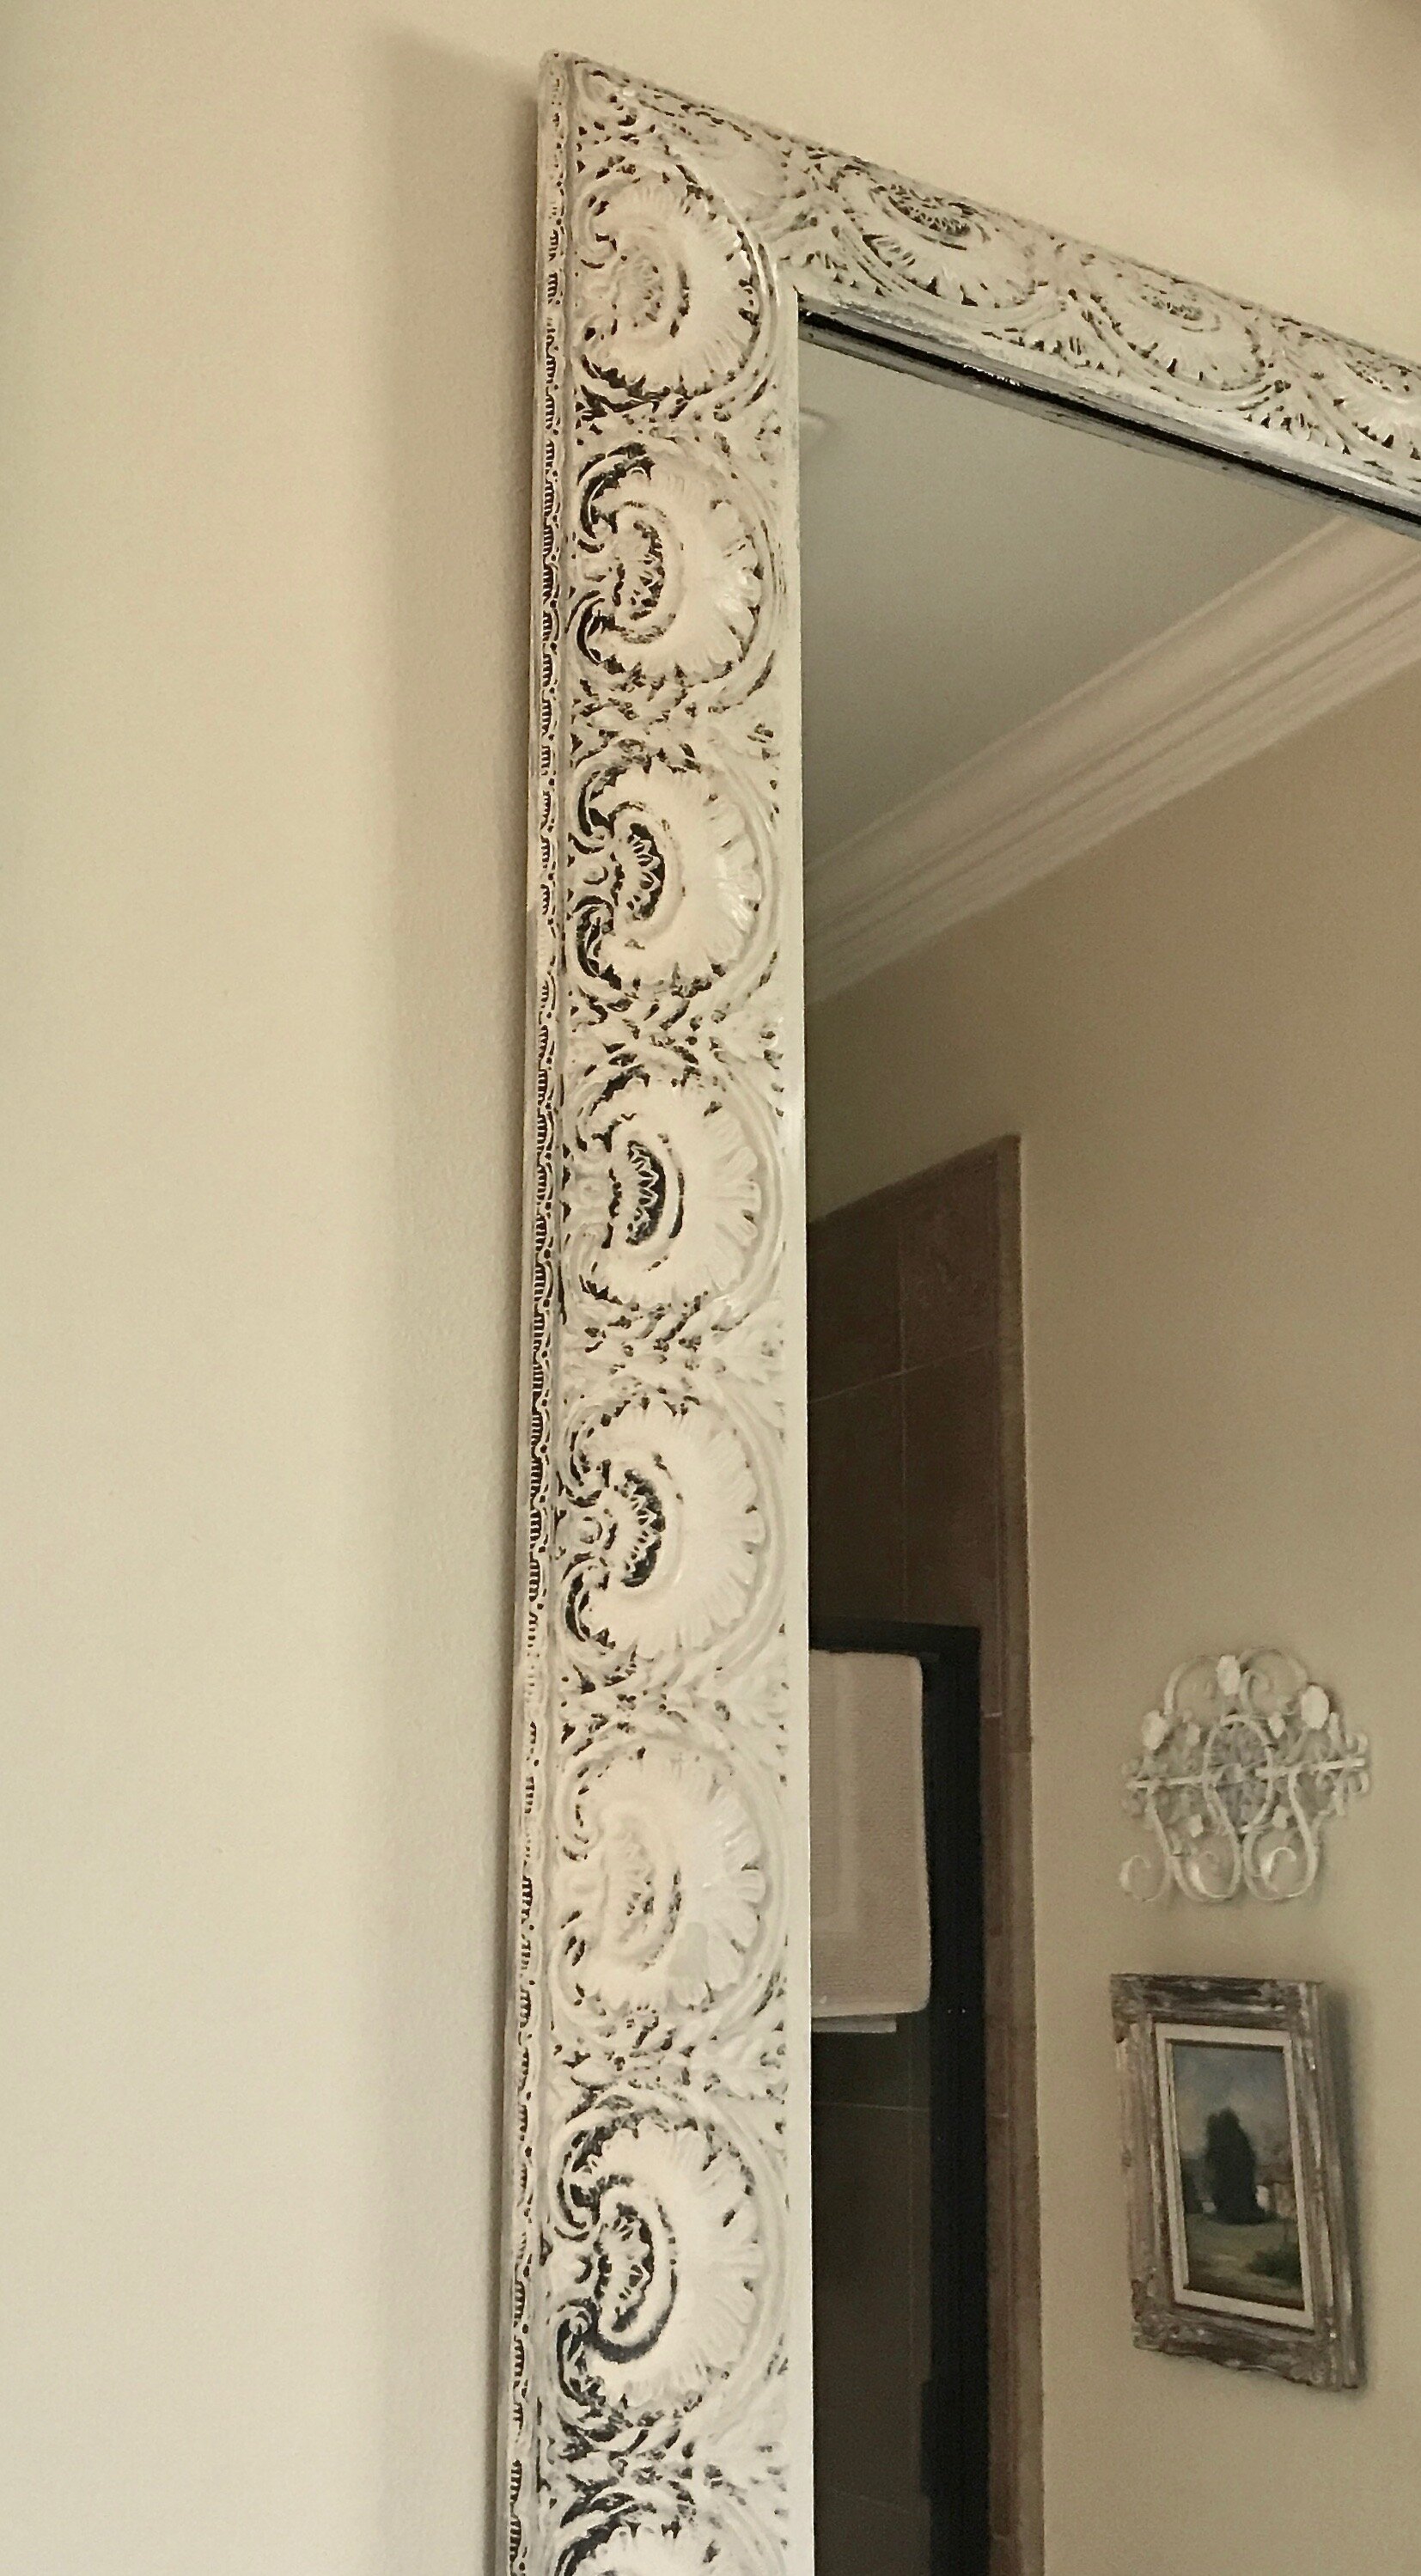
Photo #1: Its a bit grainy but this shot shows the dark framed mirror that the previous owners installed. A nice look, but I wanted to lighten the mood. Photos #2 and #3: I lightly washed over the original black-bronze base with various shades of off-white and beige, letting the dark show through. The lovely carved lace motif was enhanced by the wash. Also seen are repainted cabinets, walls and molding. I added new window shades and light fixtures.
Guest Bathroom #1 Mirror Transformation
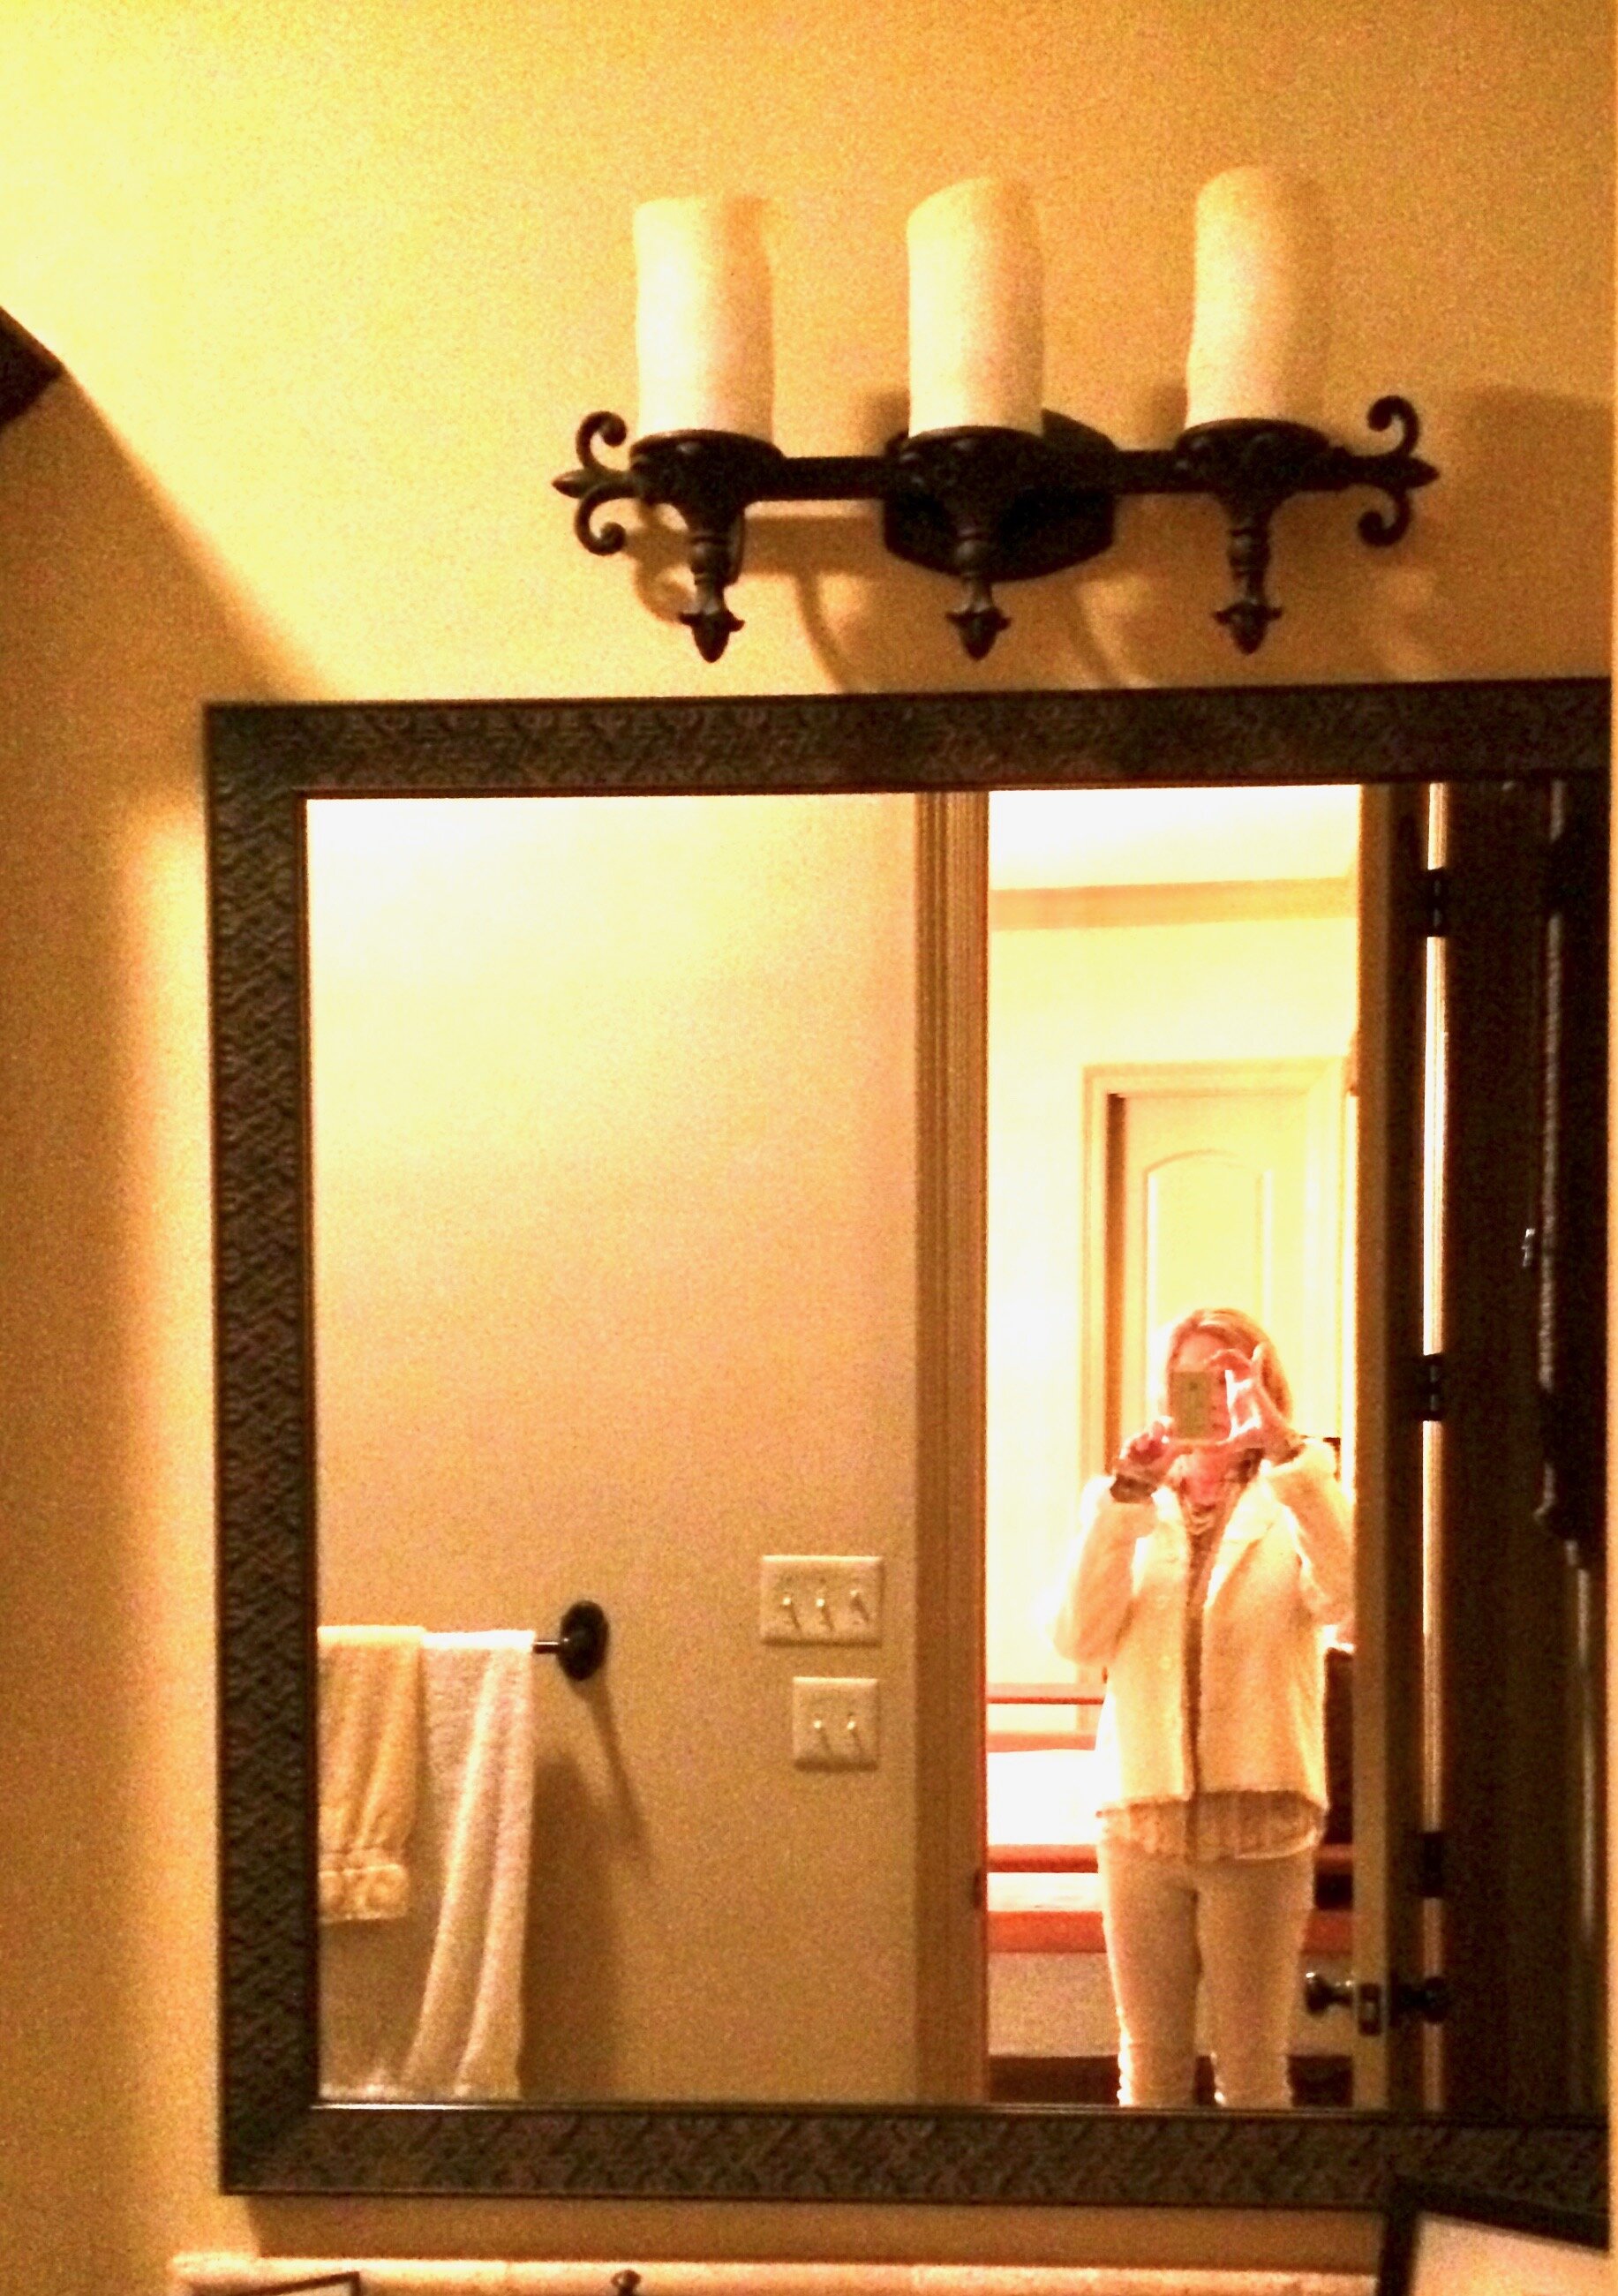
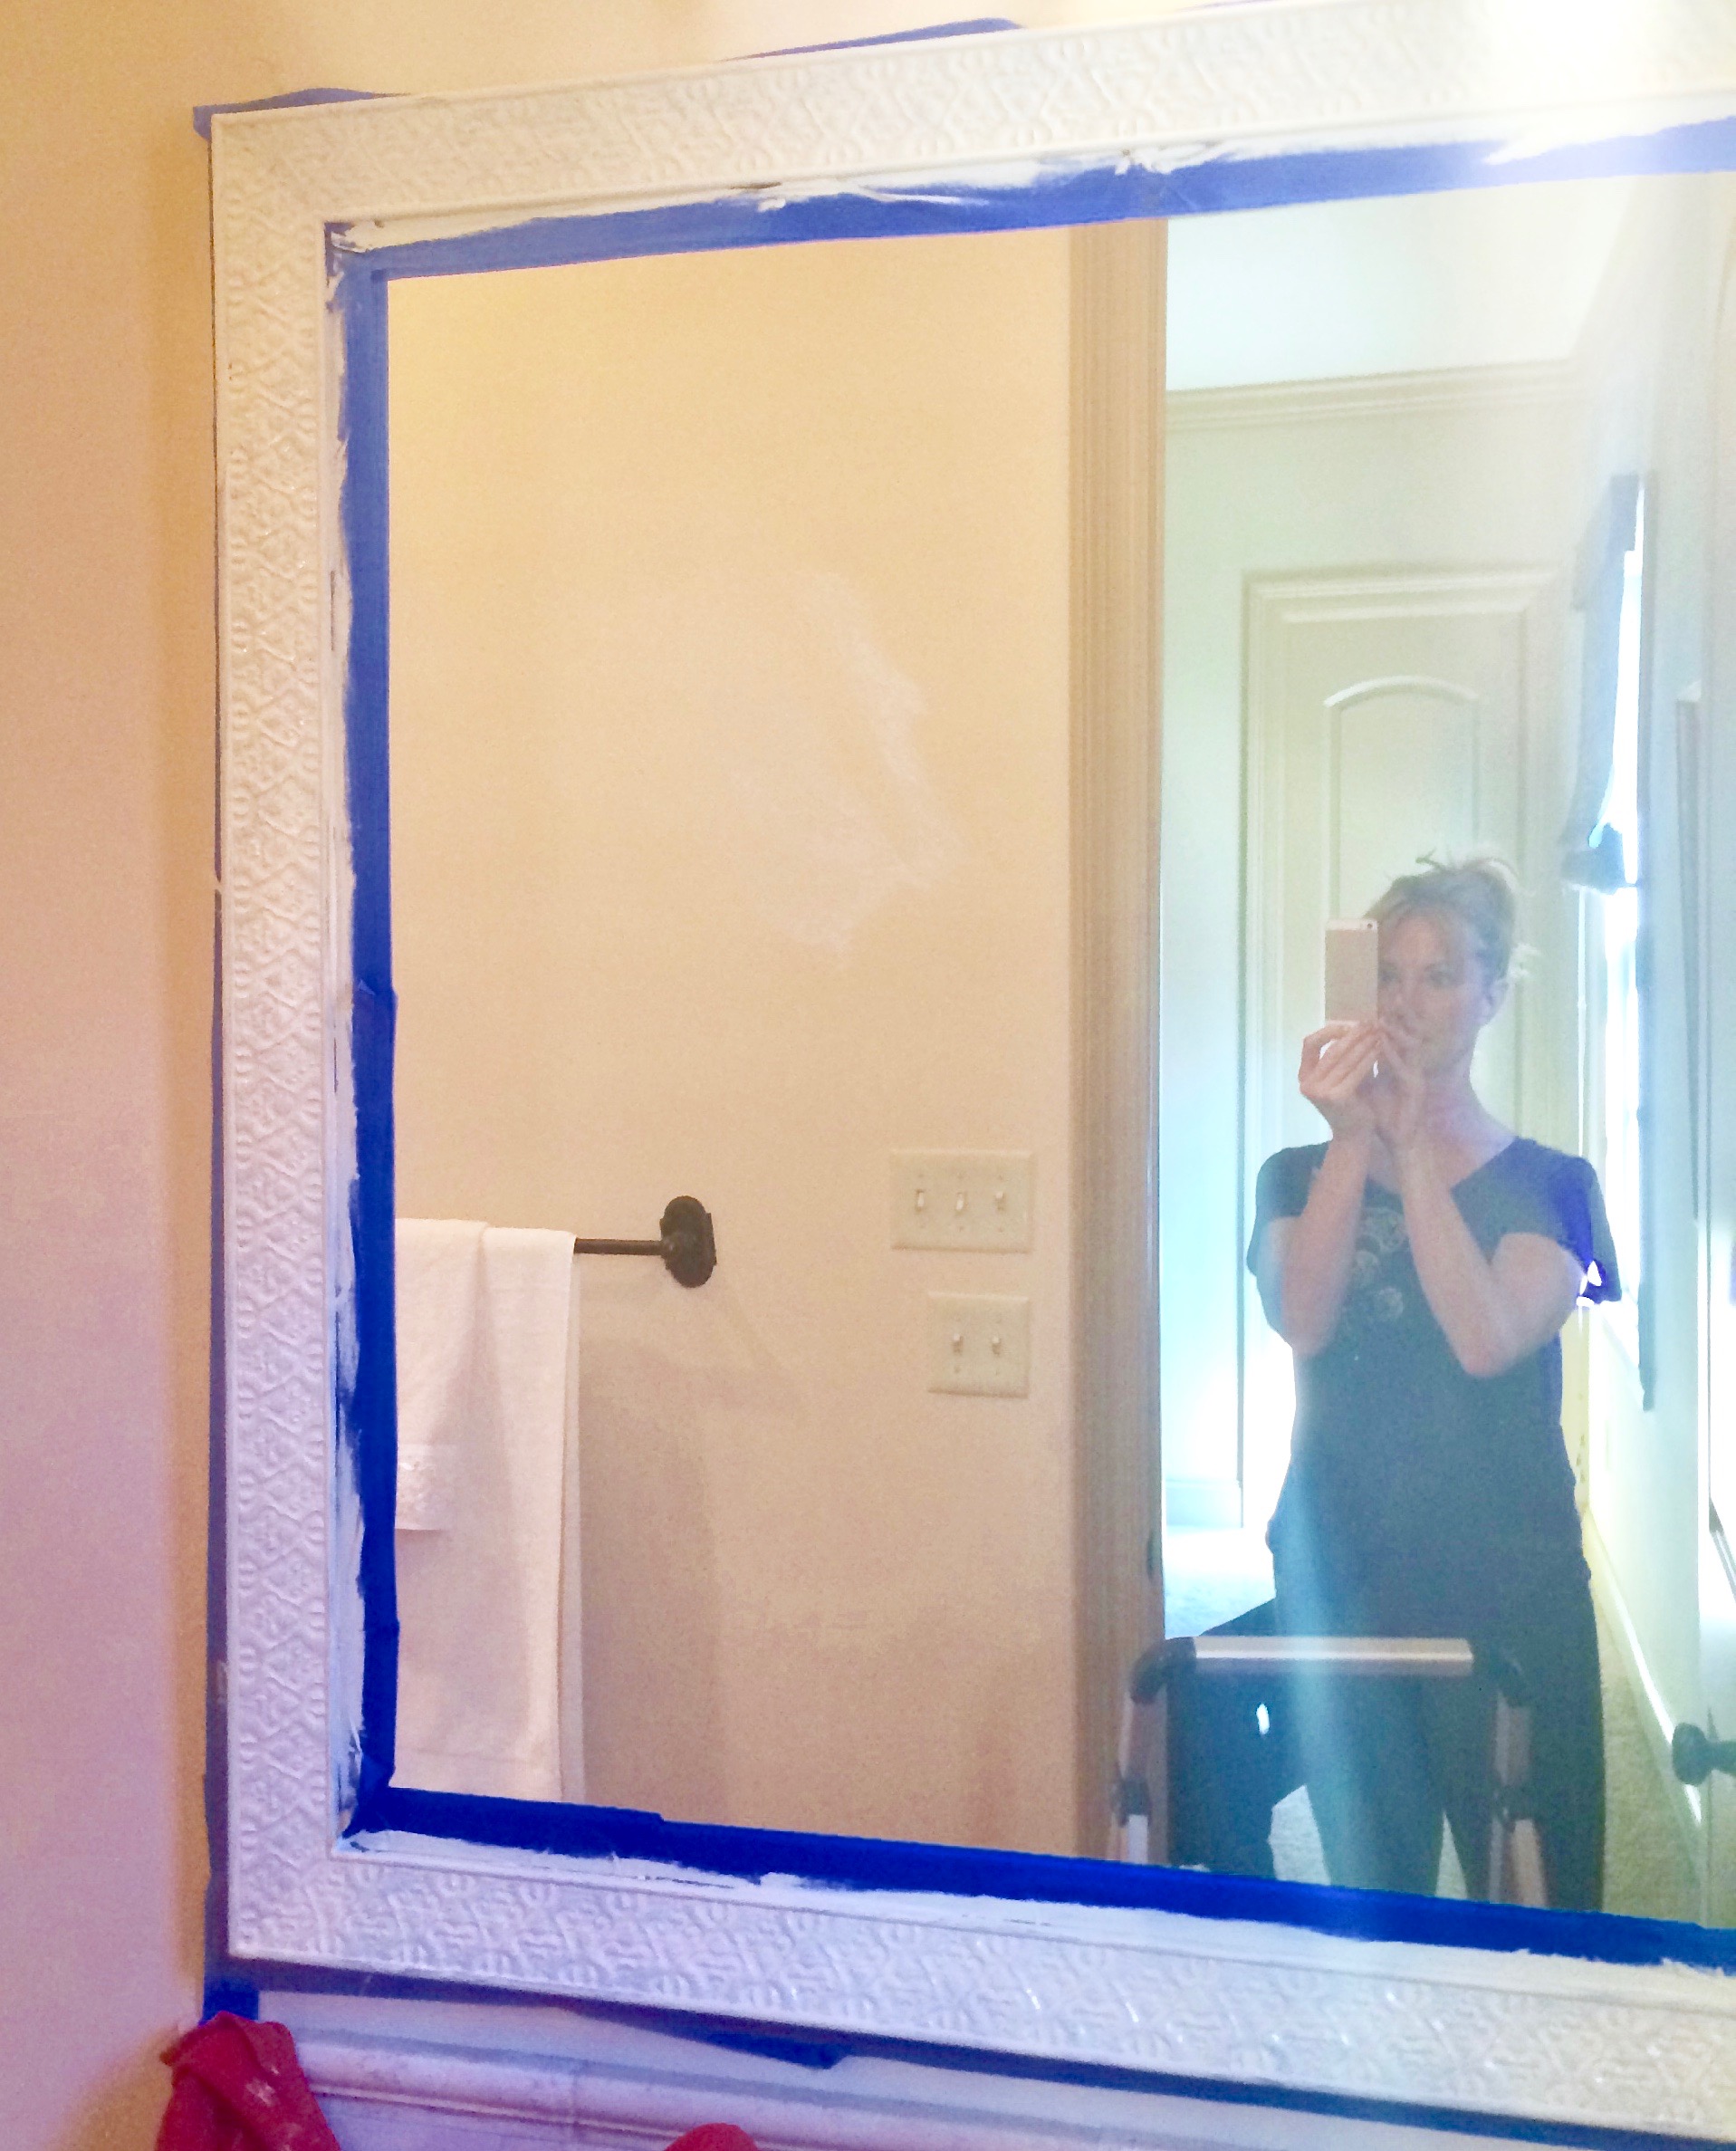
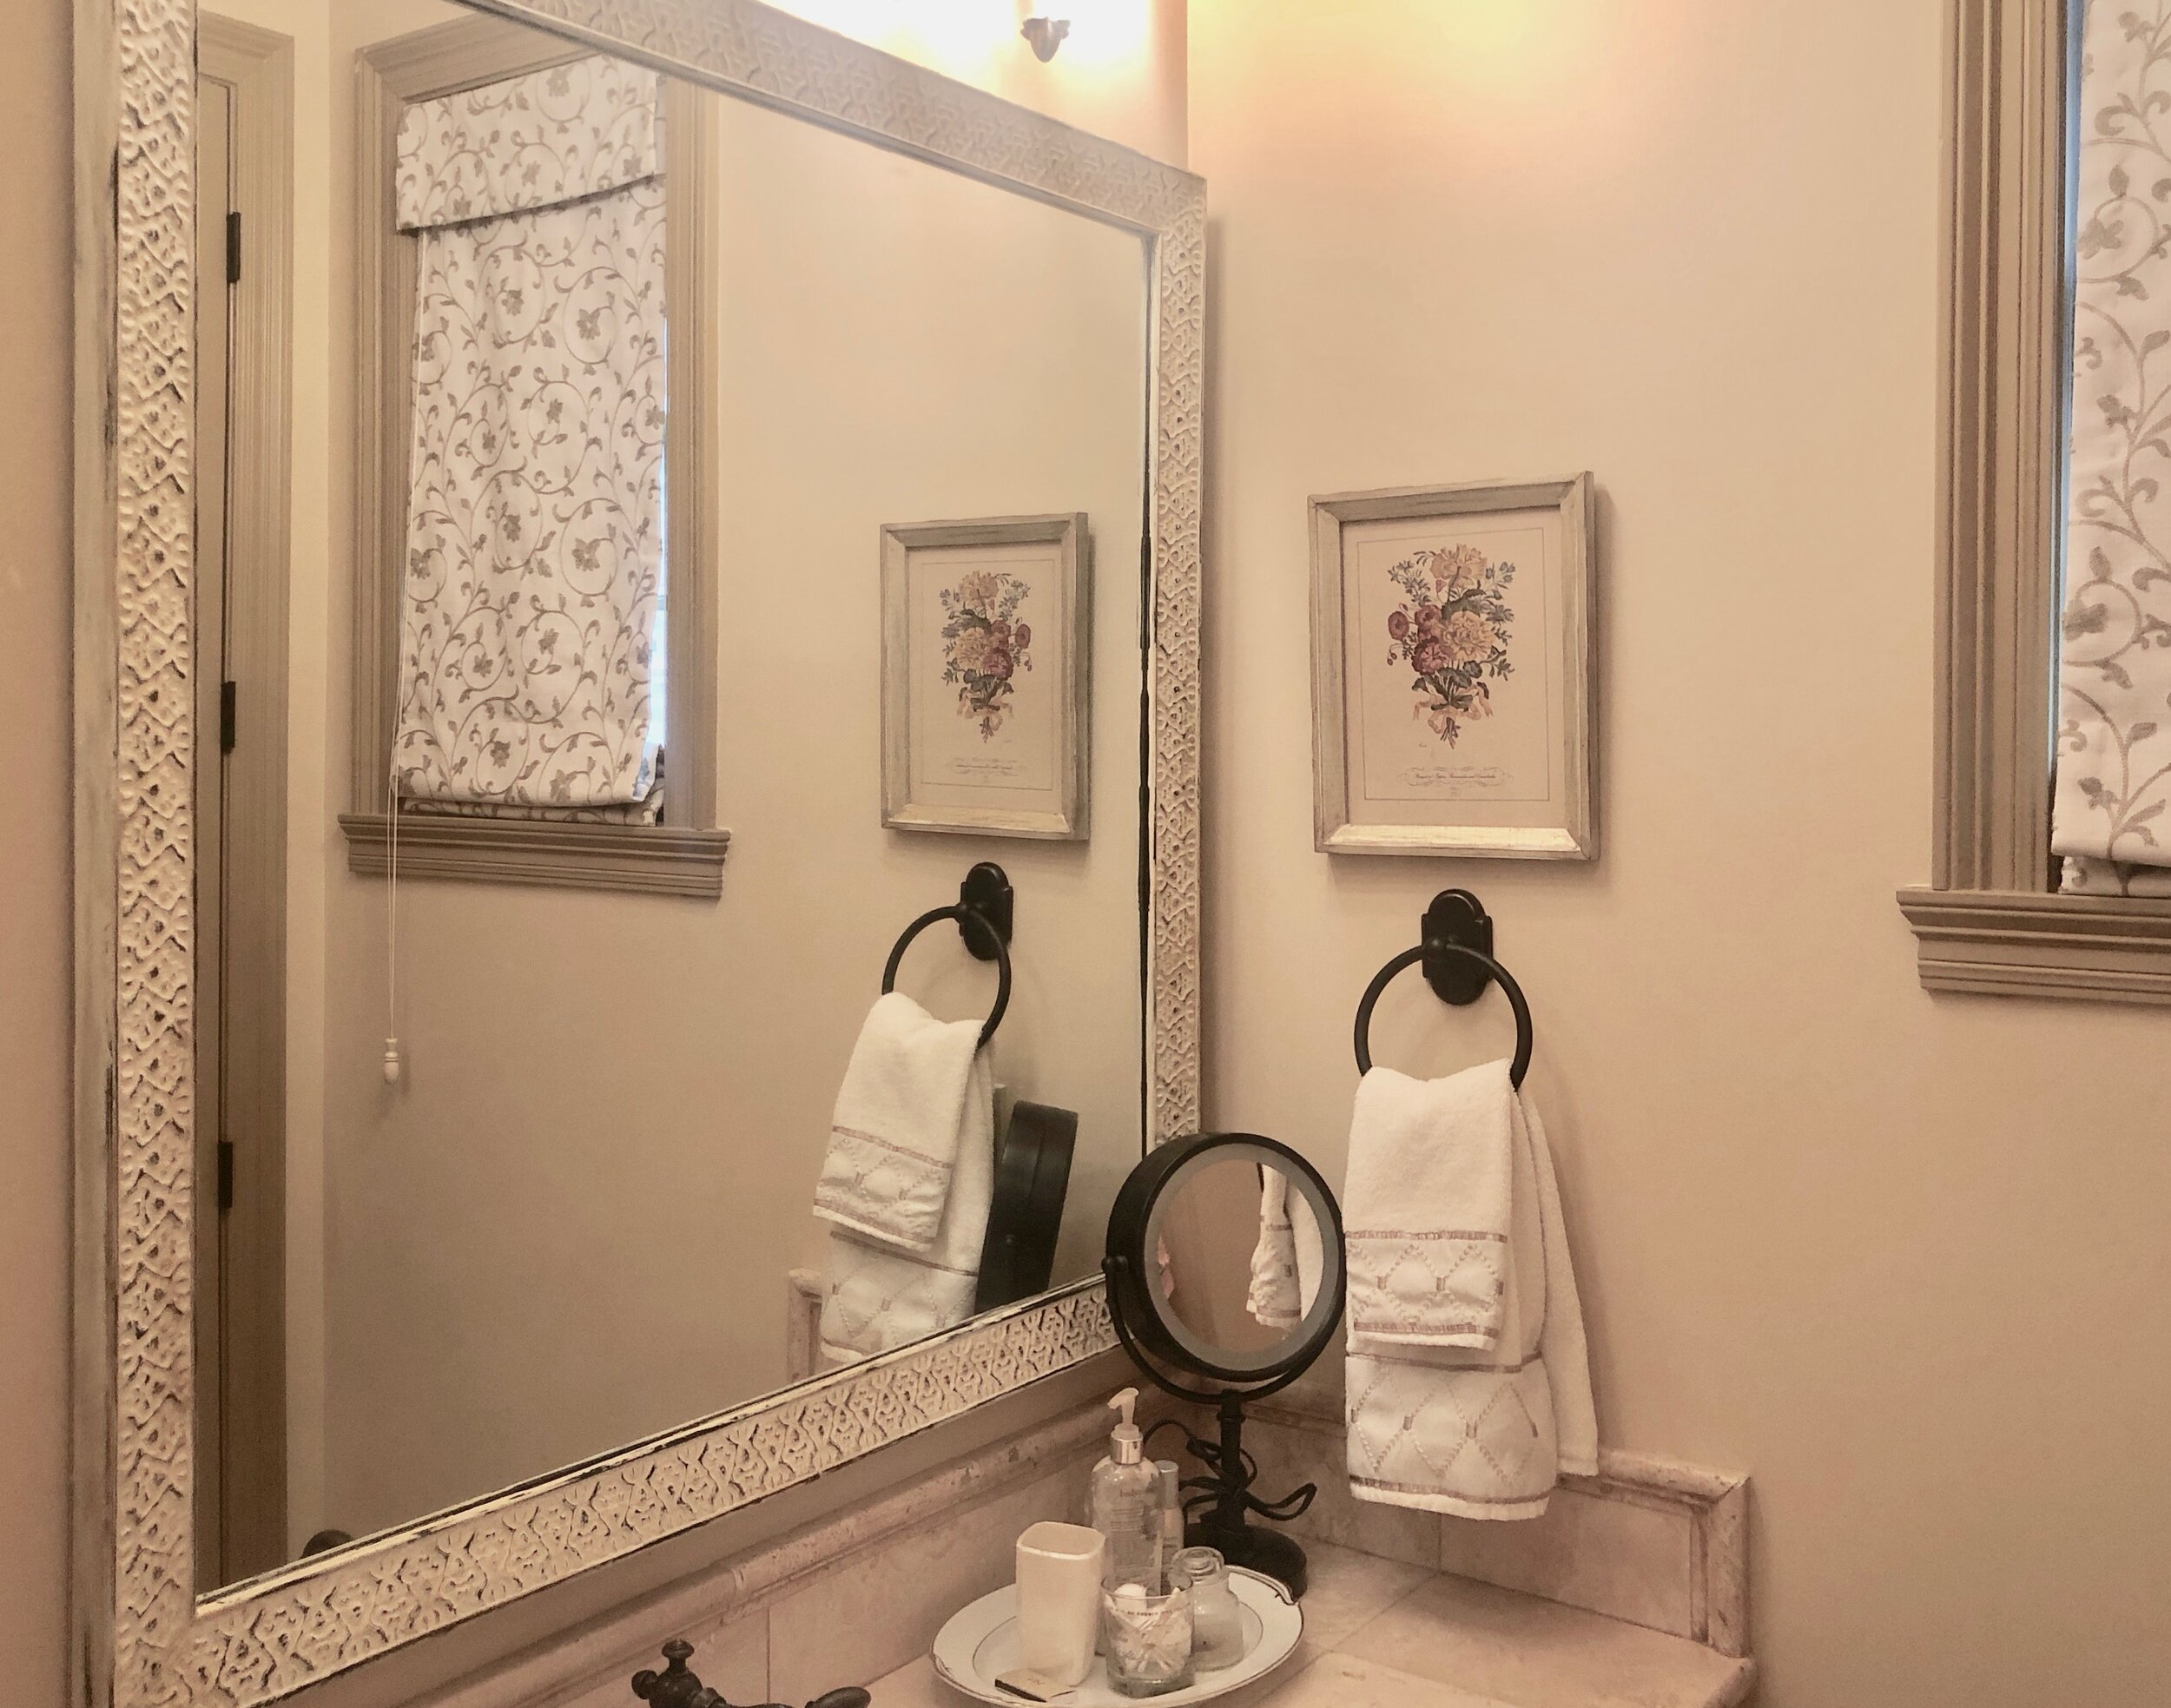
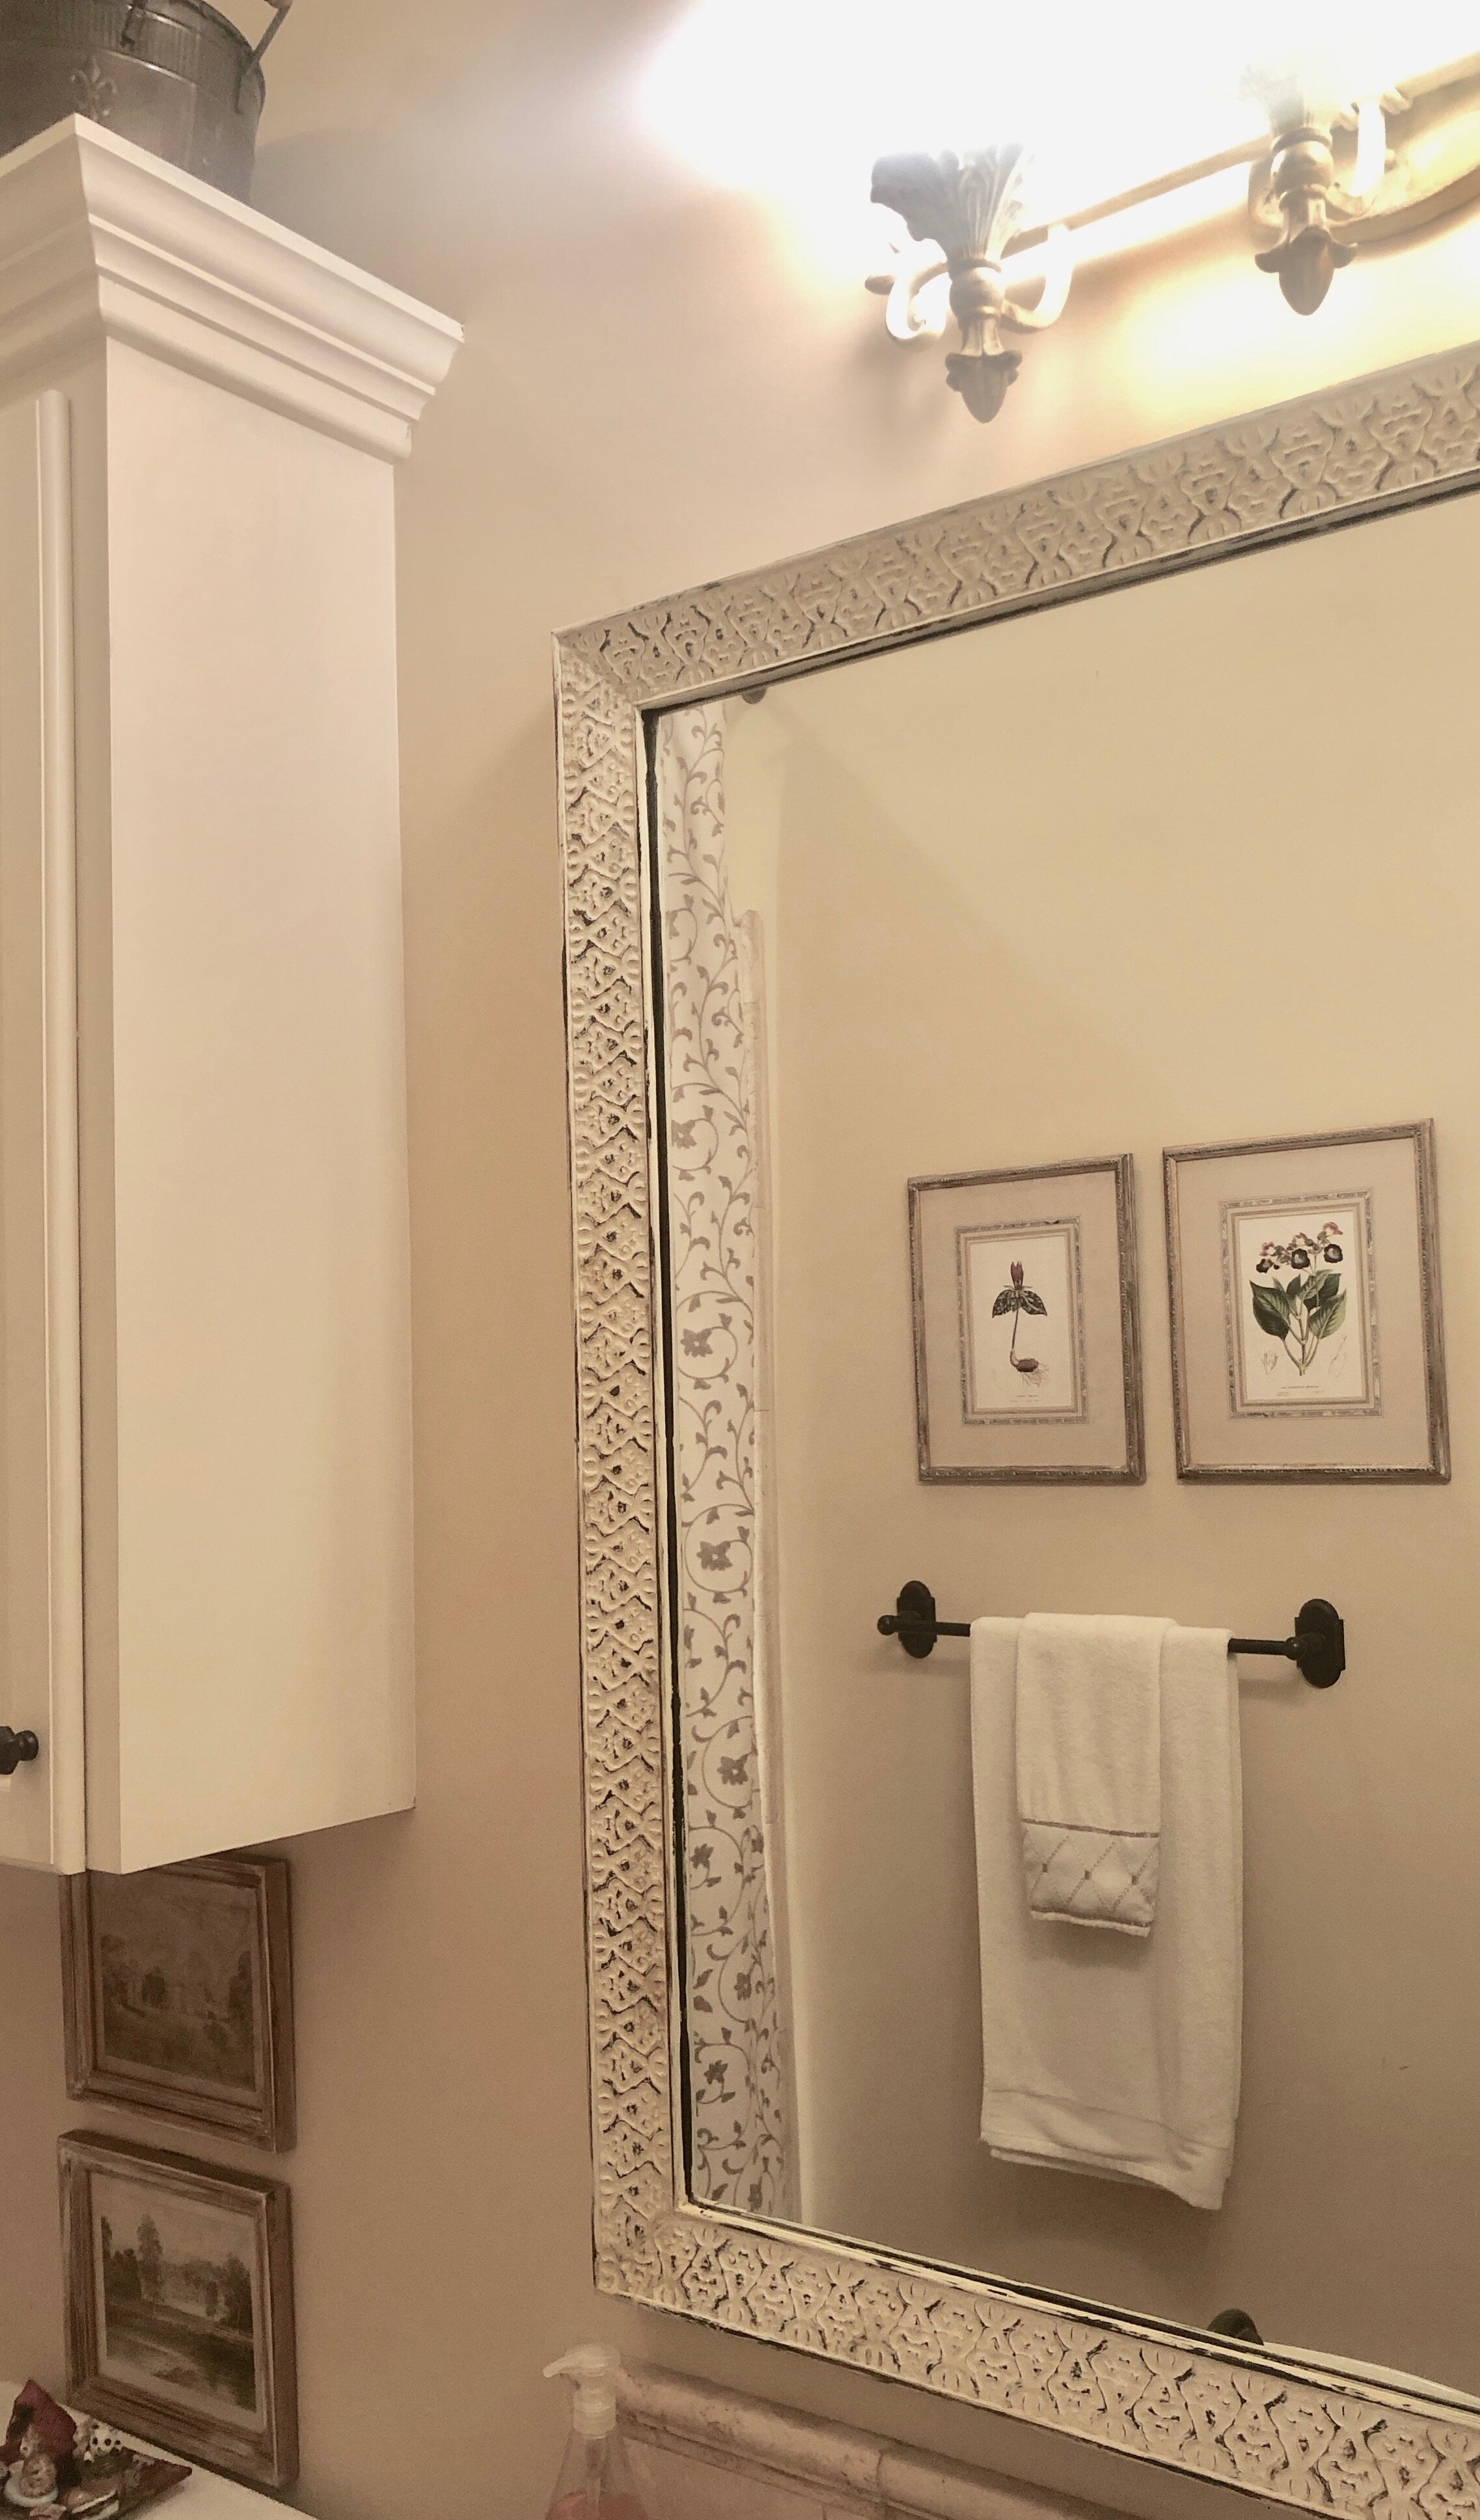
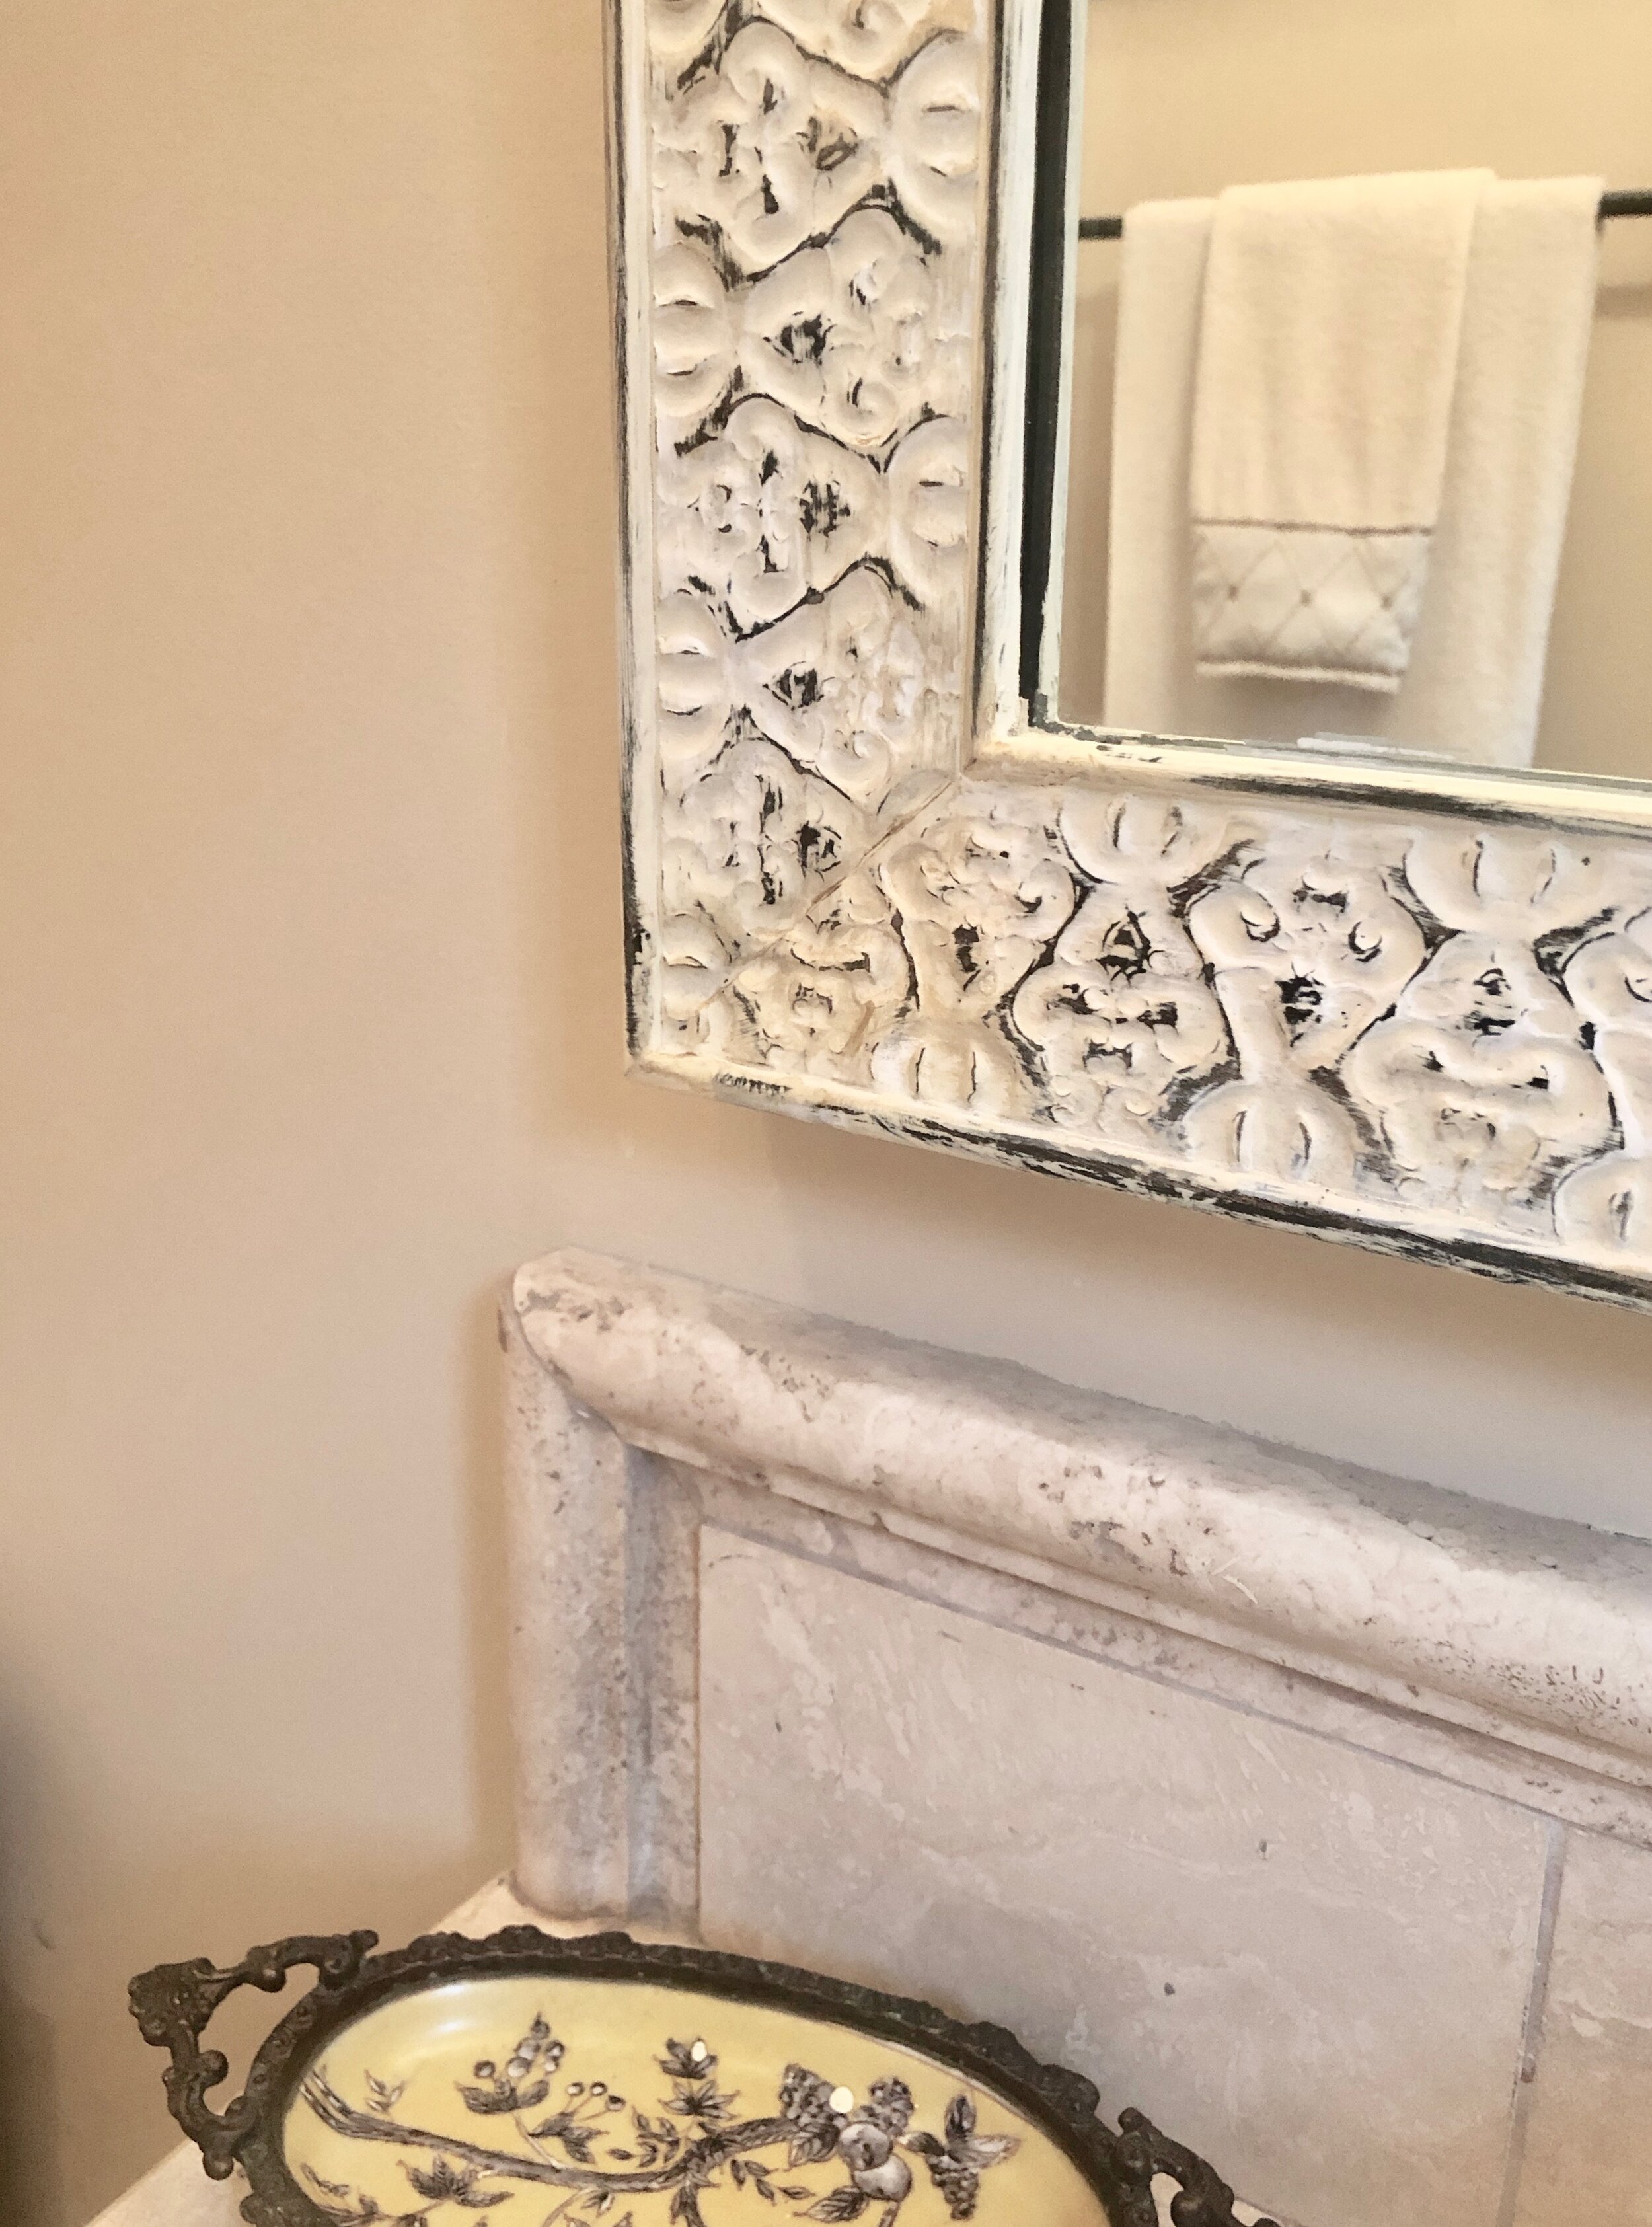
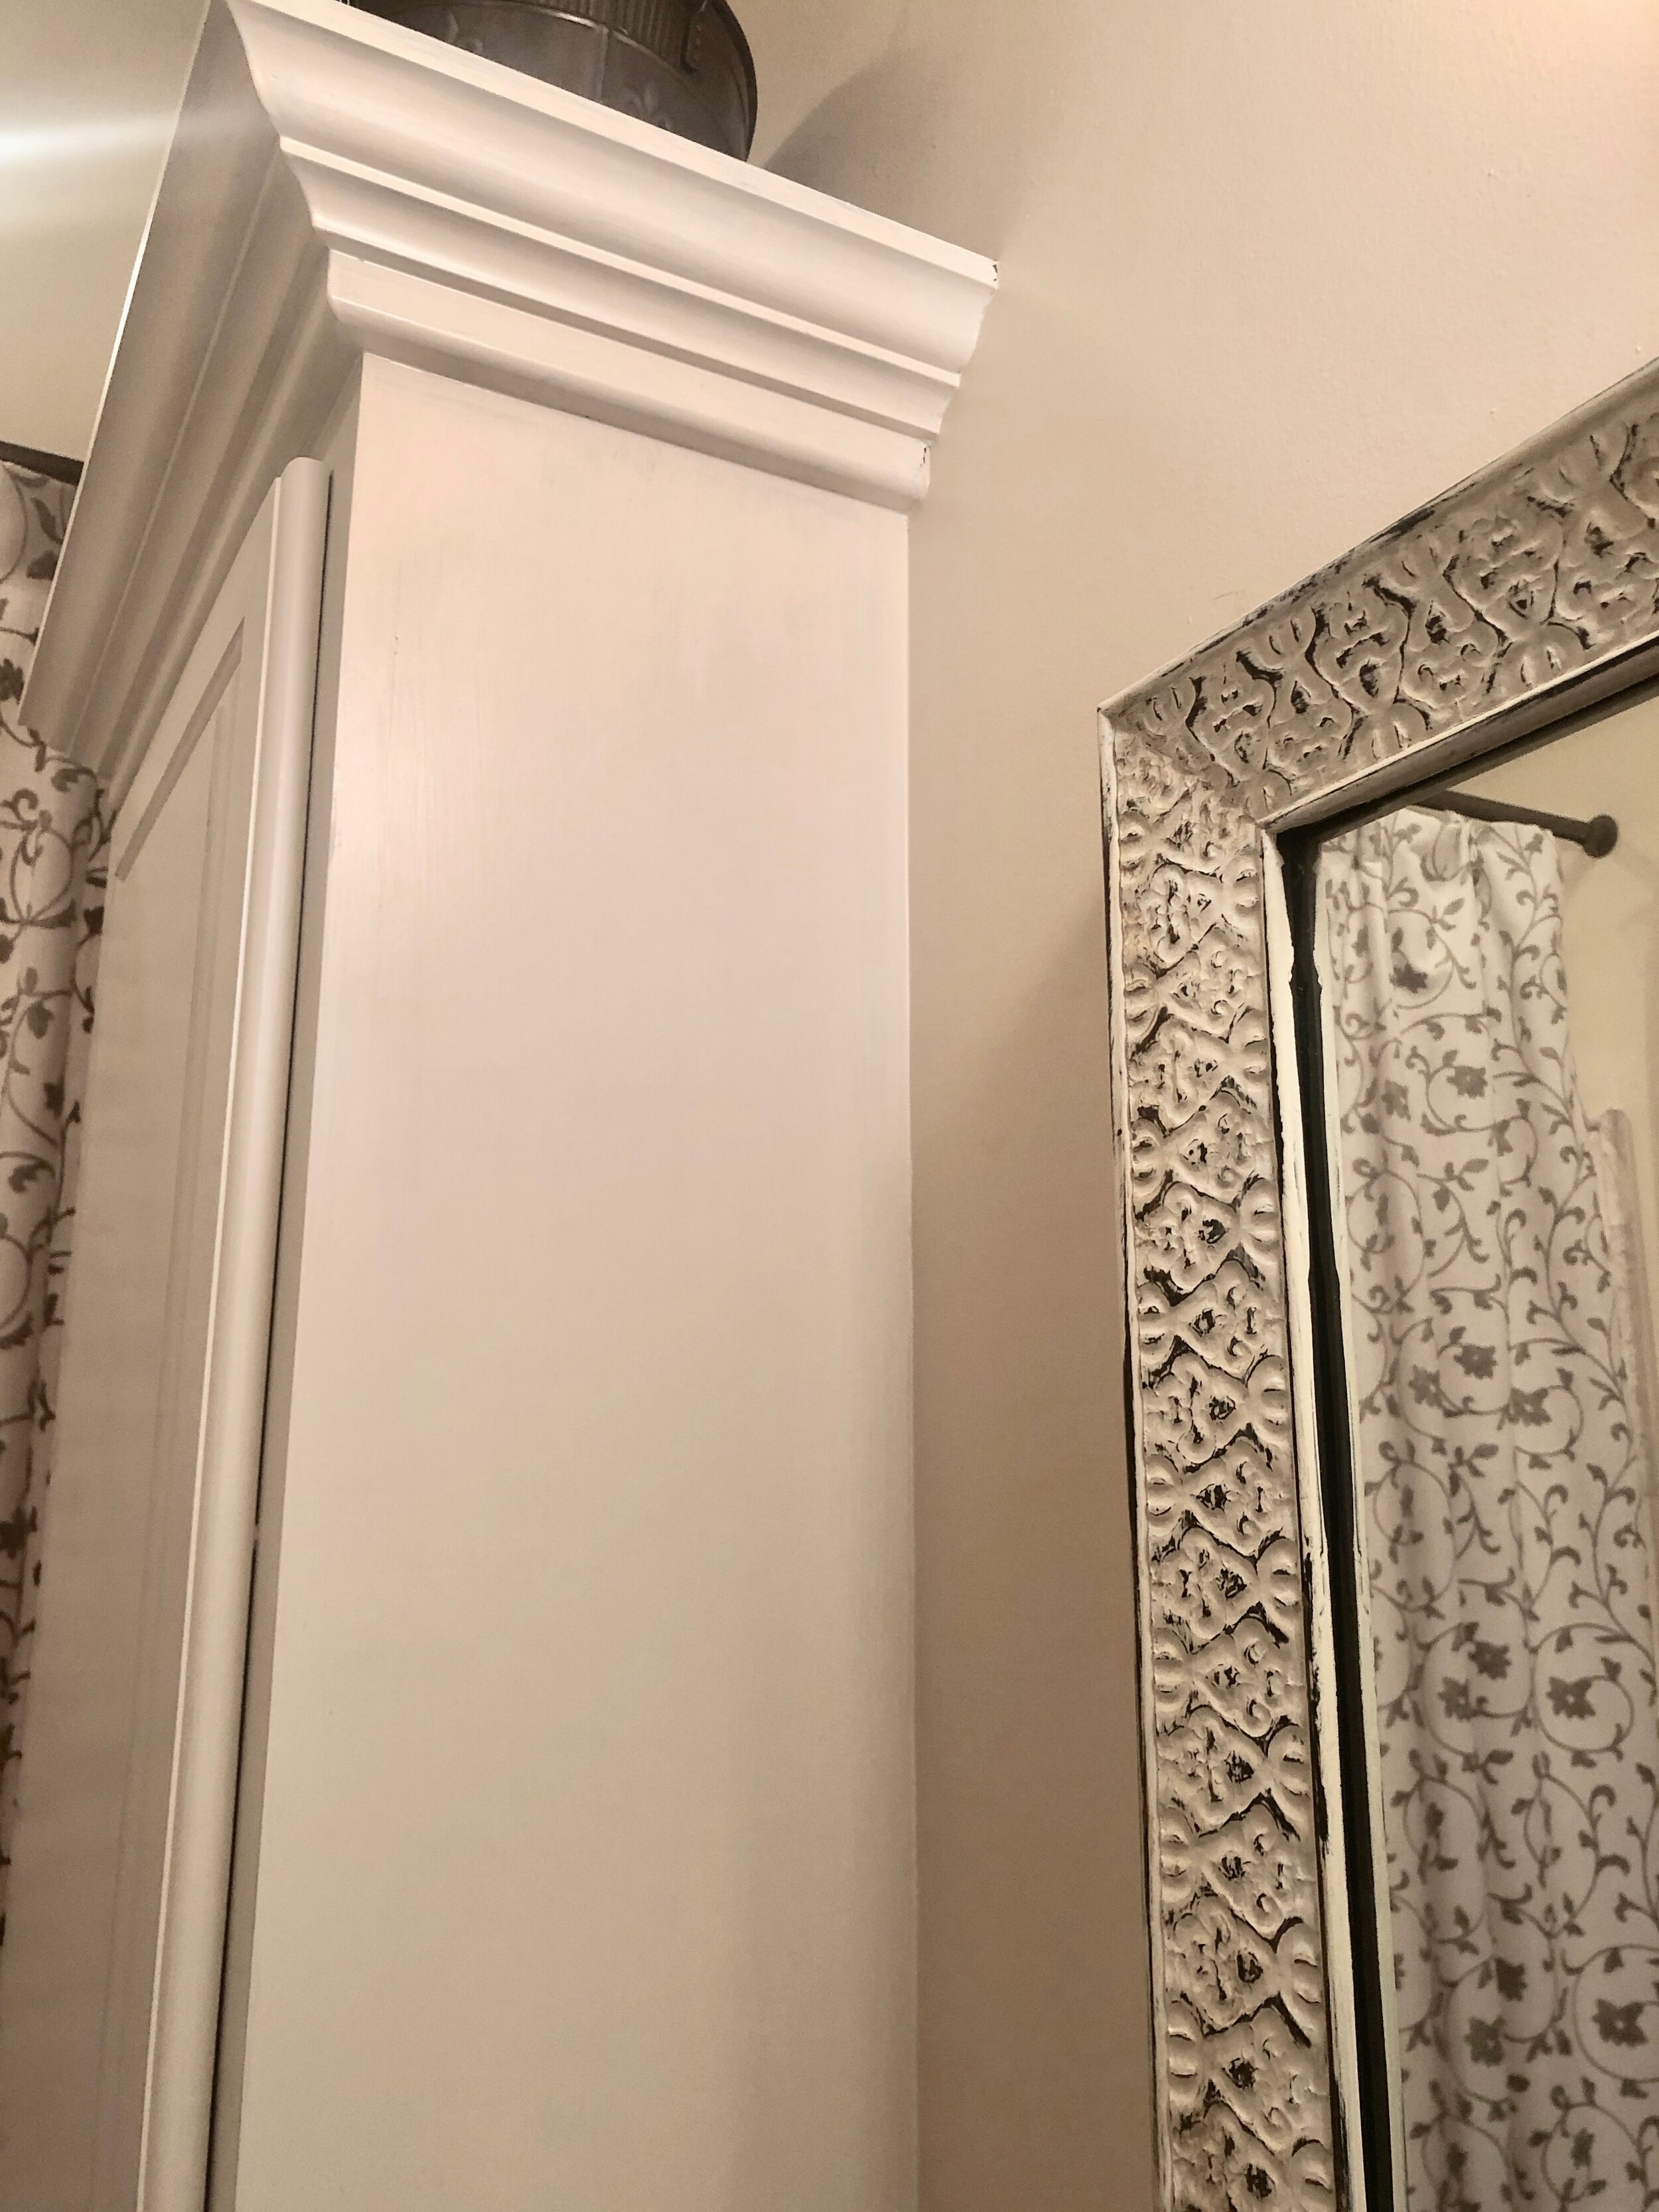
Photo #1: Old photo of the lovely, dark framed mirror present when we purchased the house. Photo #2: The creative genius at work! Photos #3 - Photo #6: Finished transformation. I started with a base of off-white and added various beige tones and a bit of gold. For this mirror I sanded the surface, allowing the dark original base to show through. Once again, the lovely carving of the frame is enhanced. Also shown: We had the walls and cabinets repainted. I kept original black wrought iron light fixture but repainted it to match new decor - see upcoming post on refurbishing light fixtures.
Guest Bathroom #2 Mirror Transformation
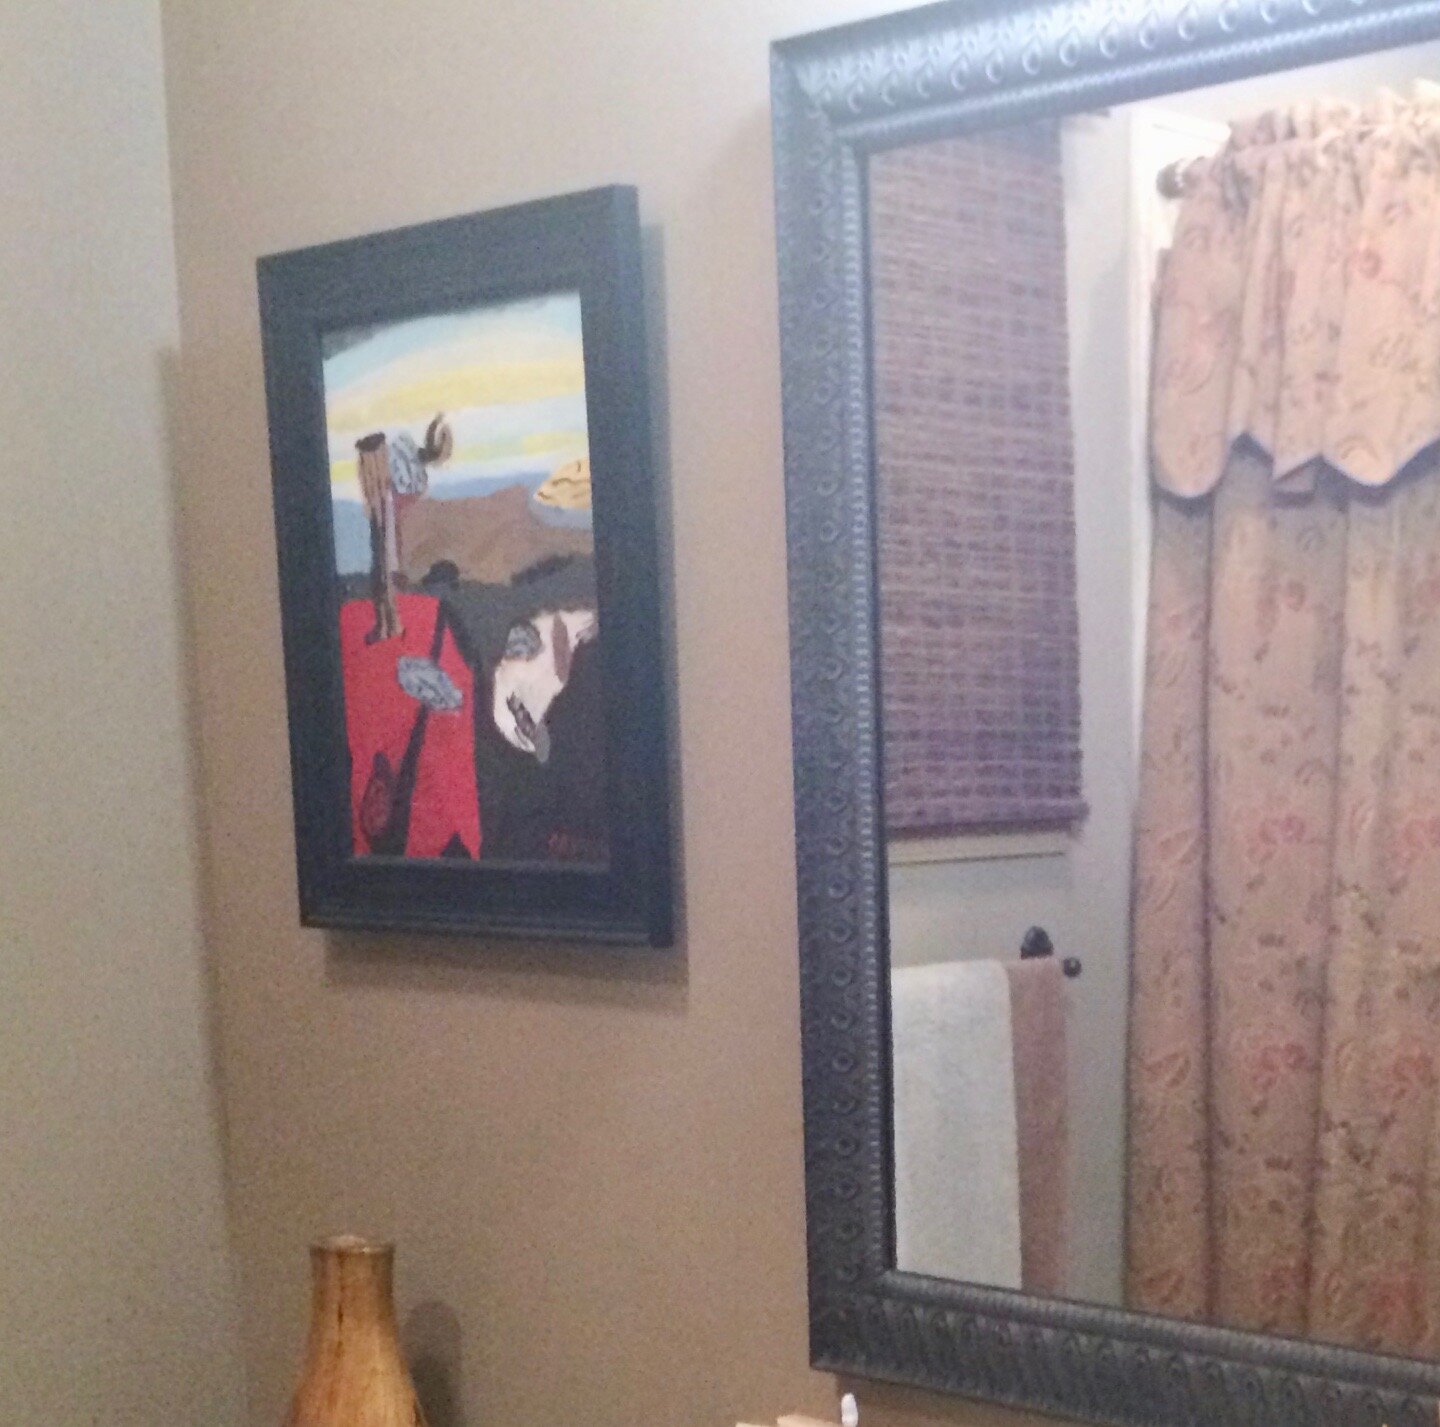
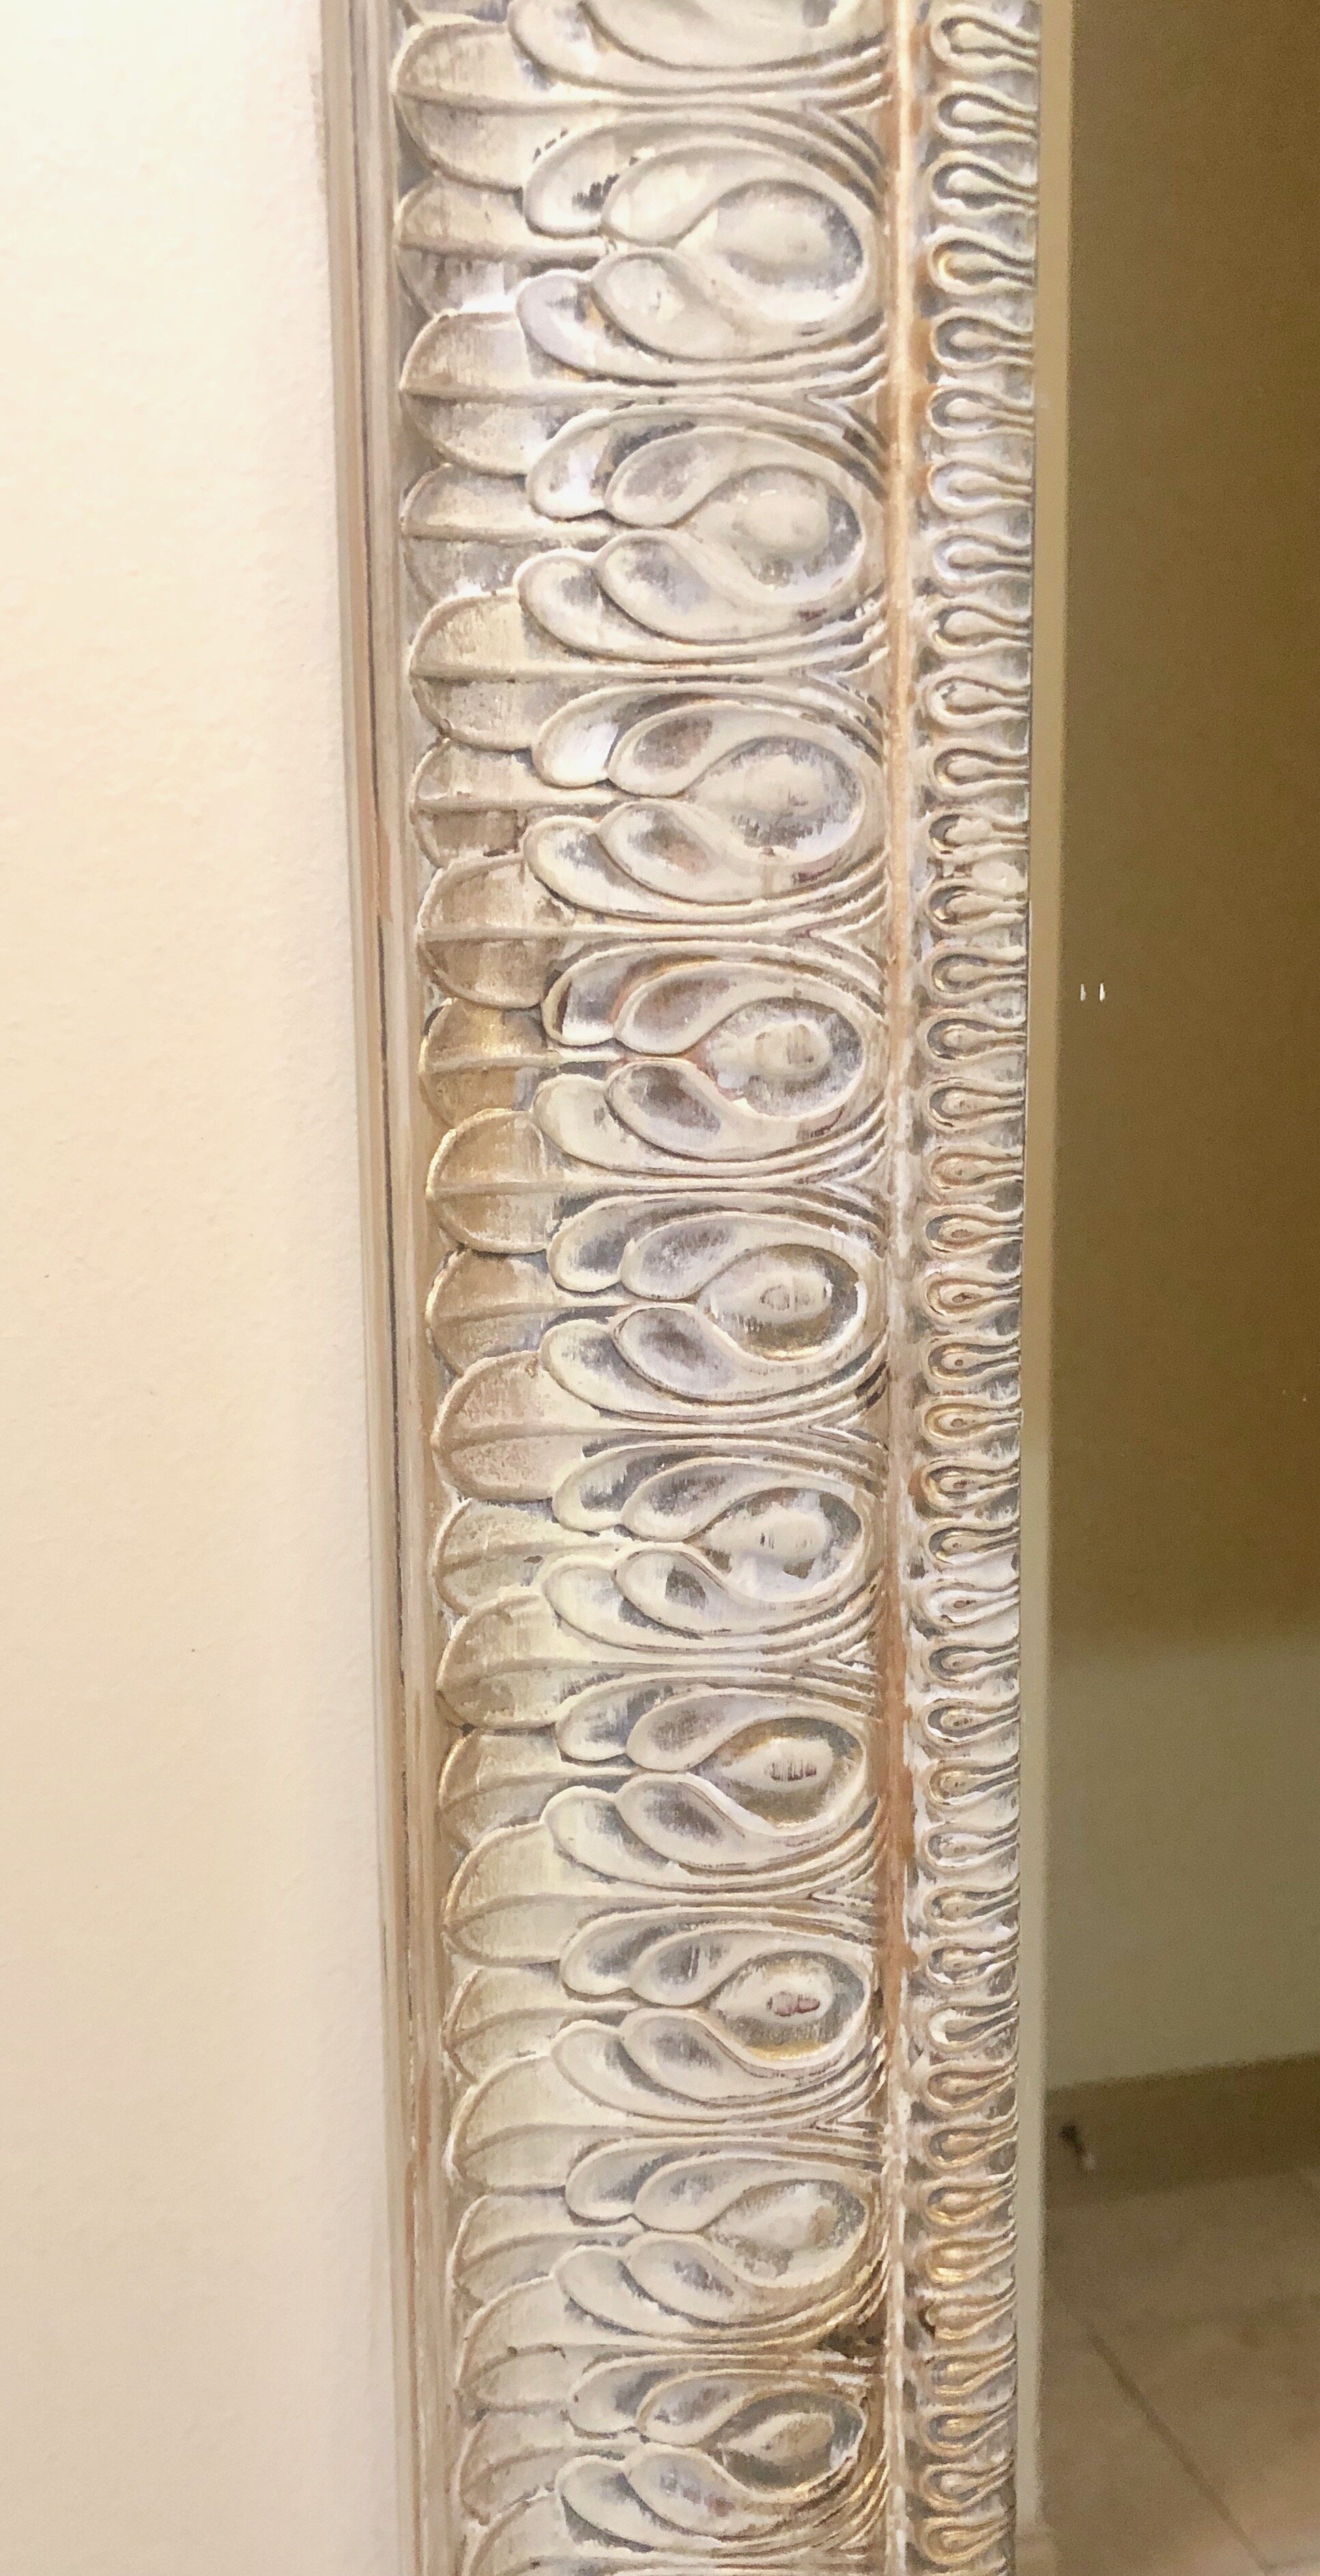
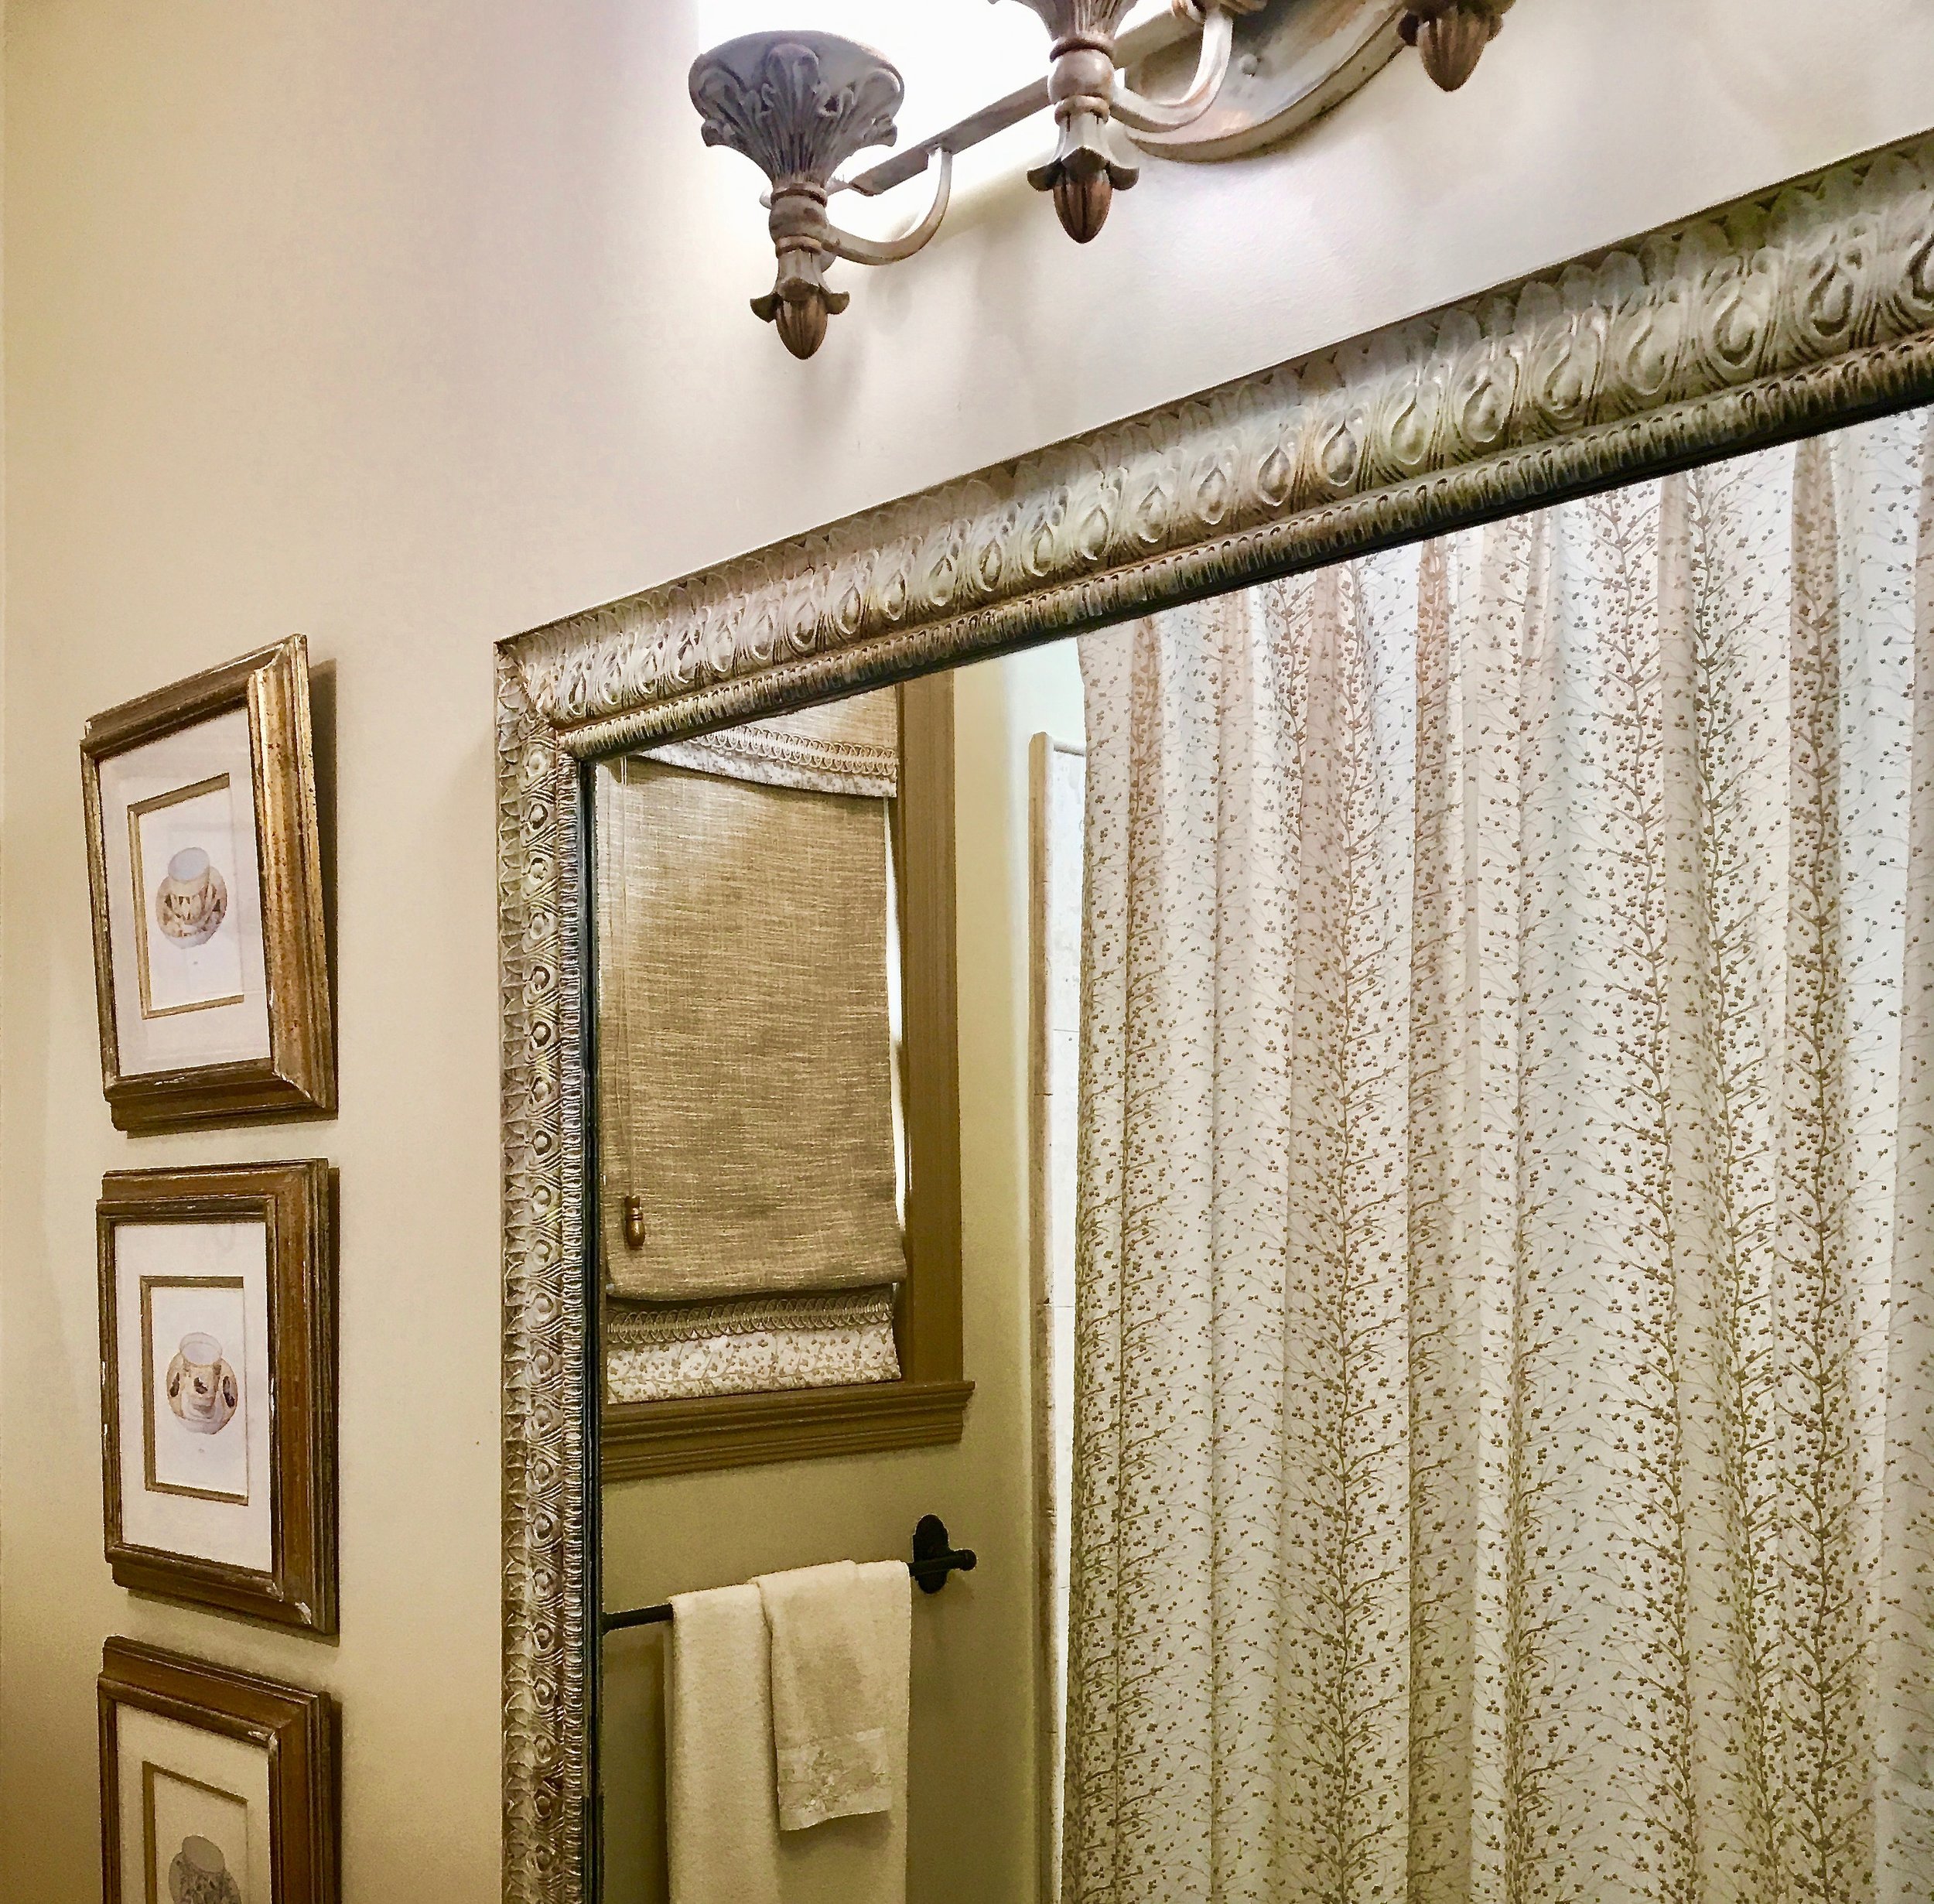
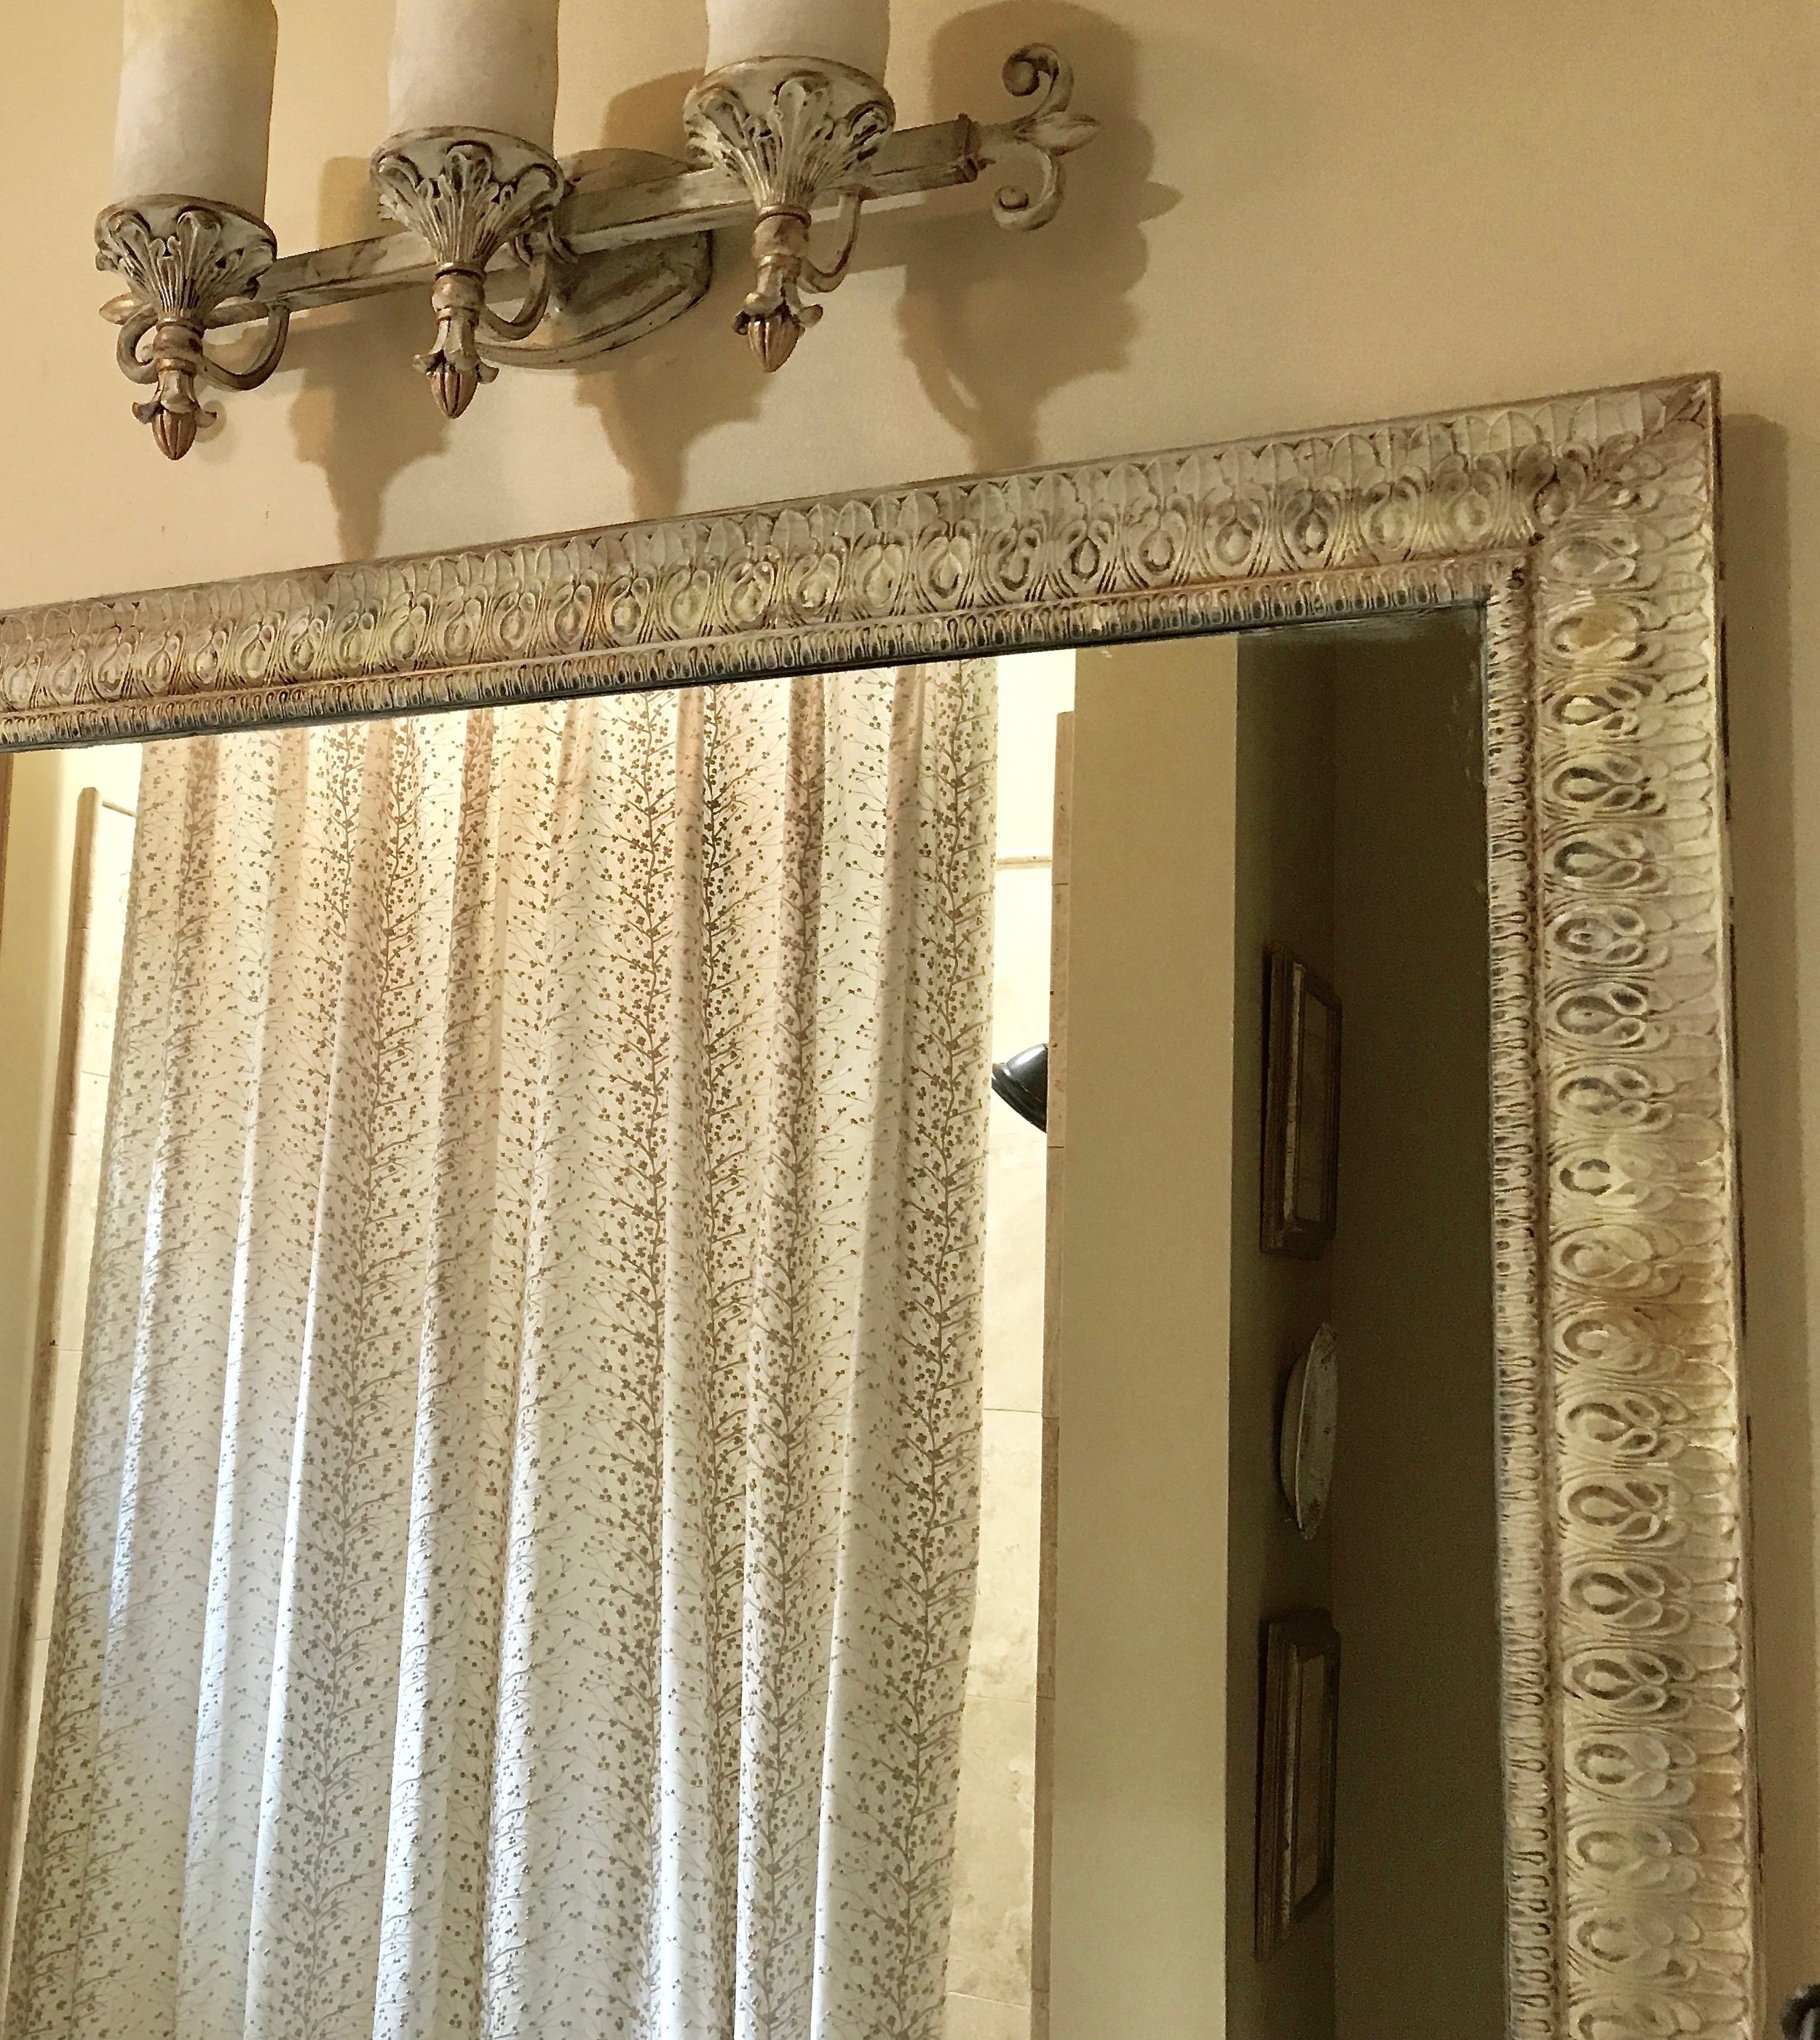
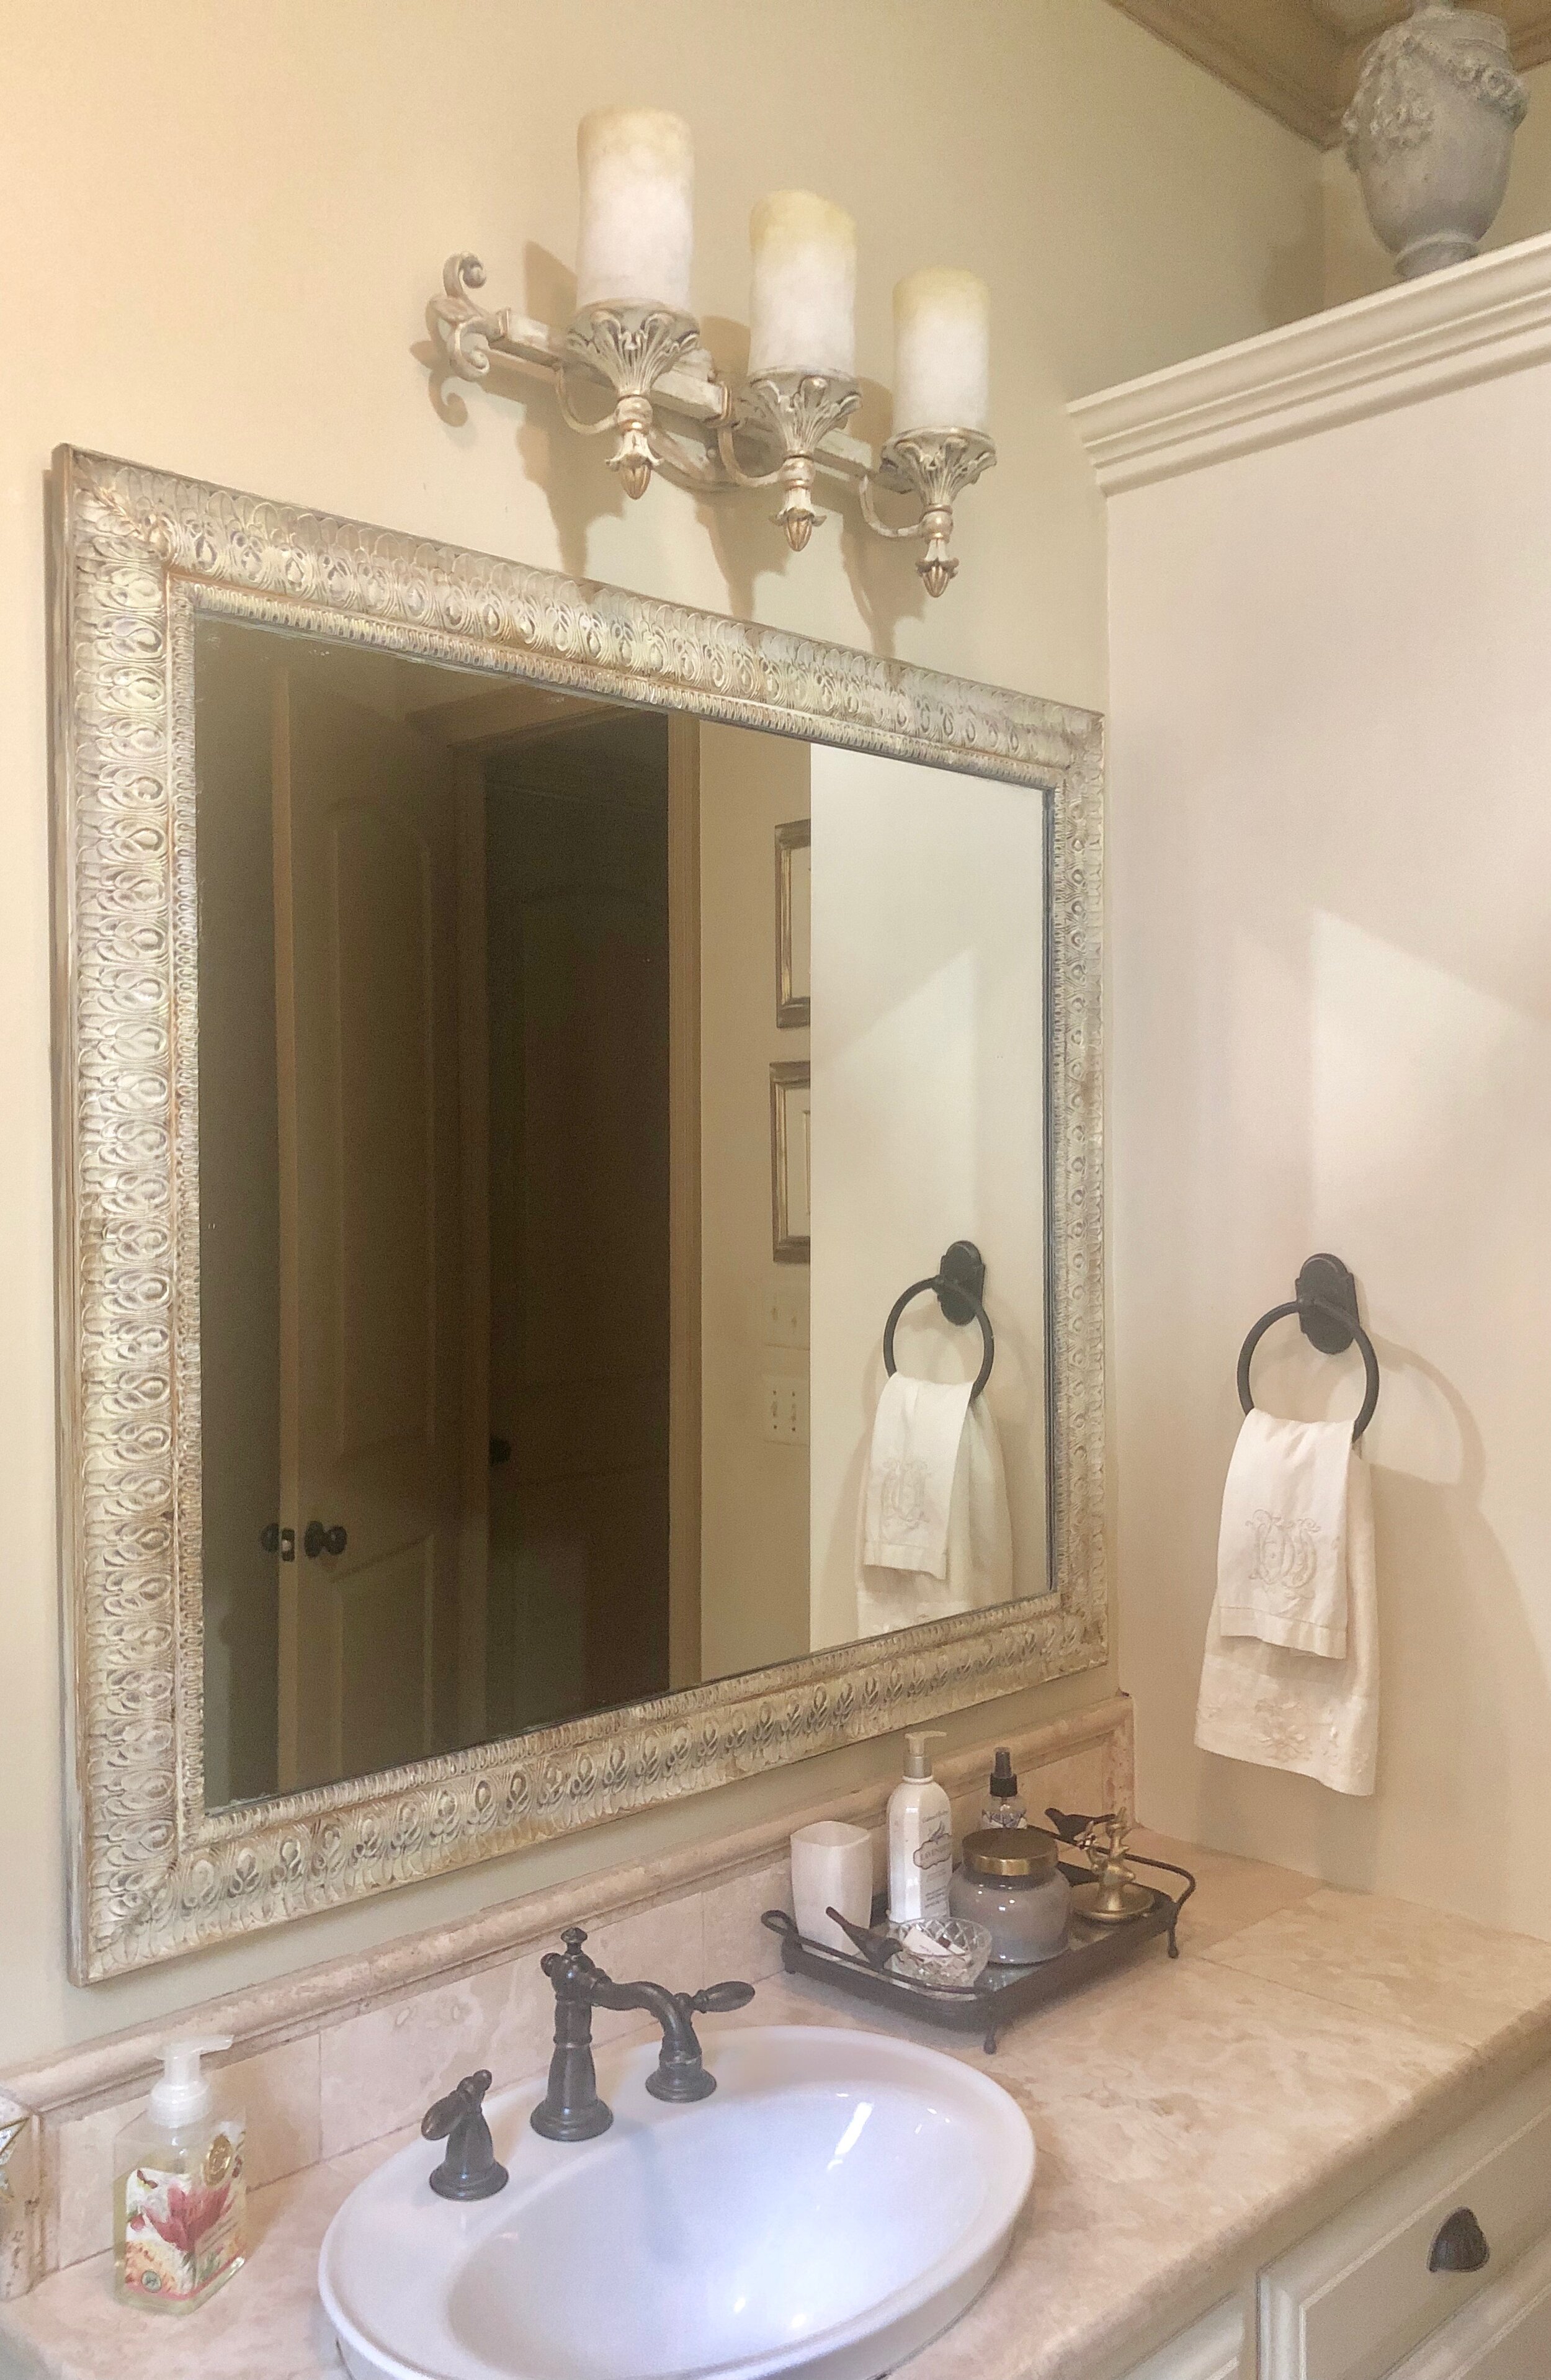
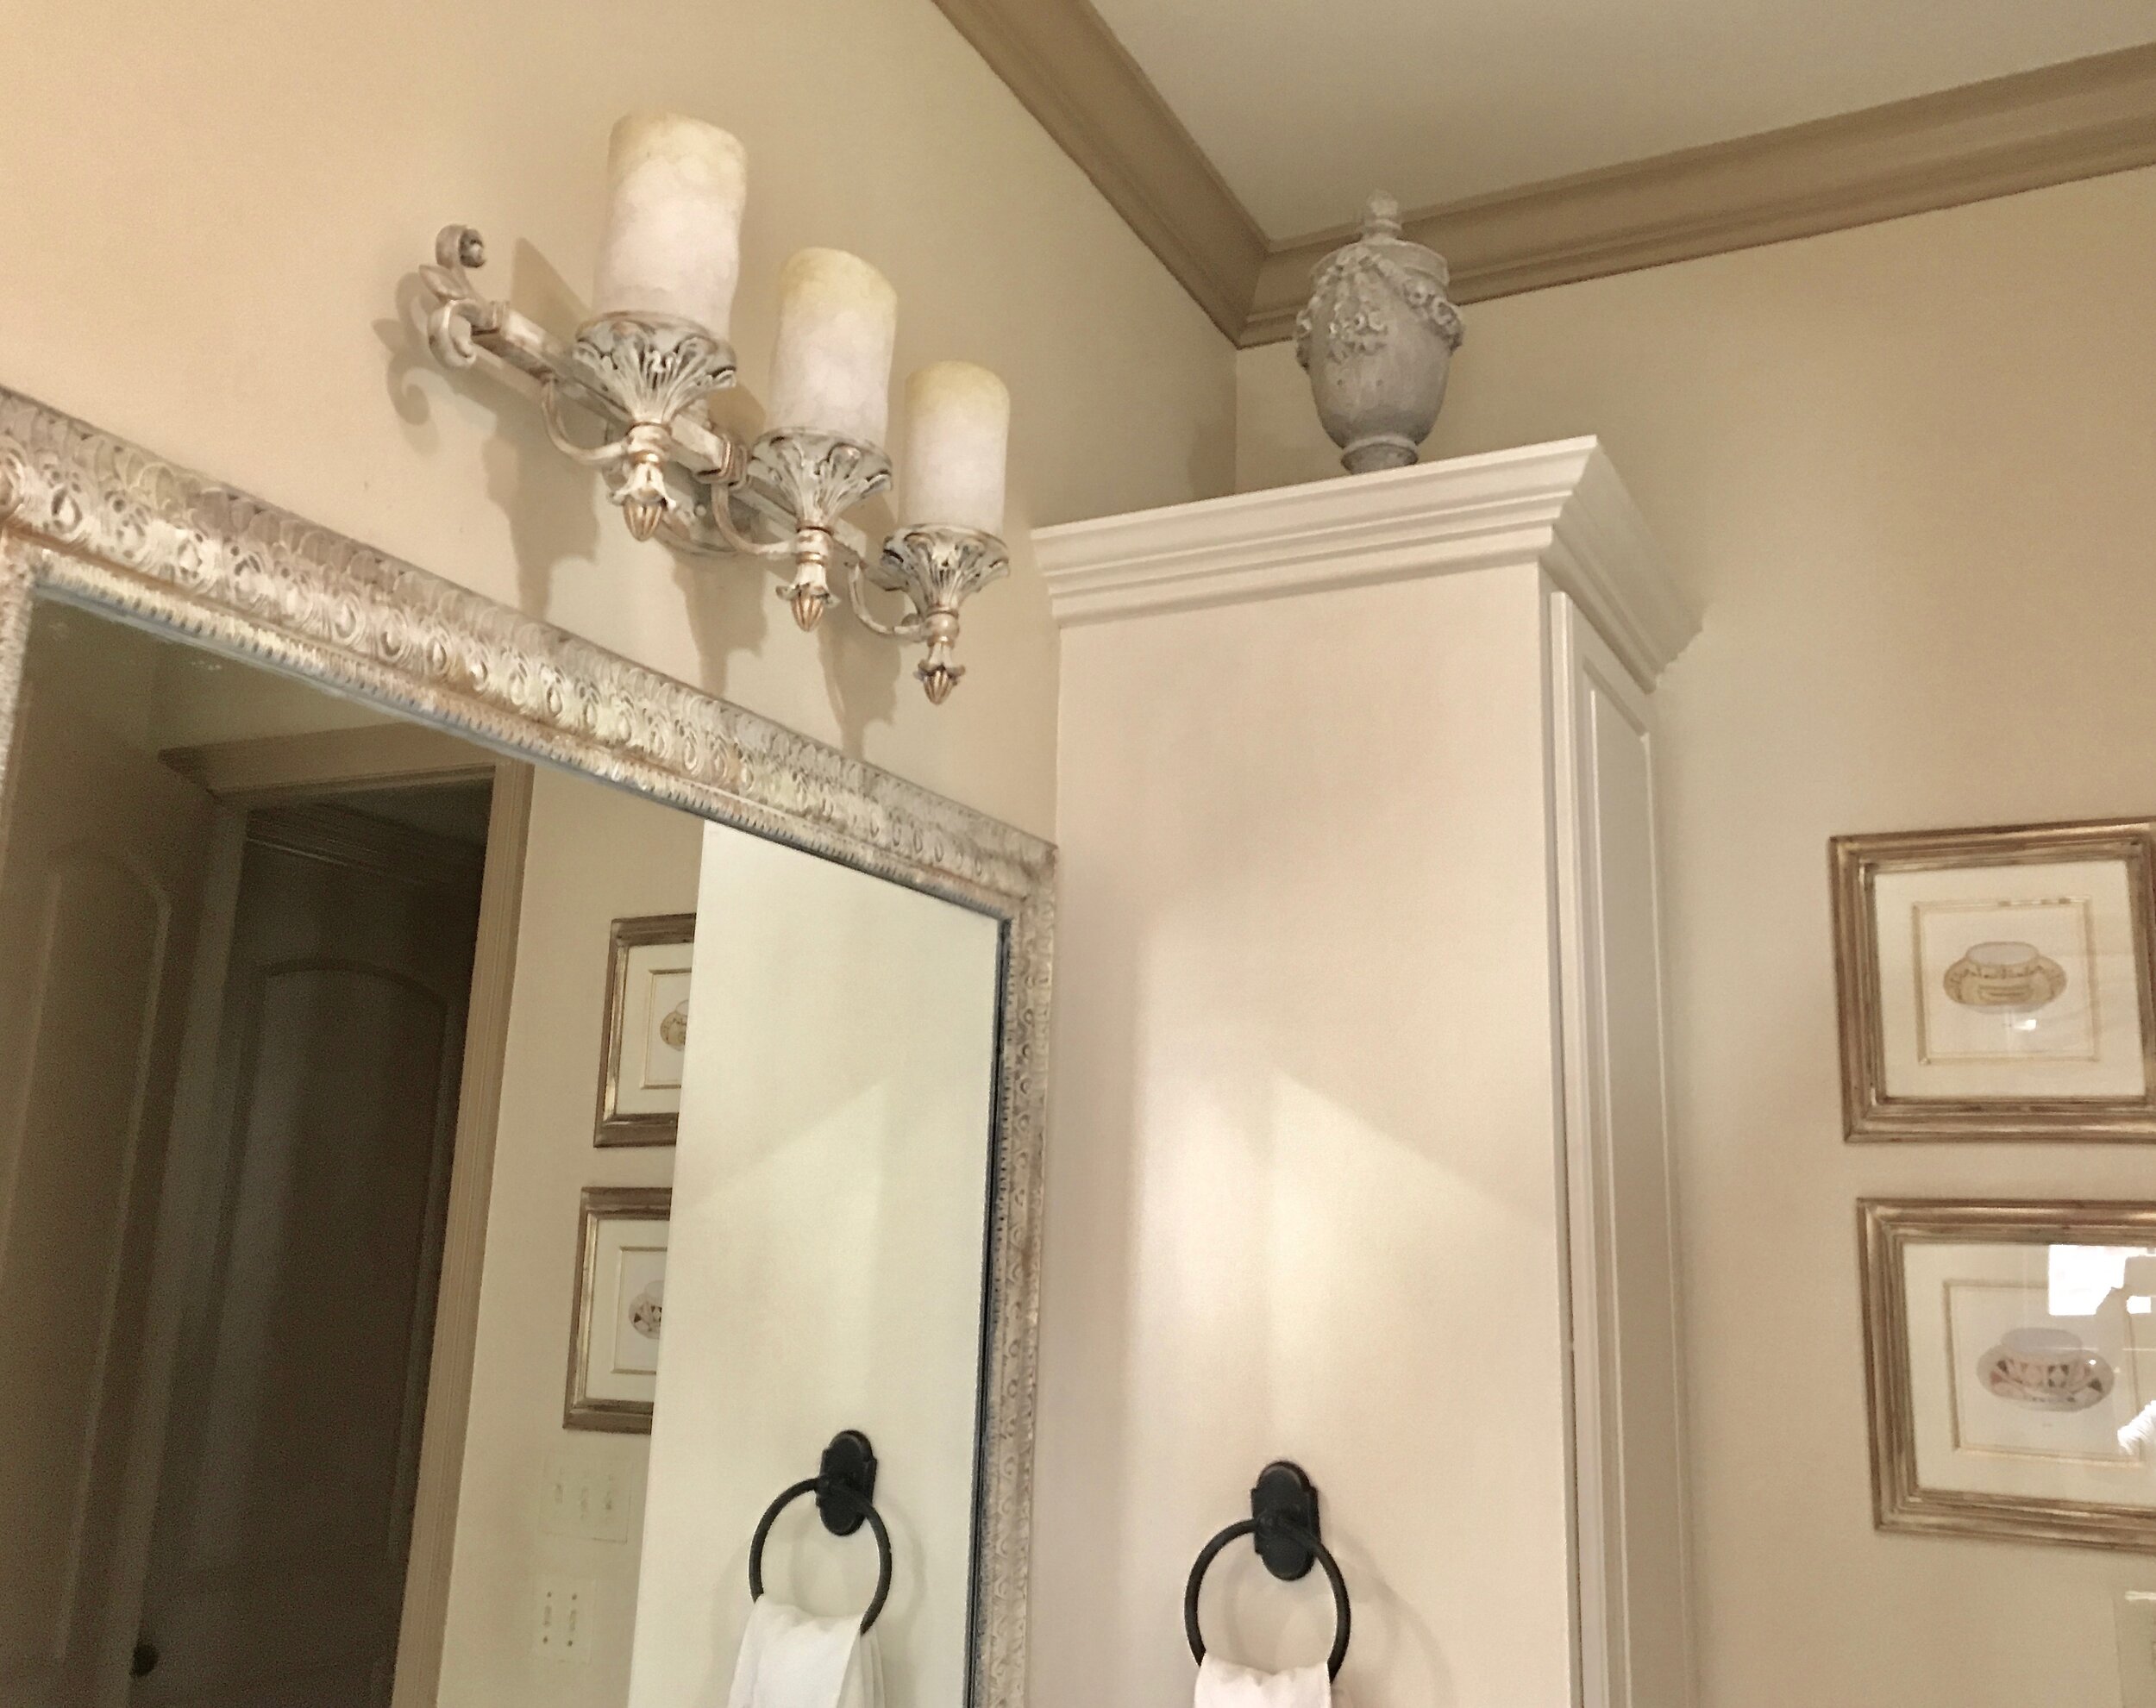
Photo #1: All the mirrors in the house were very nice but dark-toned when we purchased our home. The previous owners had a beautiful decor but I wanted a lighter look. Photos #2 - Photo #6: Once again, I layered various shades of off-white and beige. For this mirror, I added touches of gold to match my Minton tea cup prints with gilded frames. A bit of sanding and some dark wax brought out the beautiful carving. The cabinets and walls were repainted lighter but we kept the original molding and baseboard color. I kept the existing wrought iron light fixture but repainted it to match the mirror. Watch for post on how to transform light fixtures.
Guest Bedroom #1 Mirror Transformation
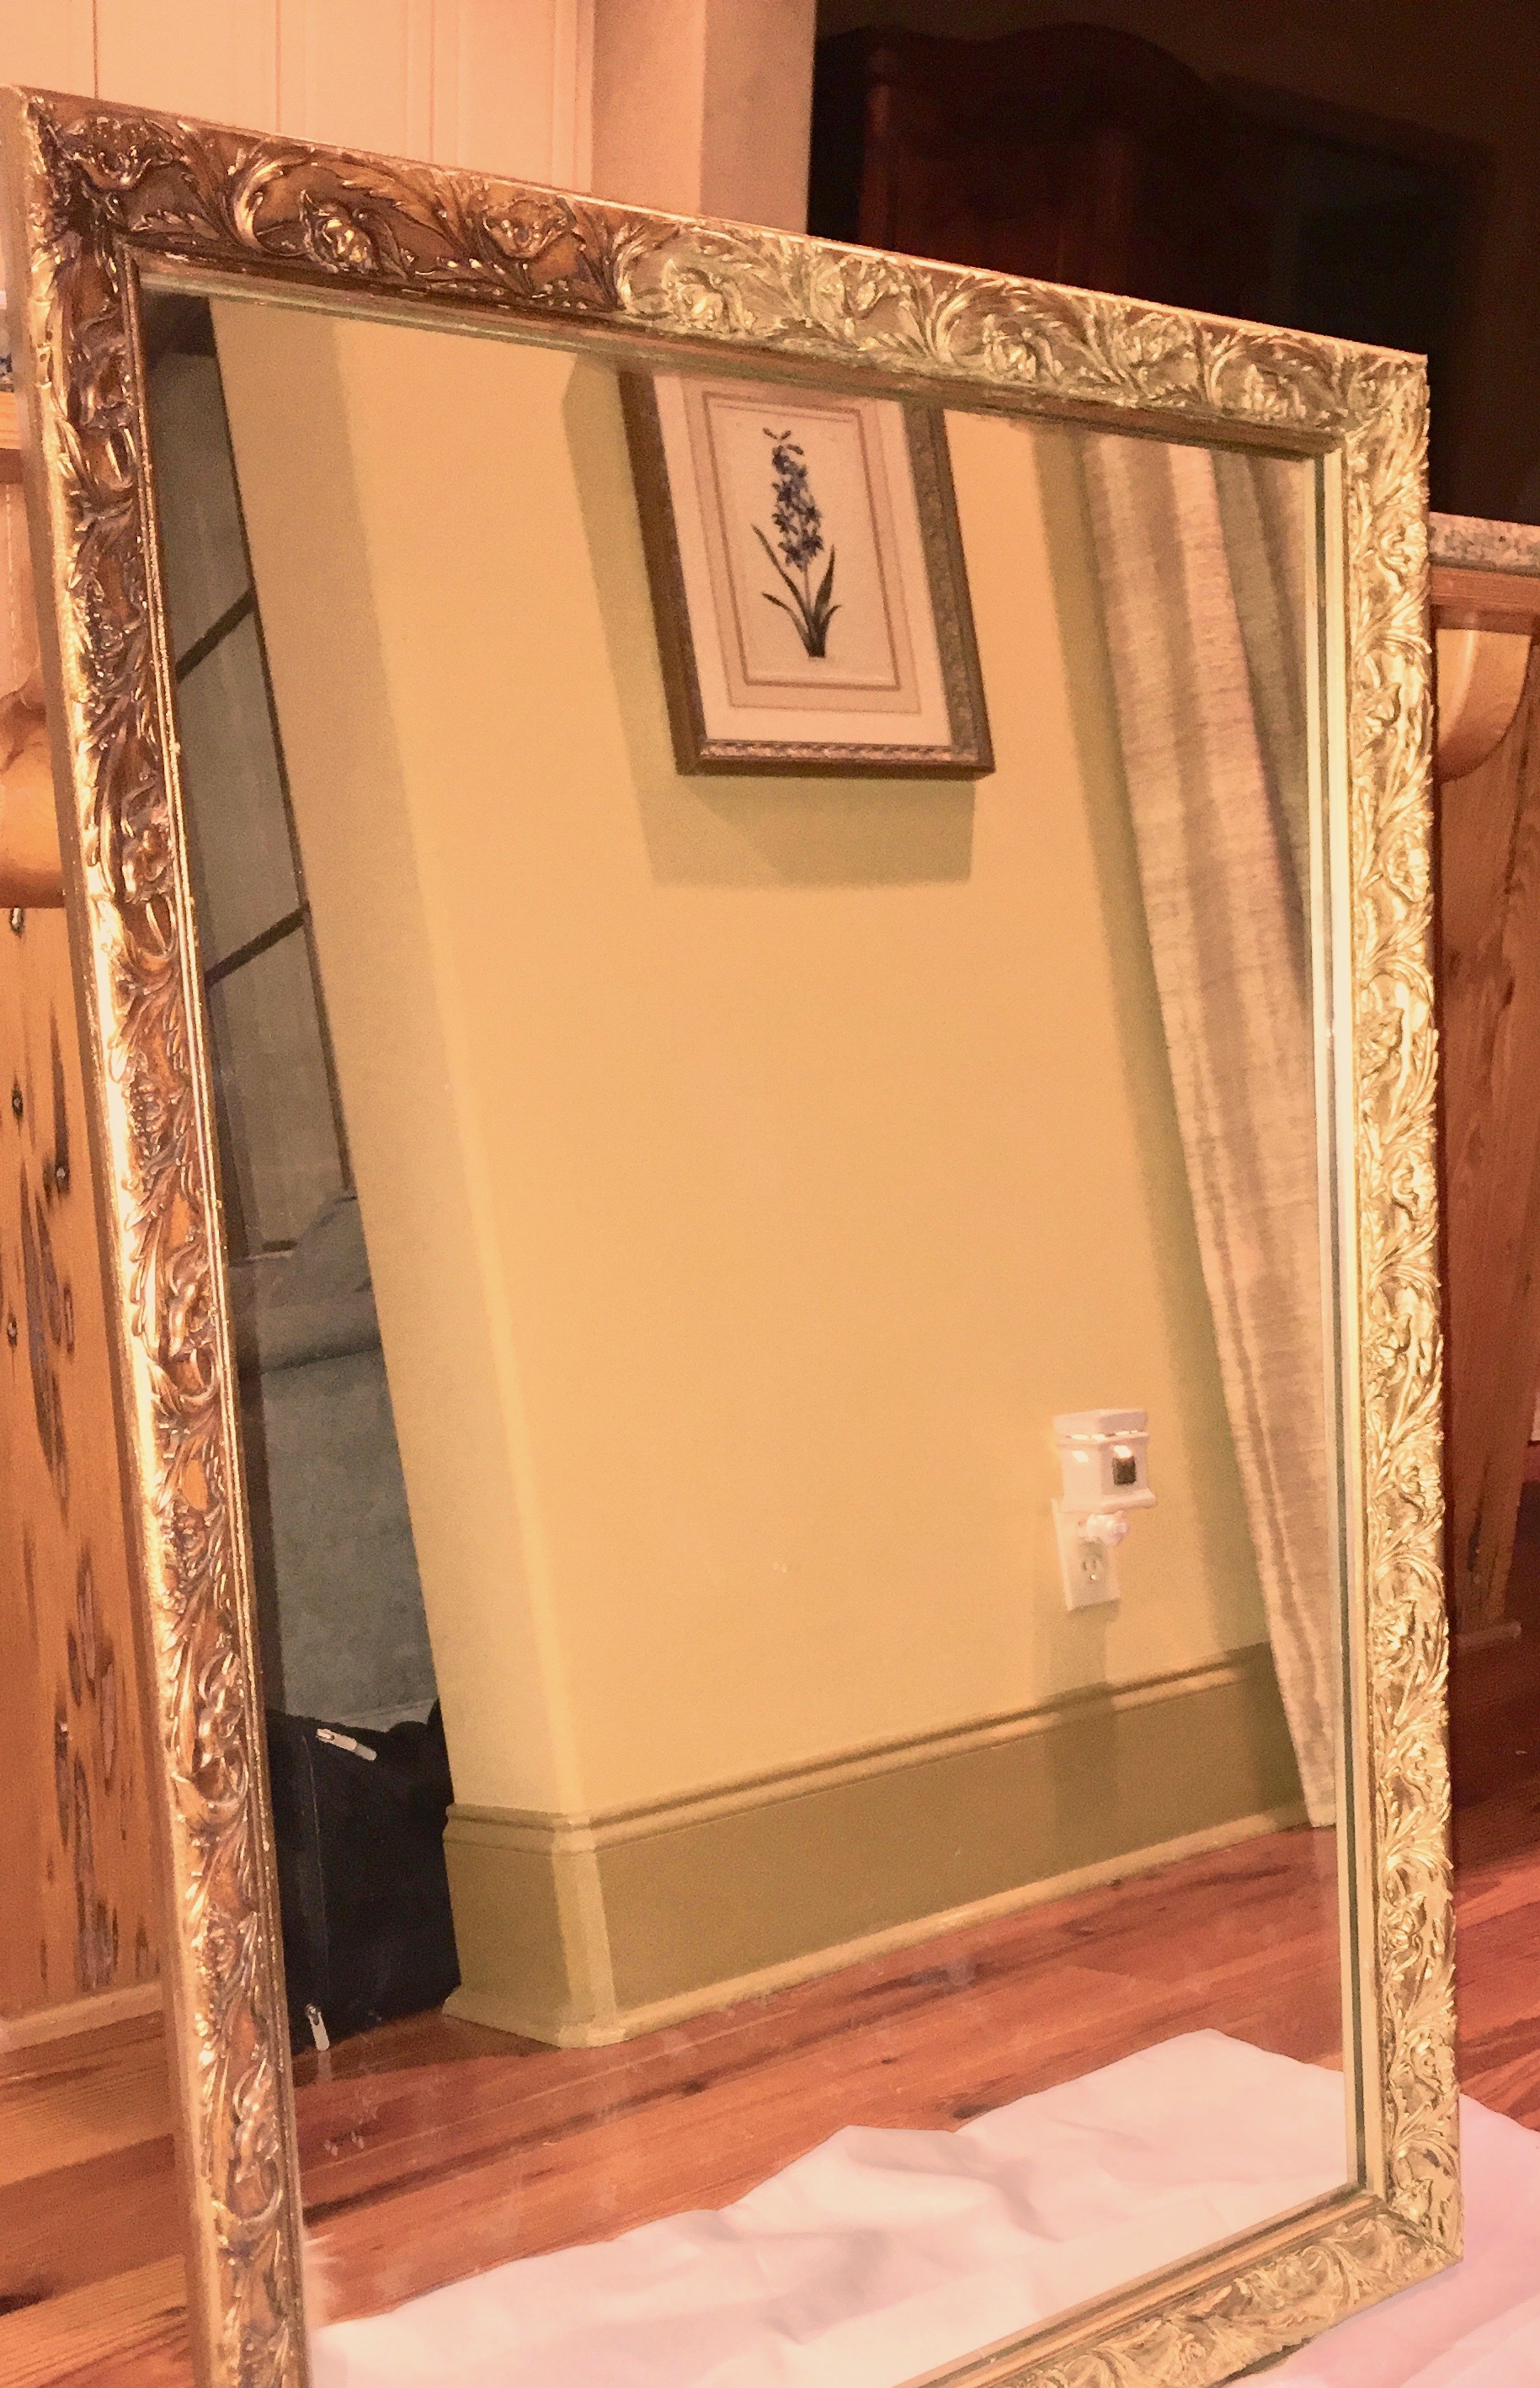
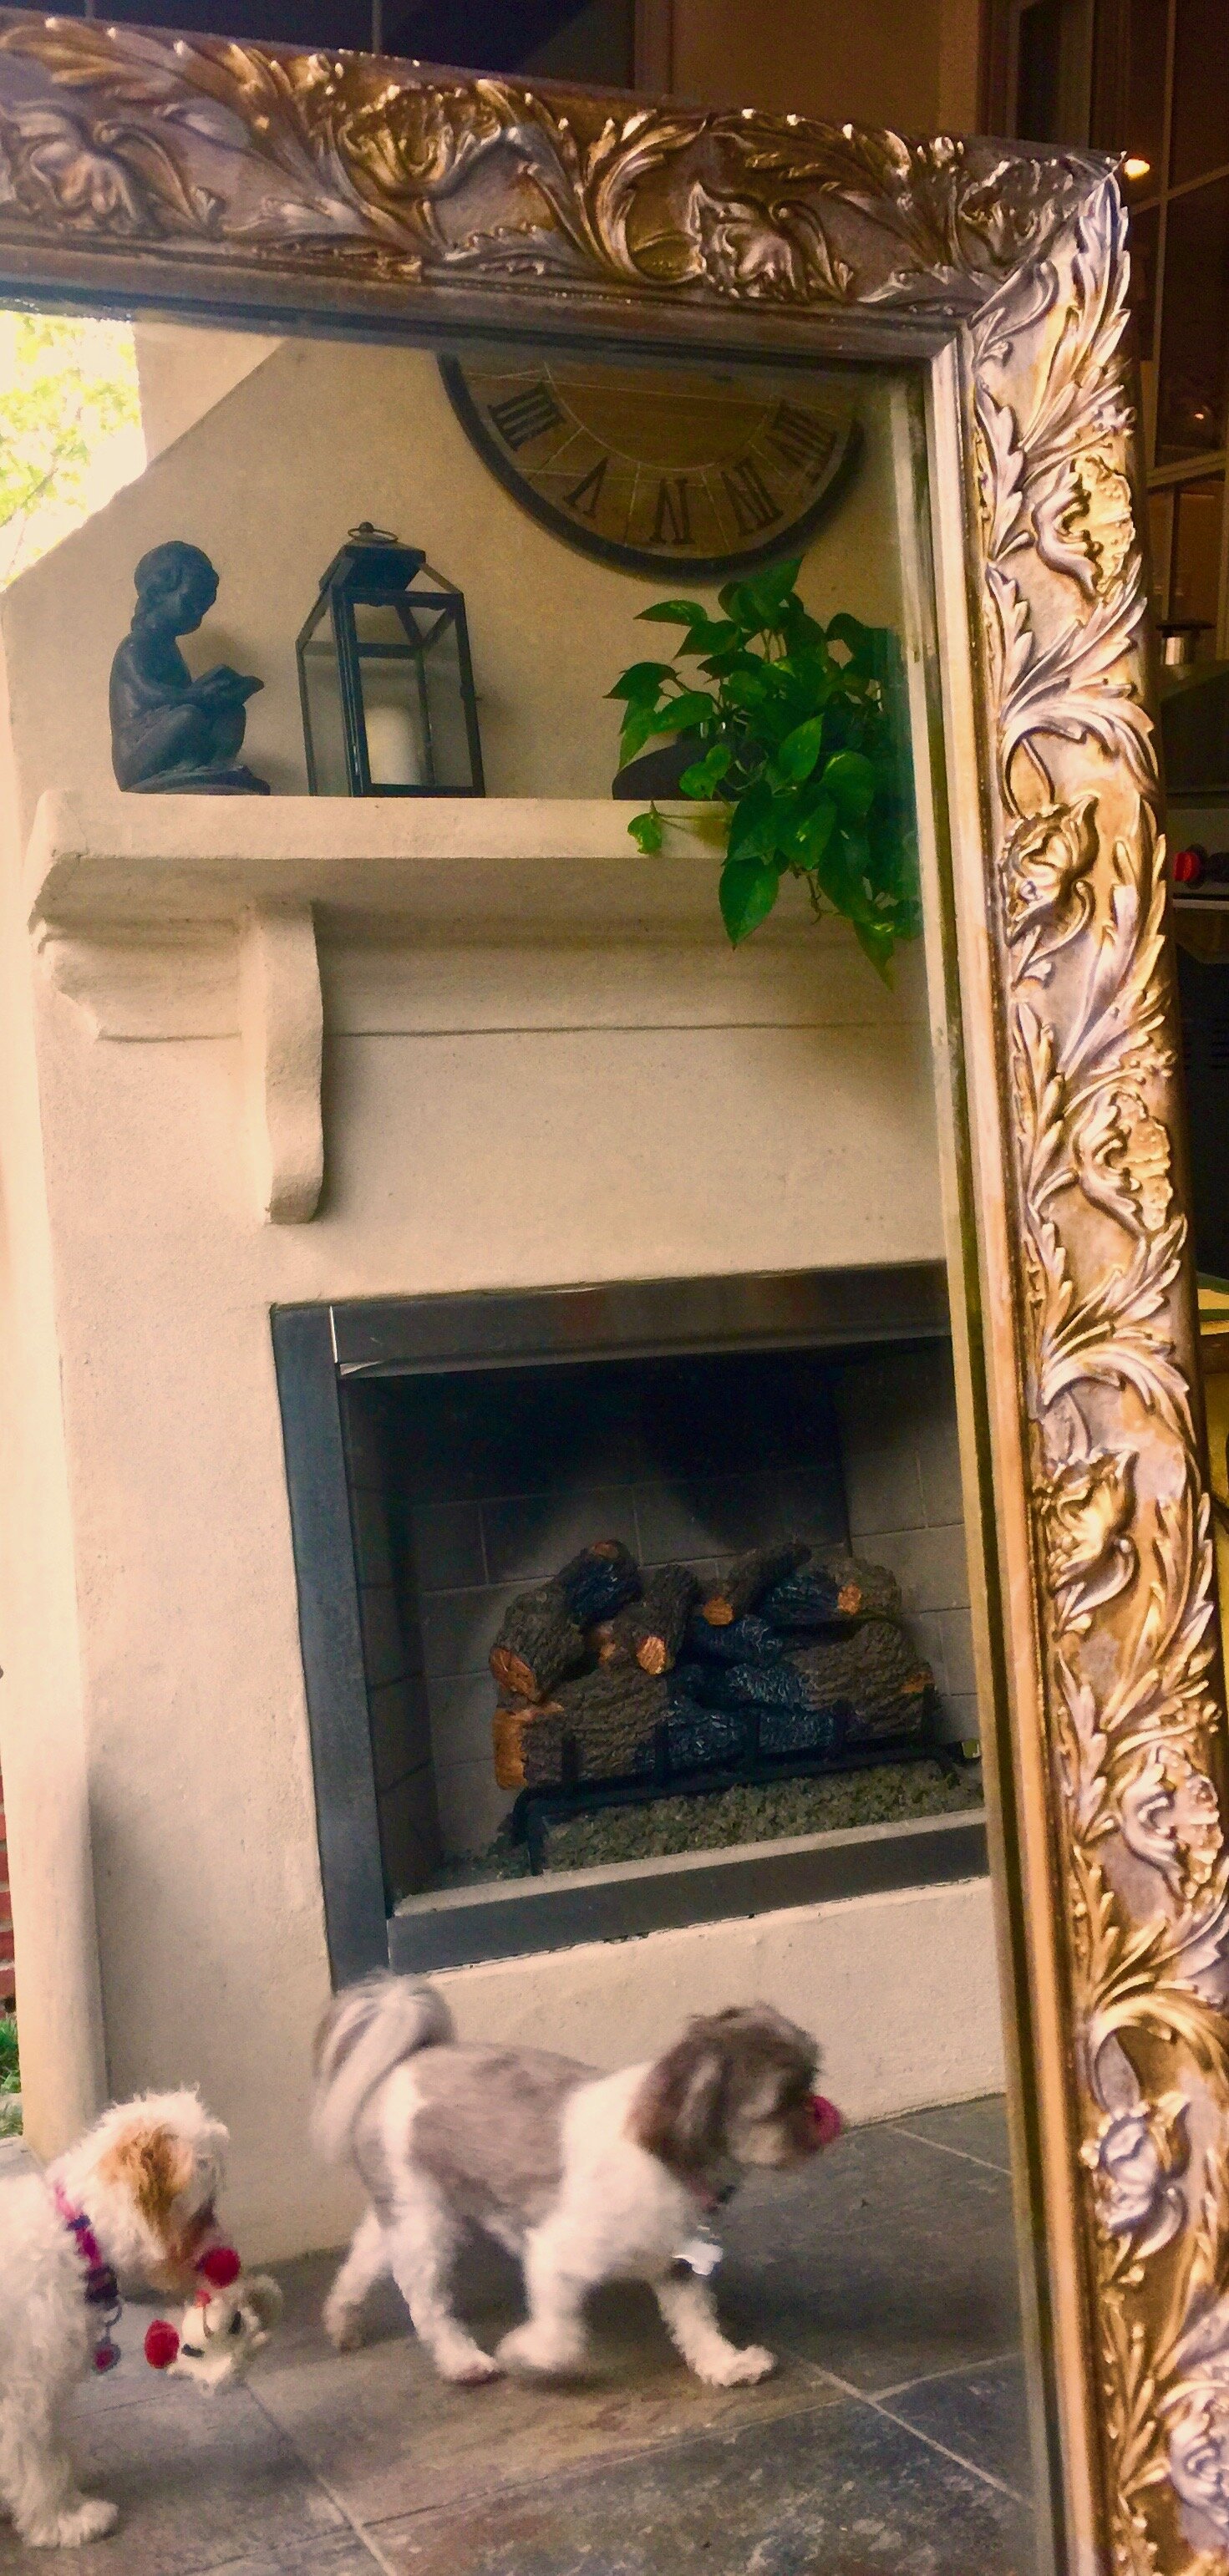
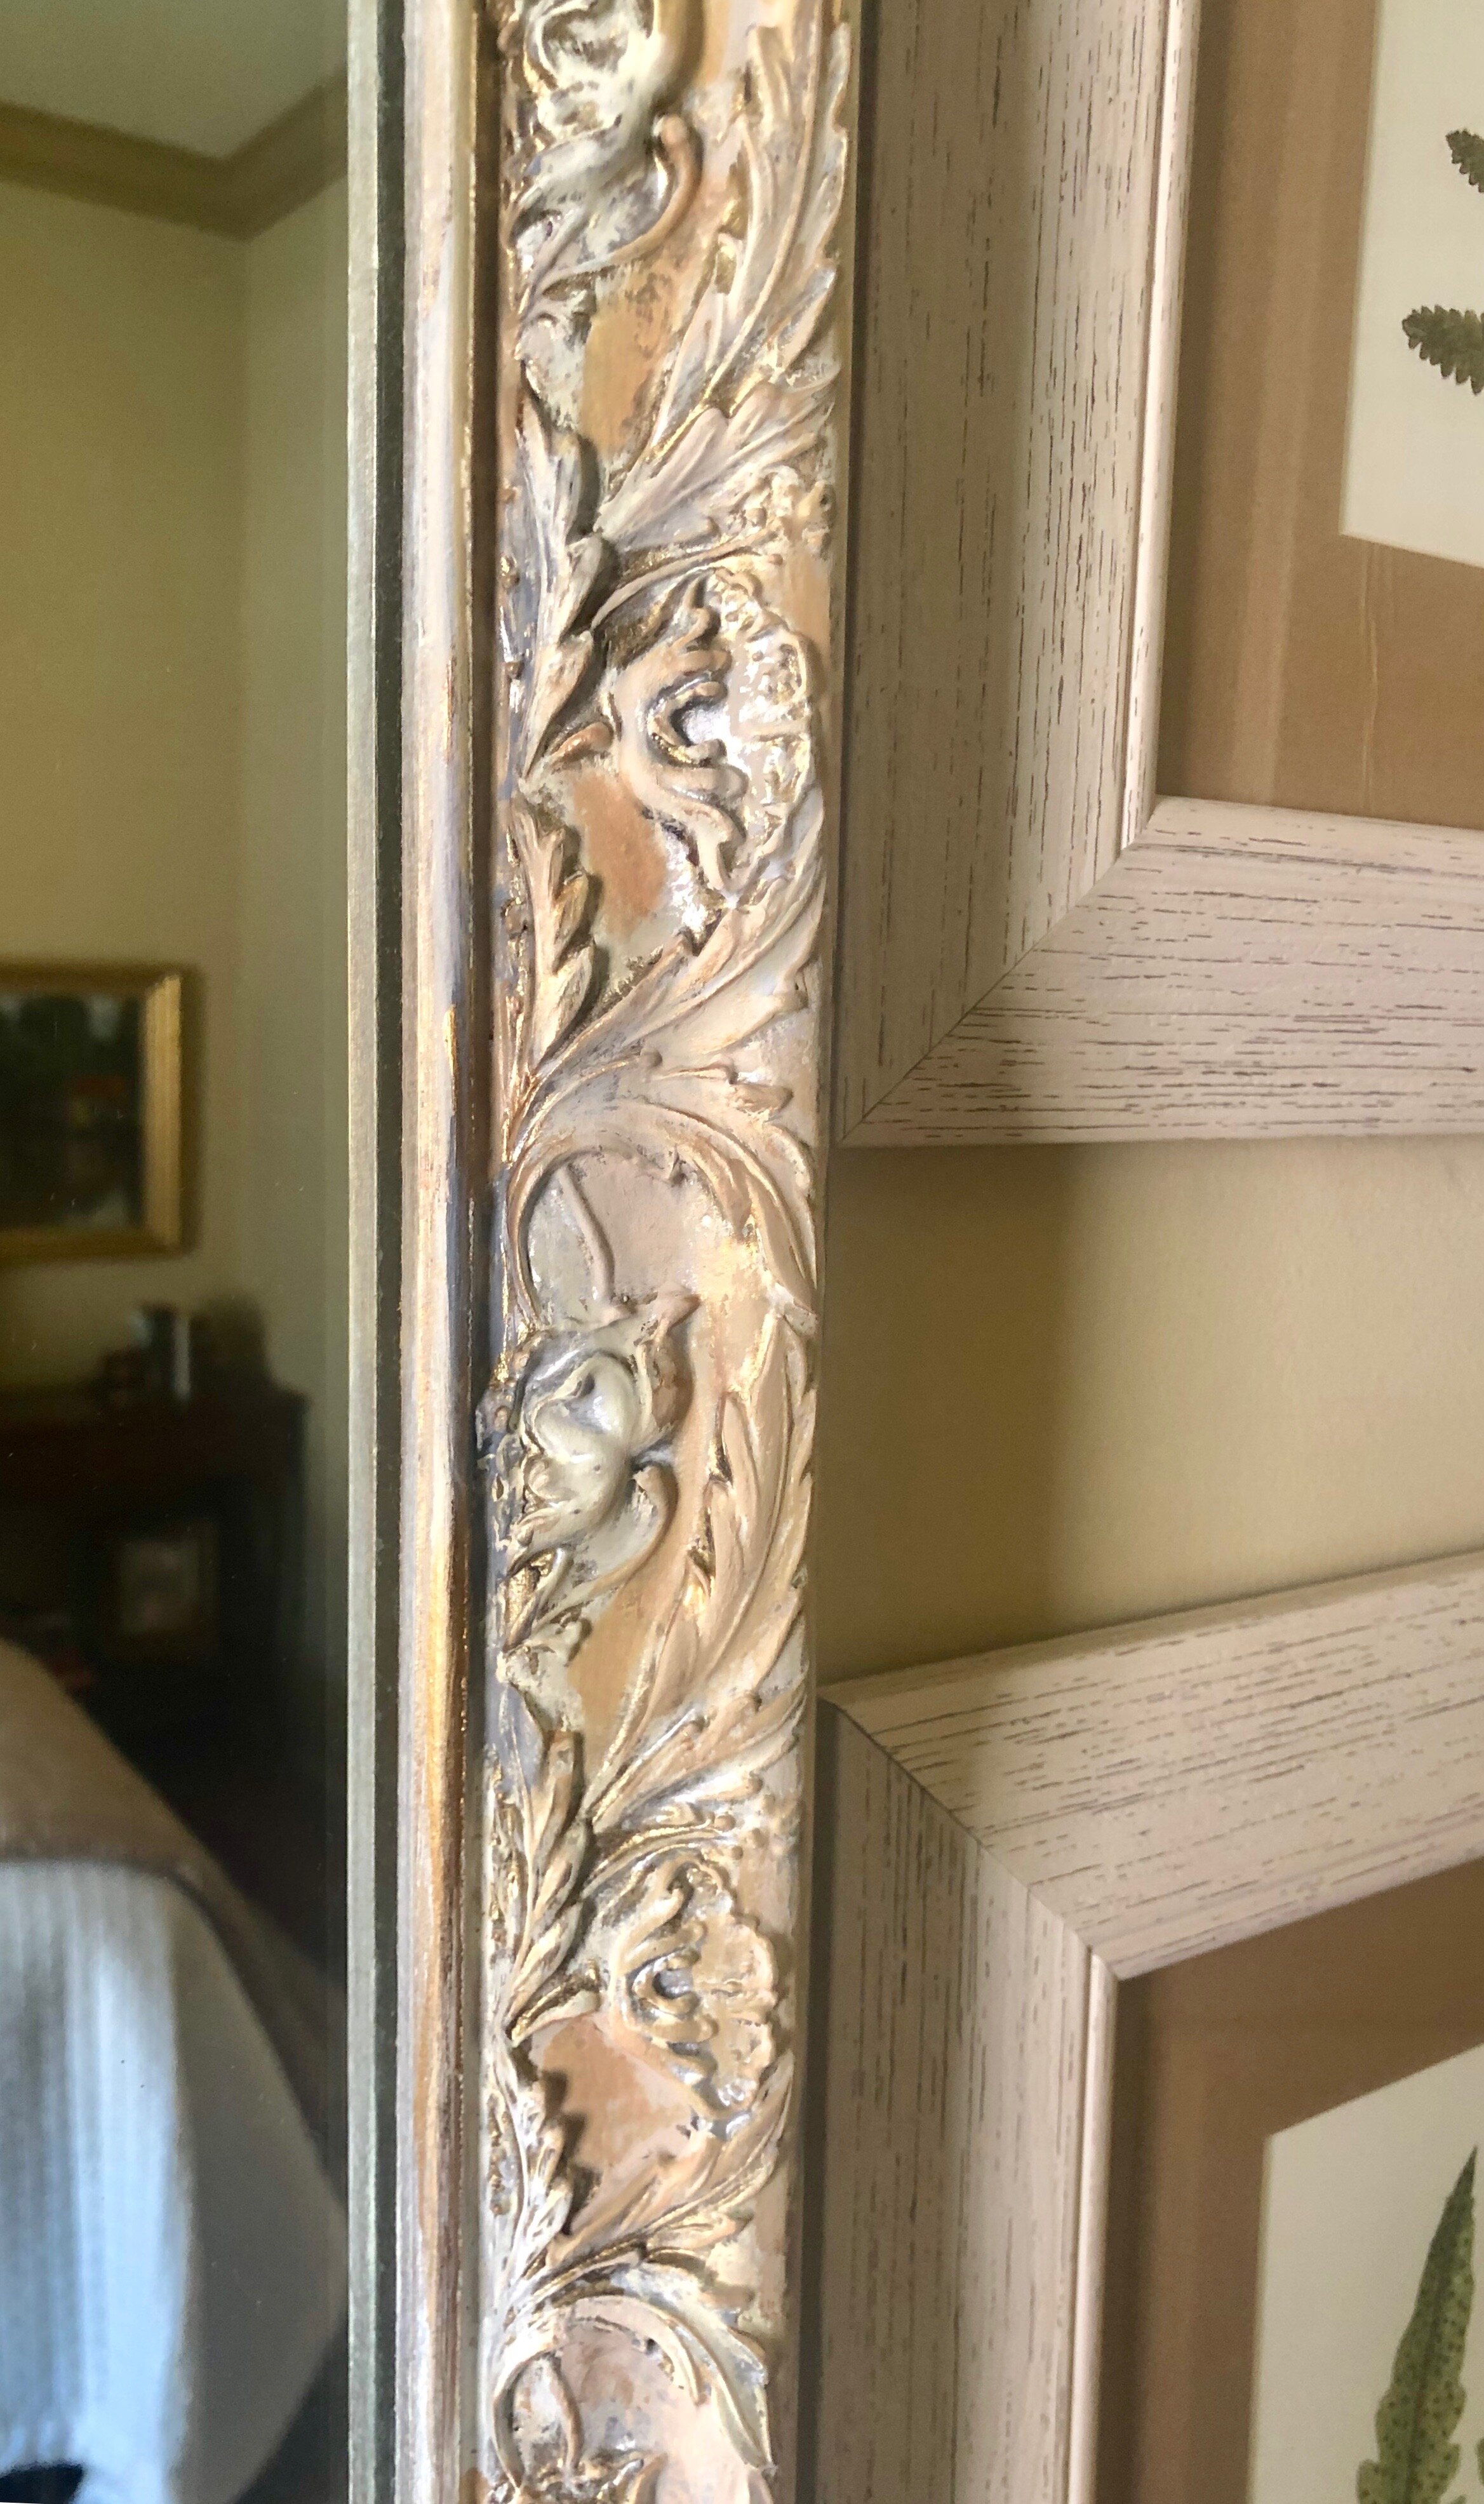
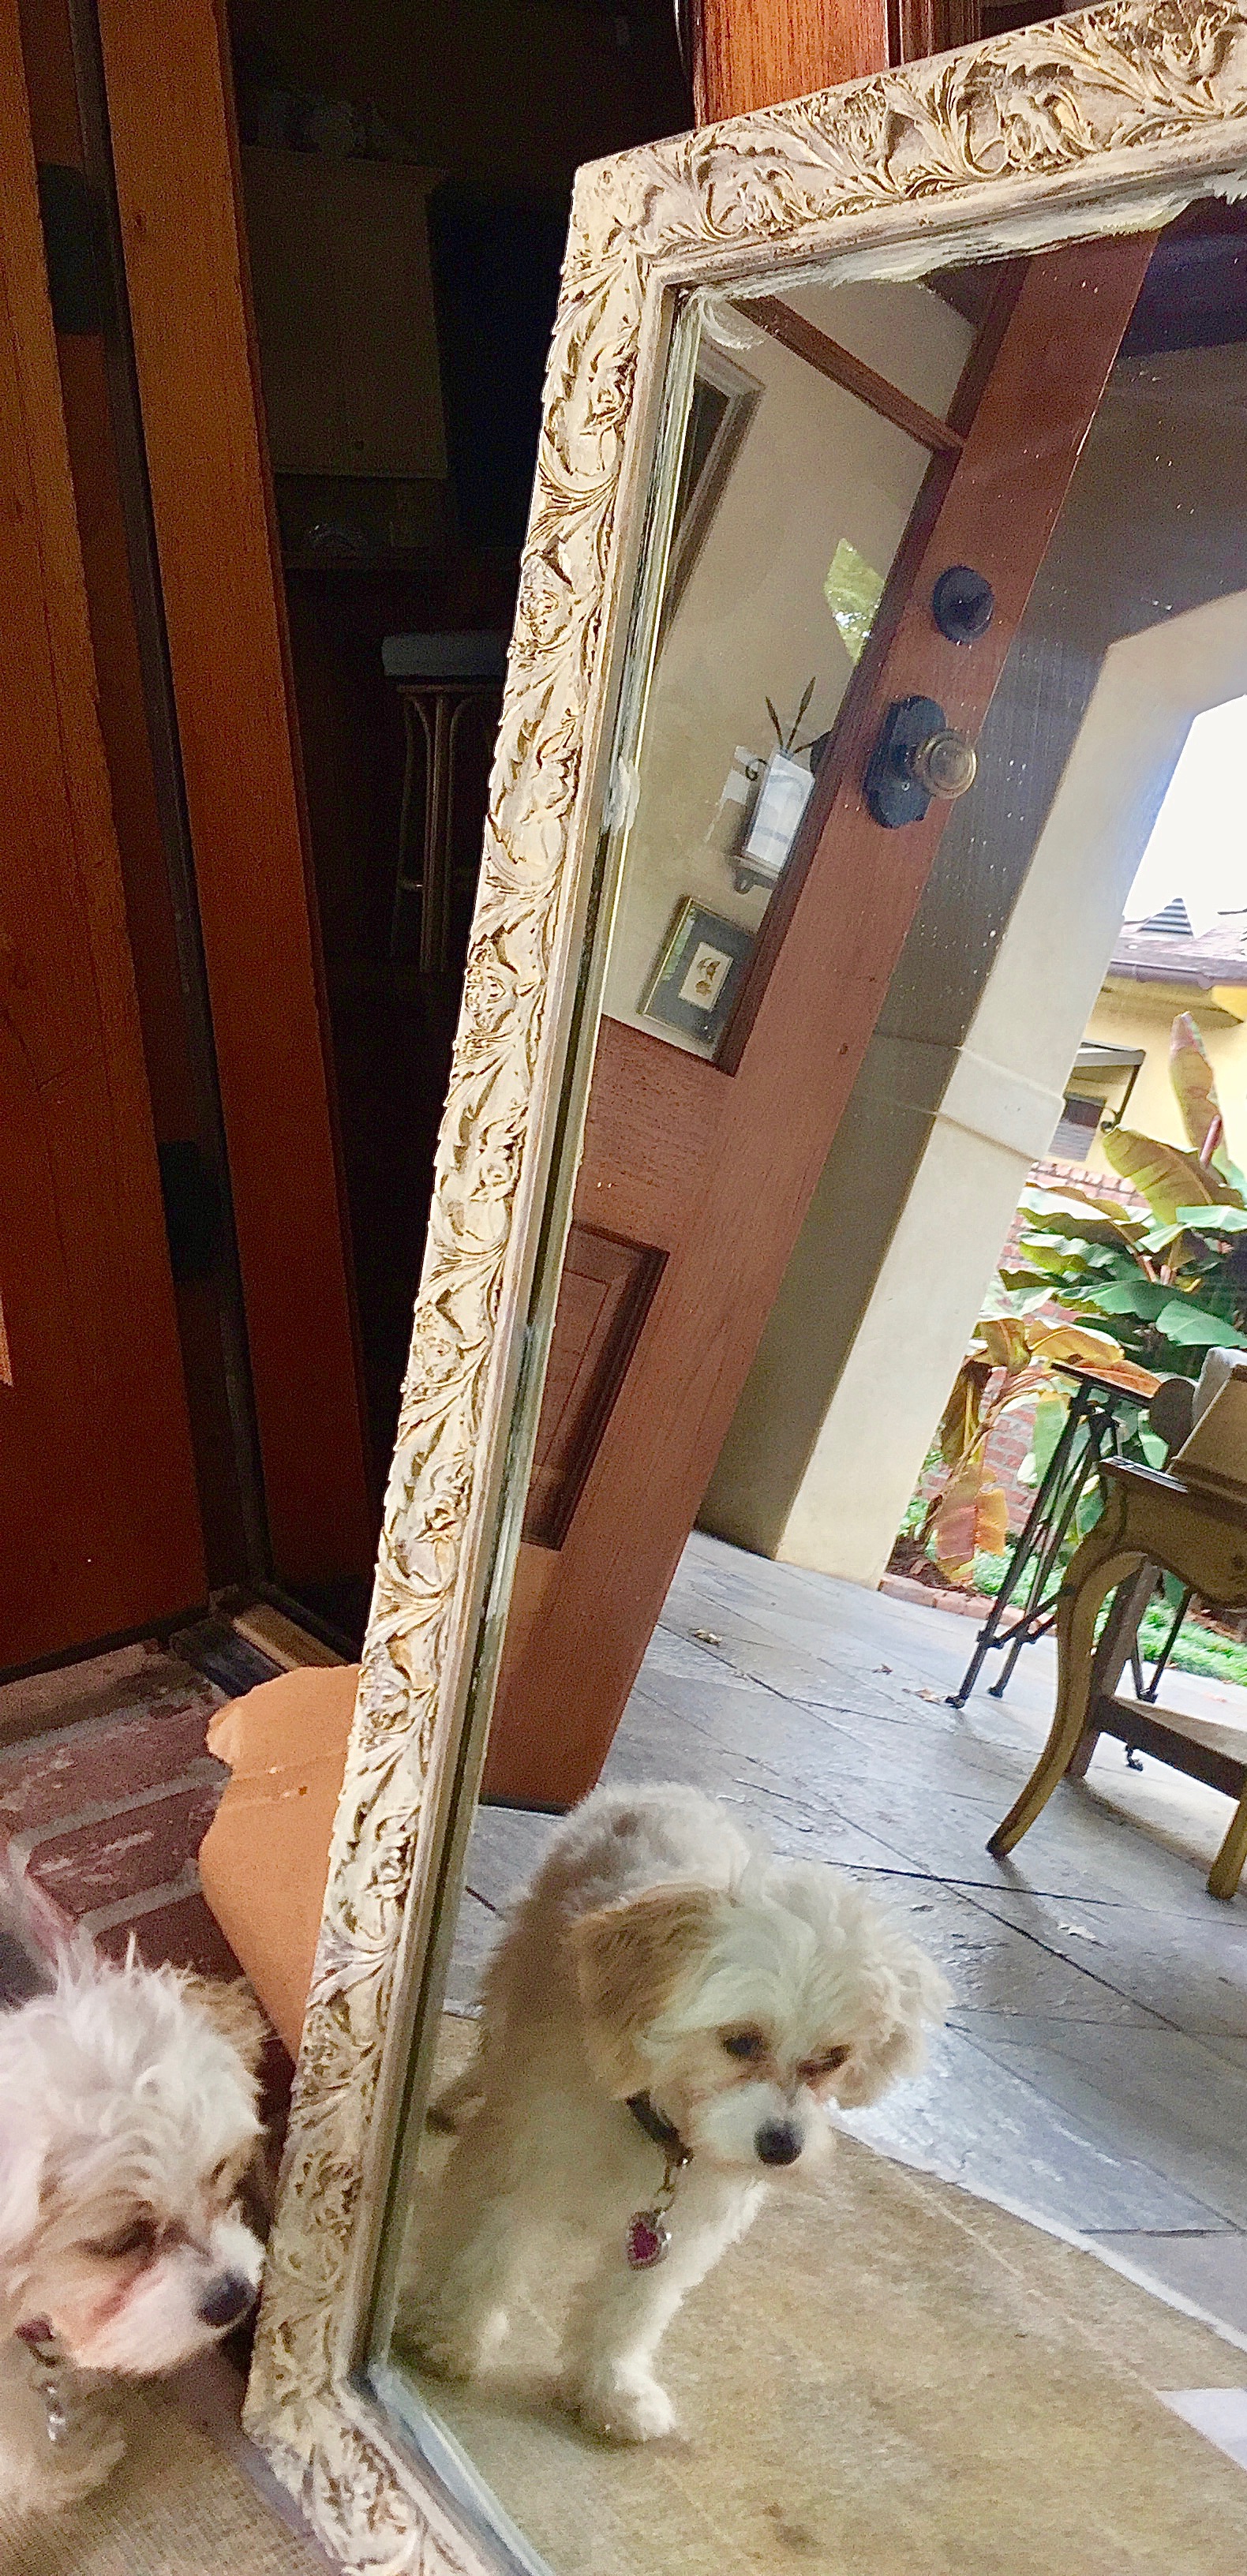
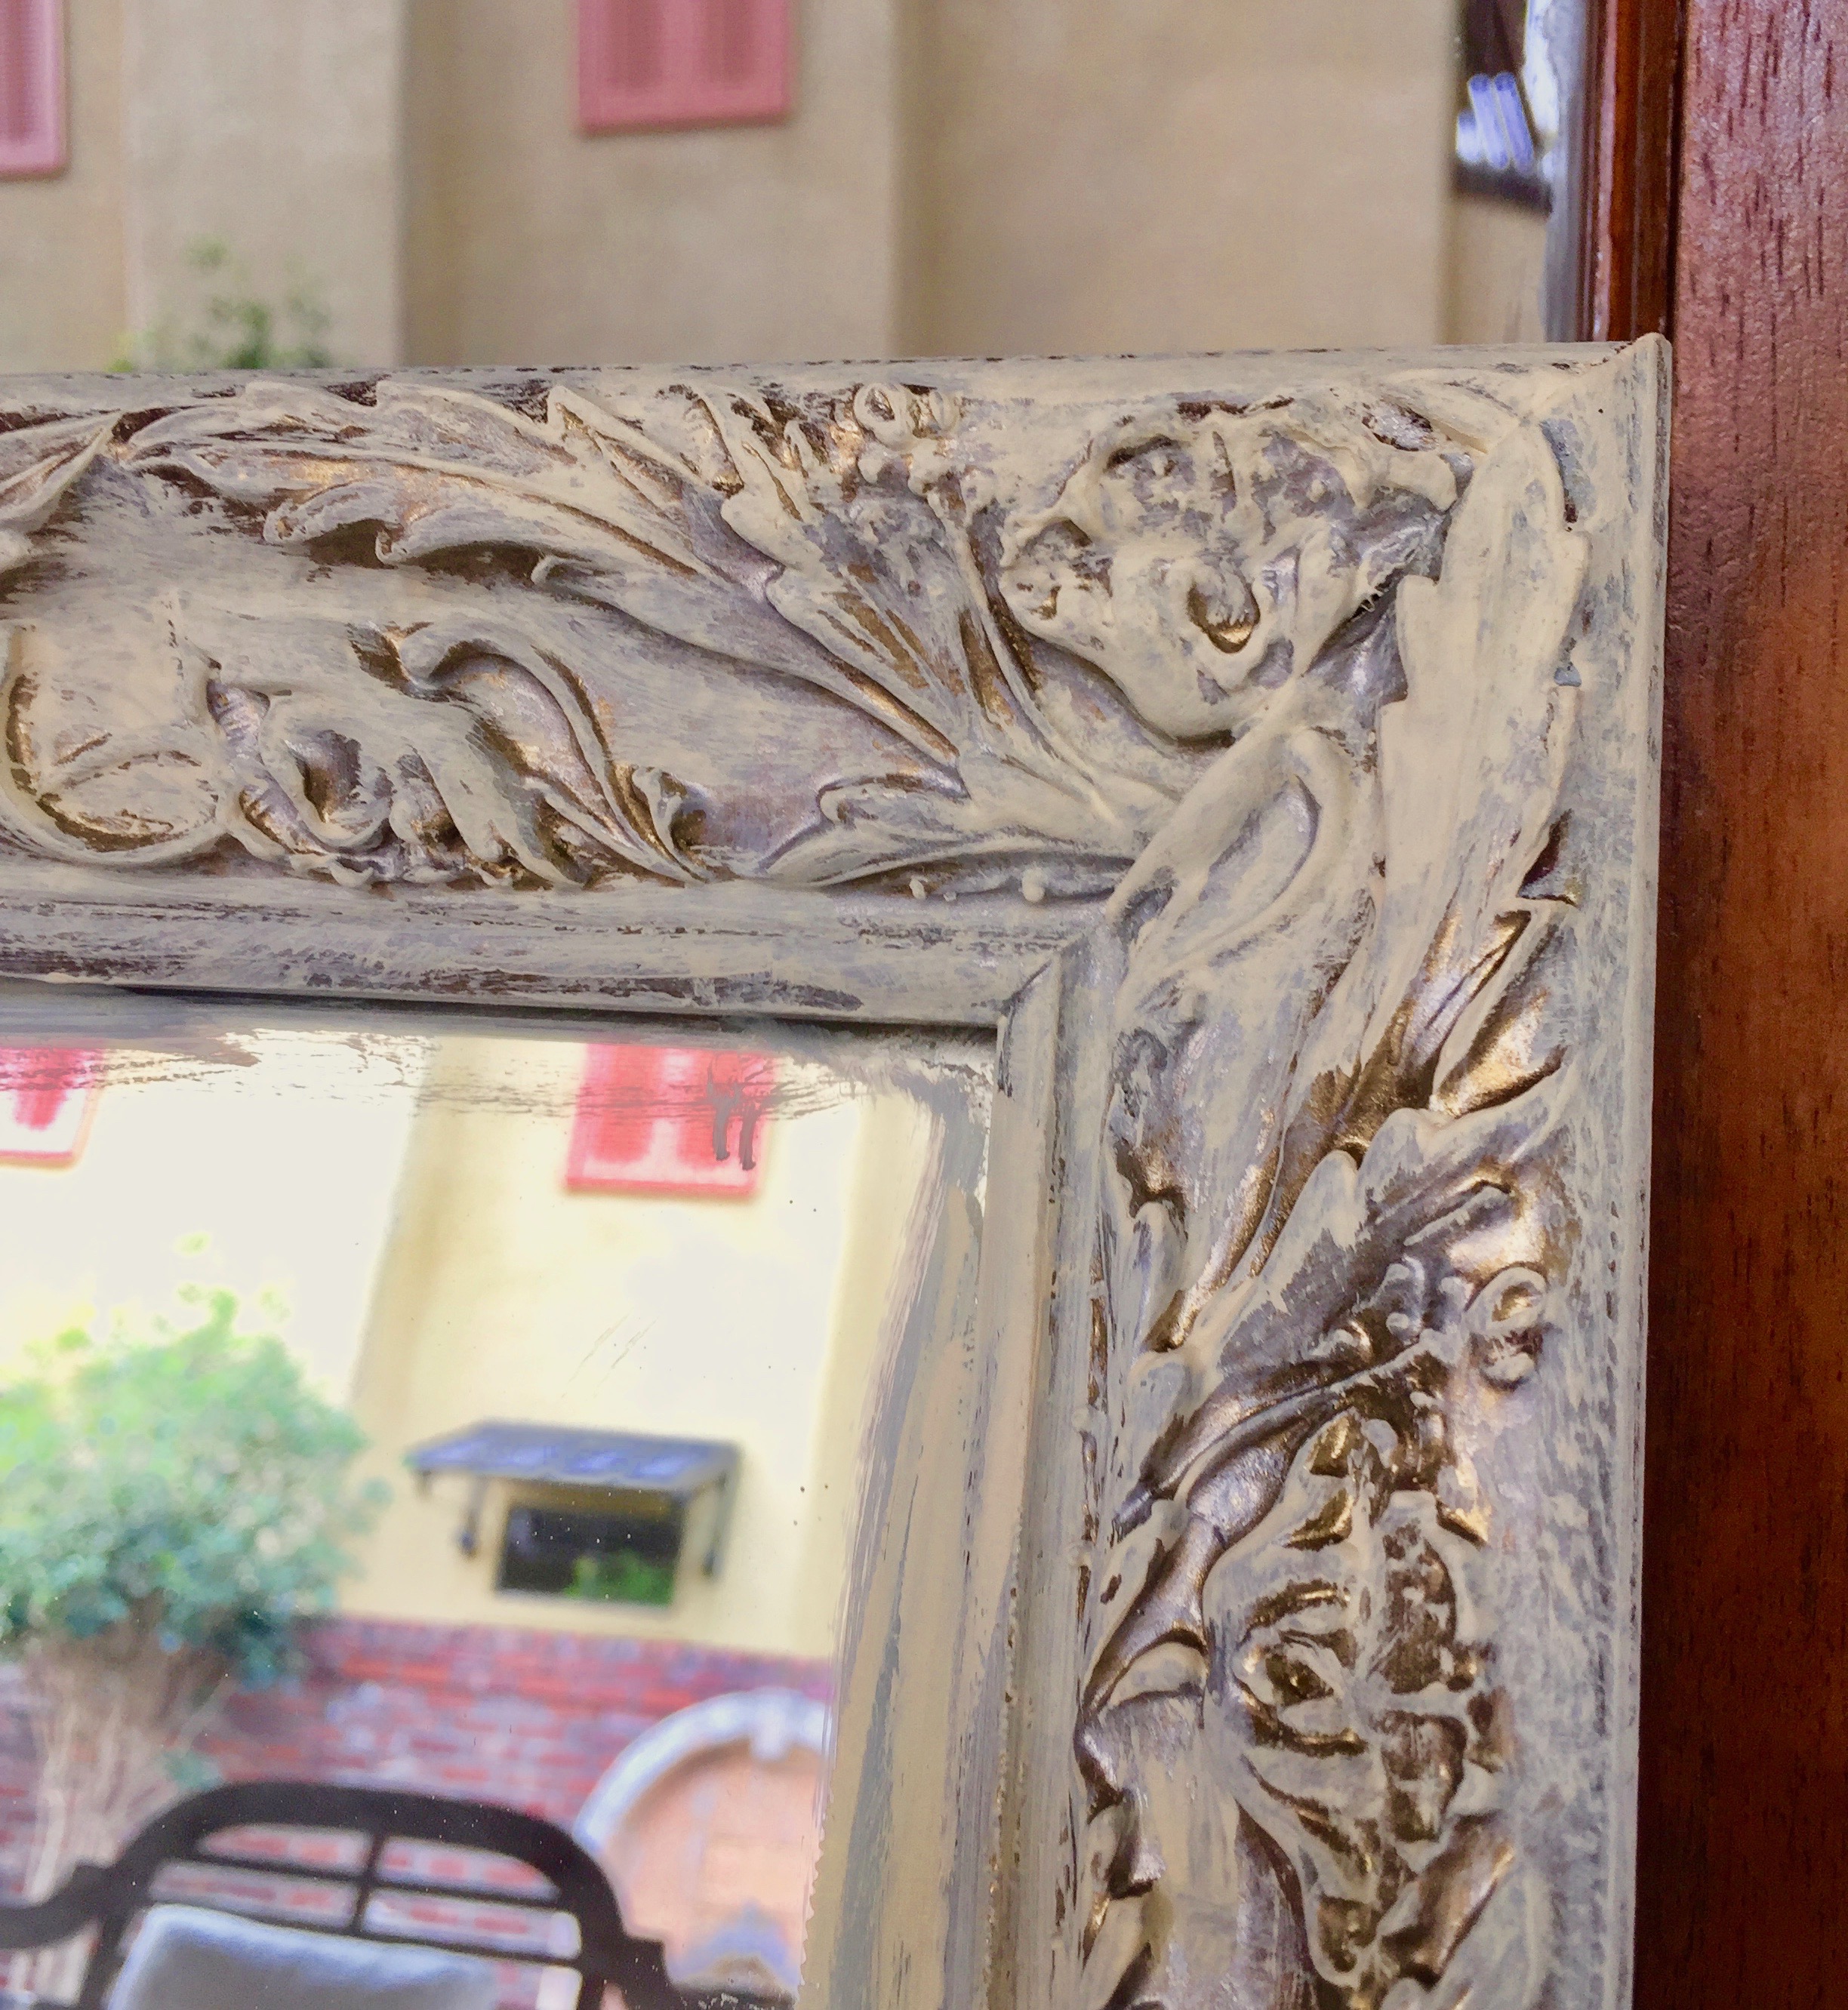

Photo #1: For one of the guest rooms I took a second-hand bronze hued mirror and painted it with a base coat of gold. Photos #2 - Photo #6: I washed over the gold with some silver and various tones of off-white and beige paints. The next step was sanding commonly worn areas, like corners and edges, to give it a distressed, used look. Some dark wax gave the carving depth. Also shown: Painting supervisors Mala and Layla.
Master Bedroom Vanity Mirror Transformation
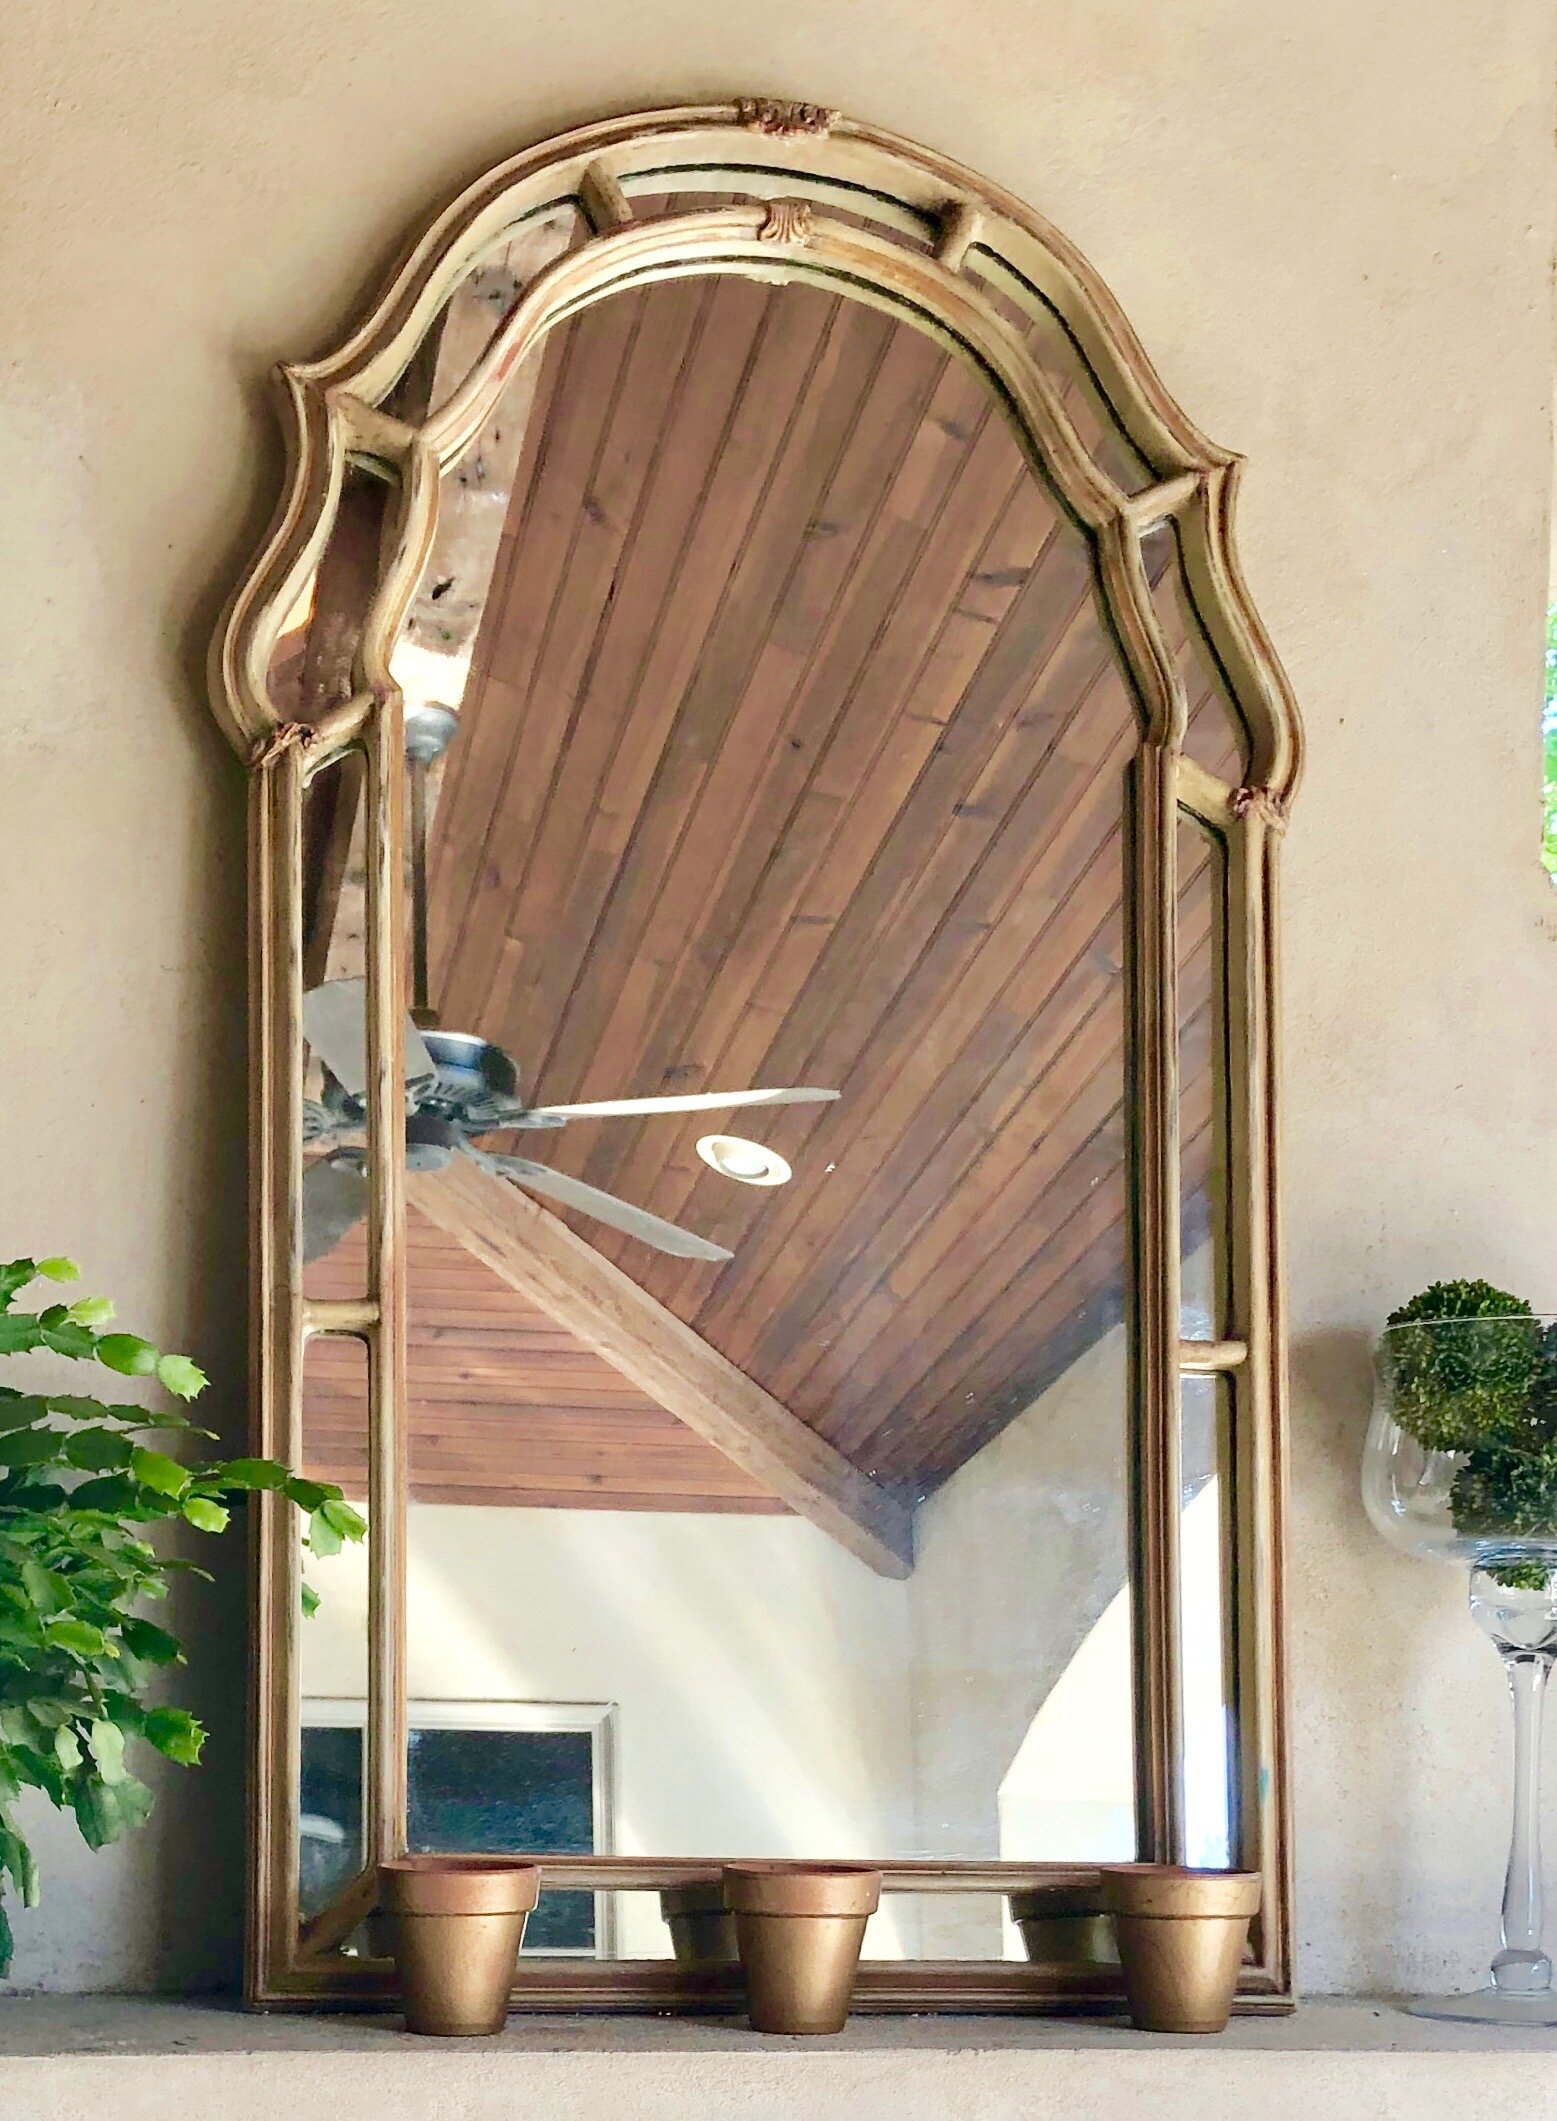
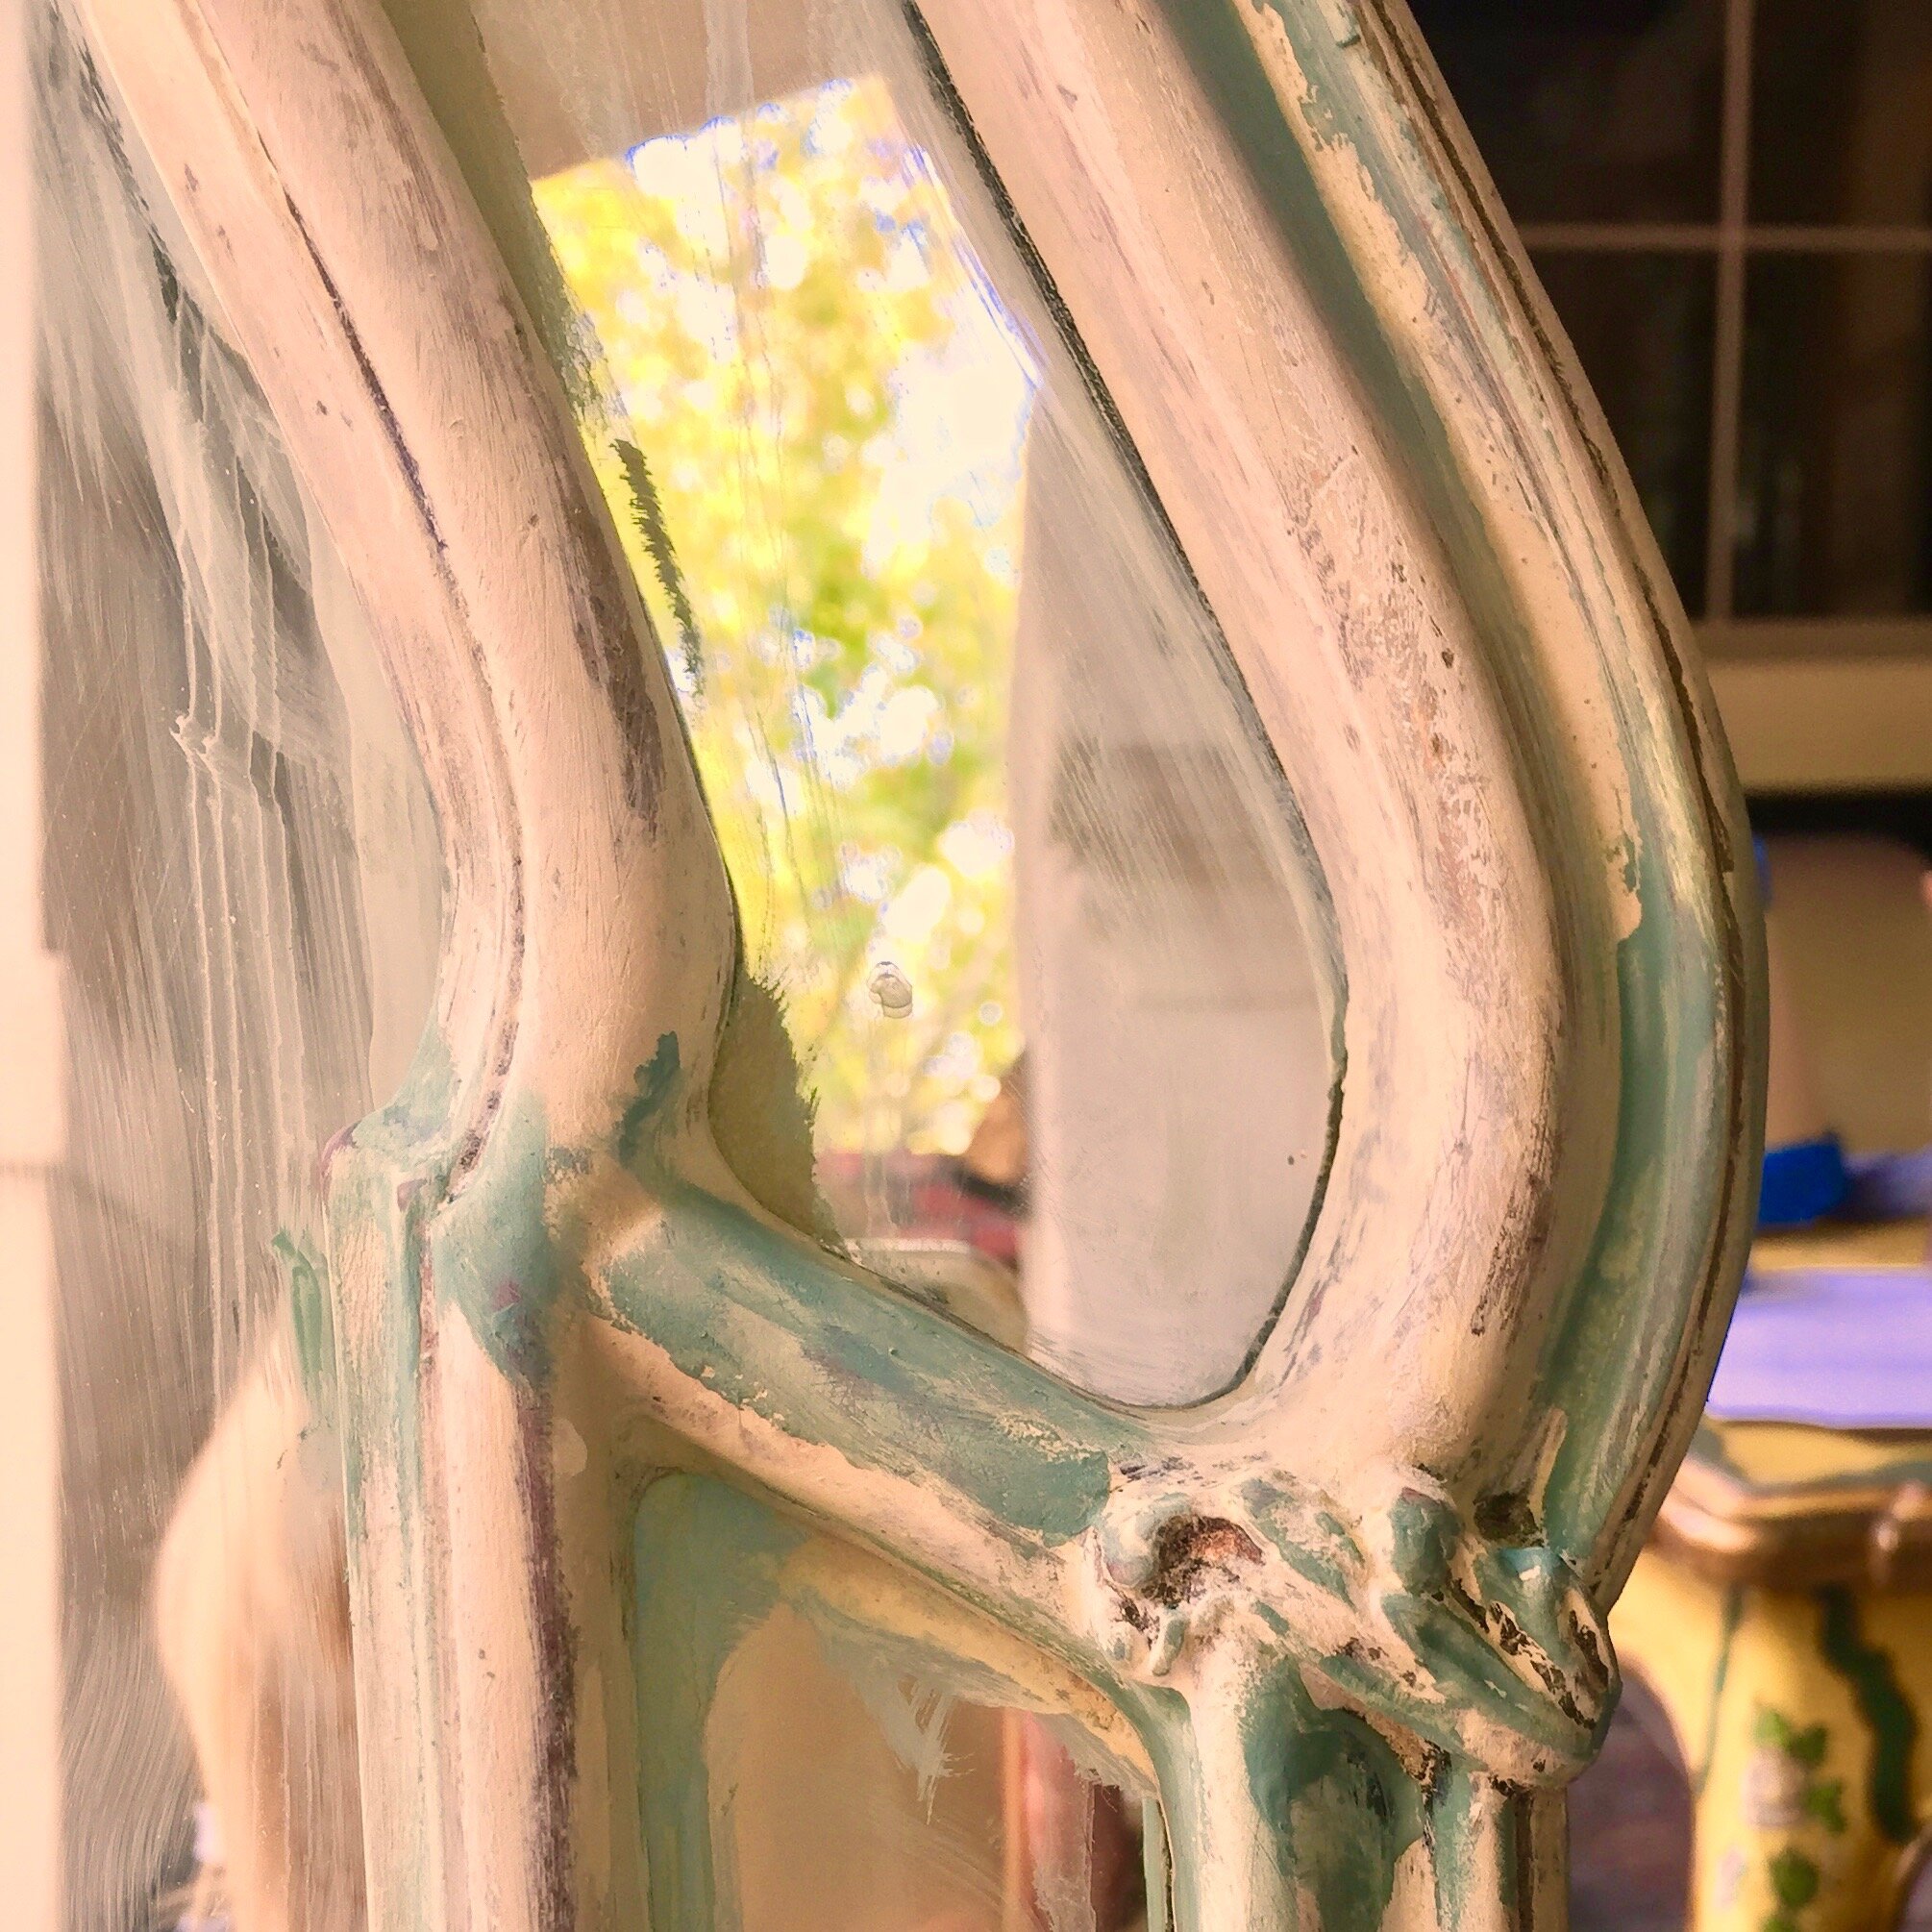

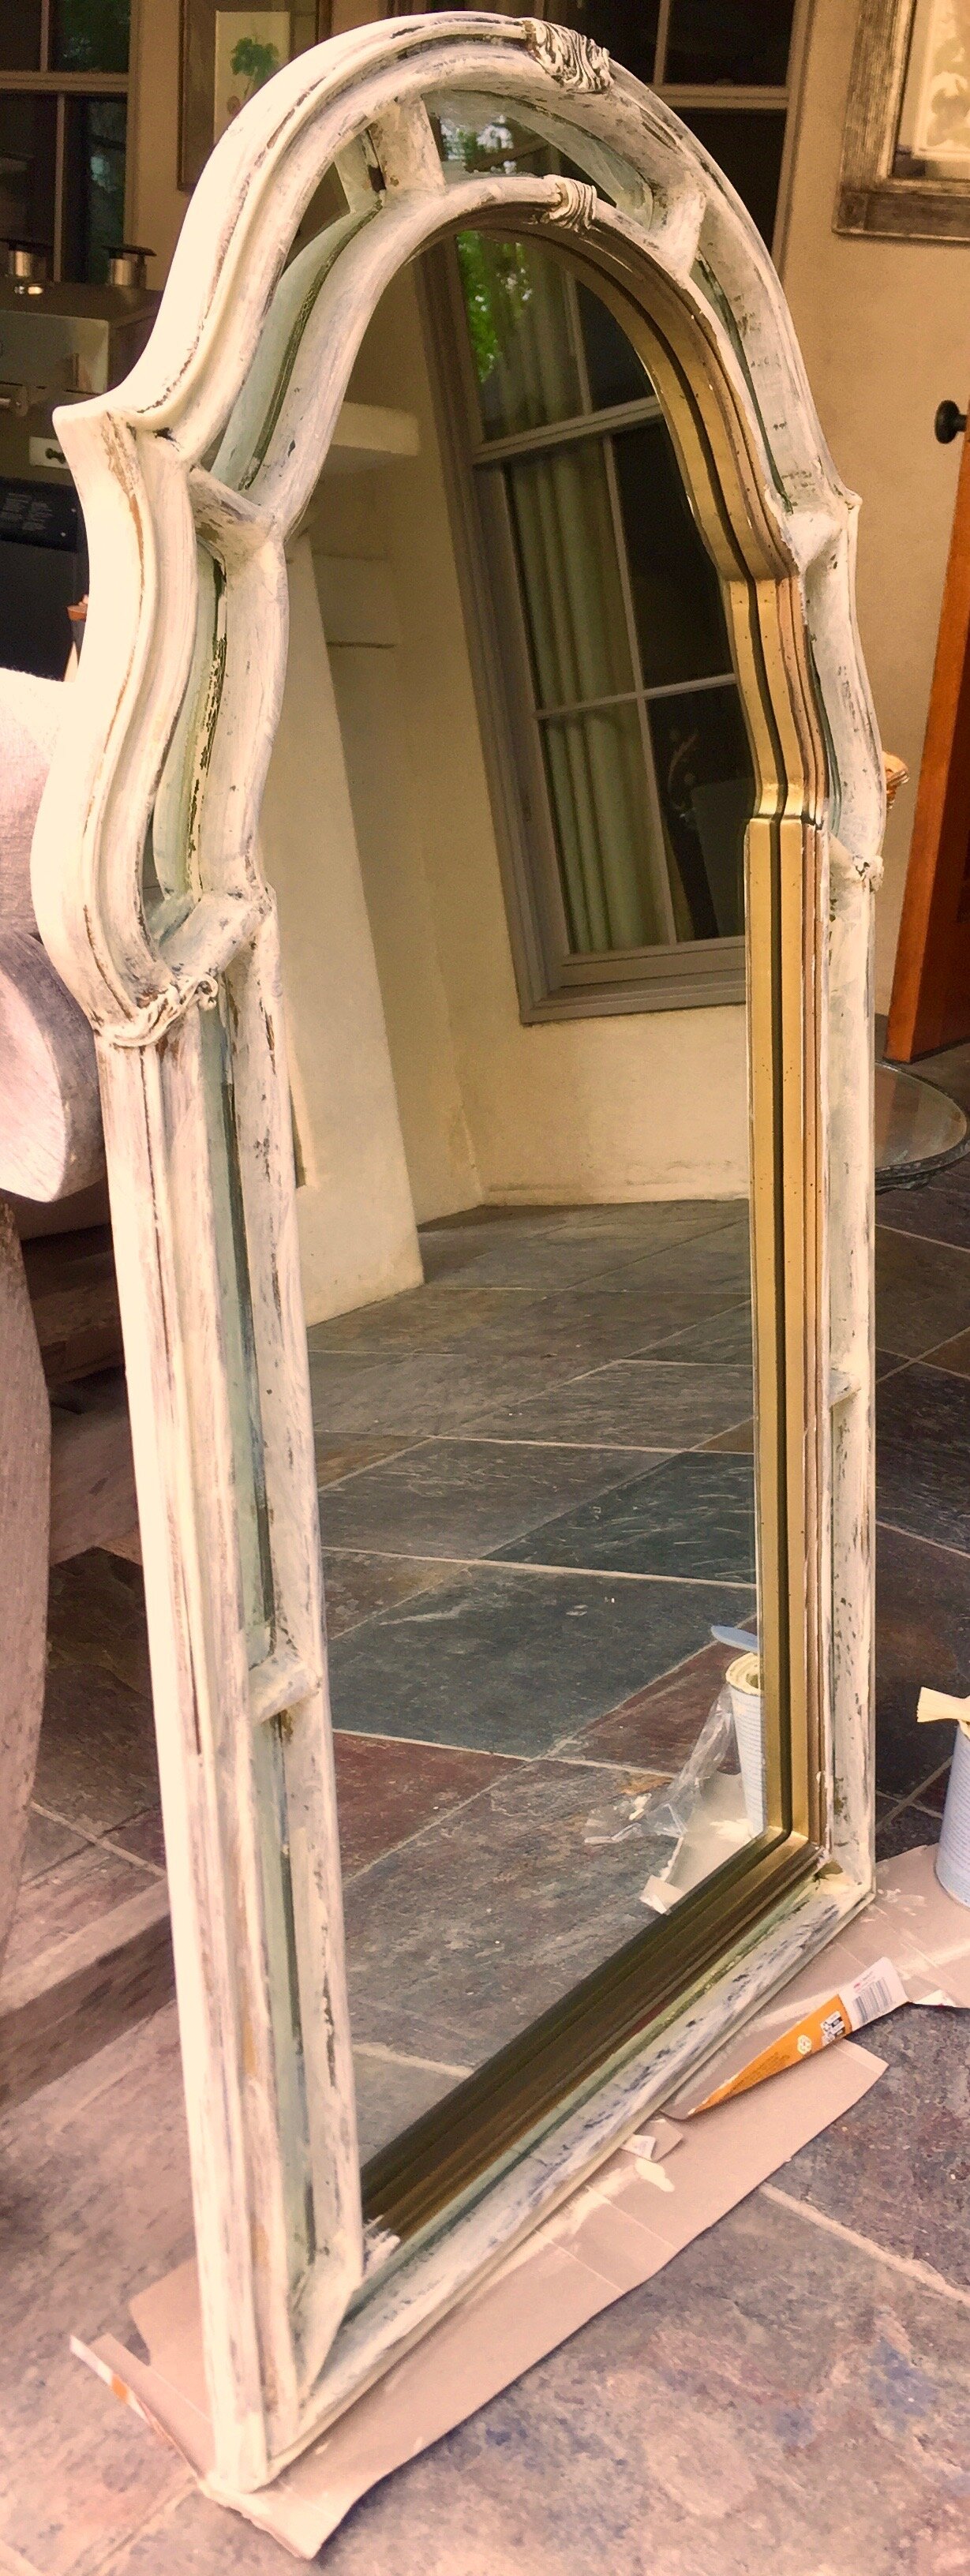
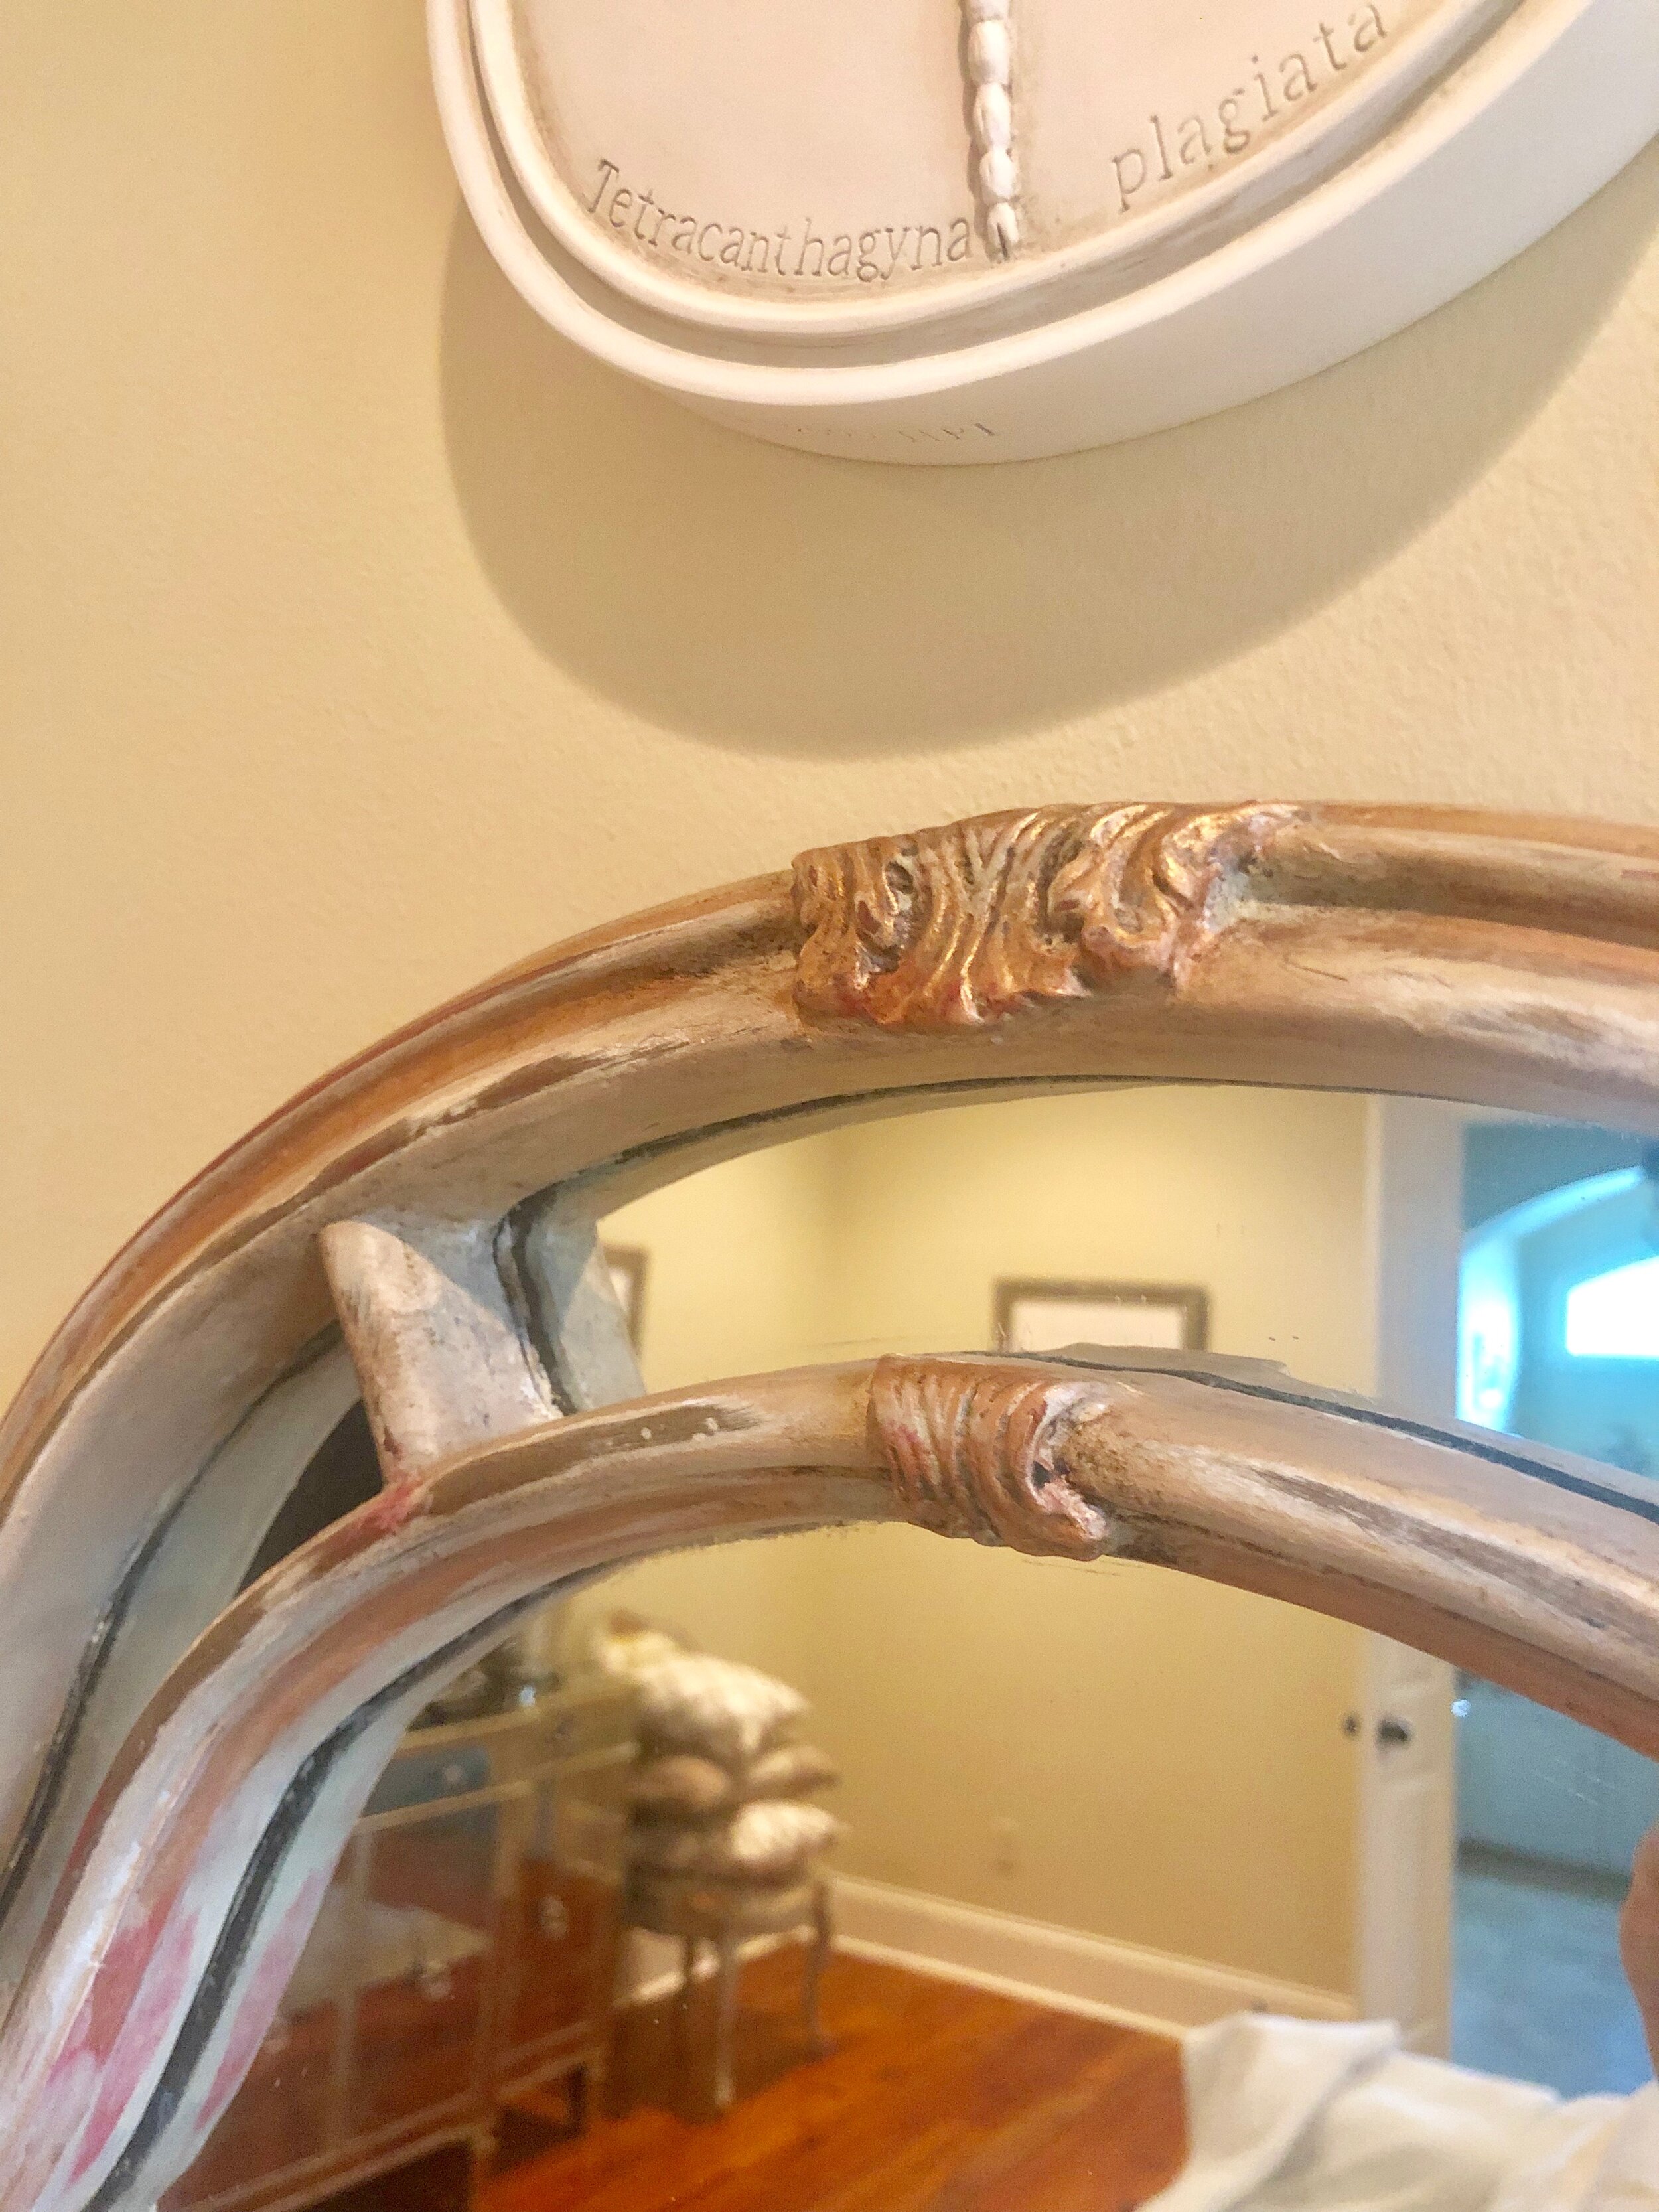
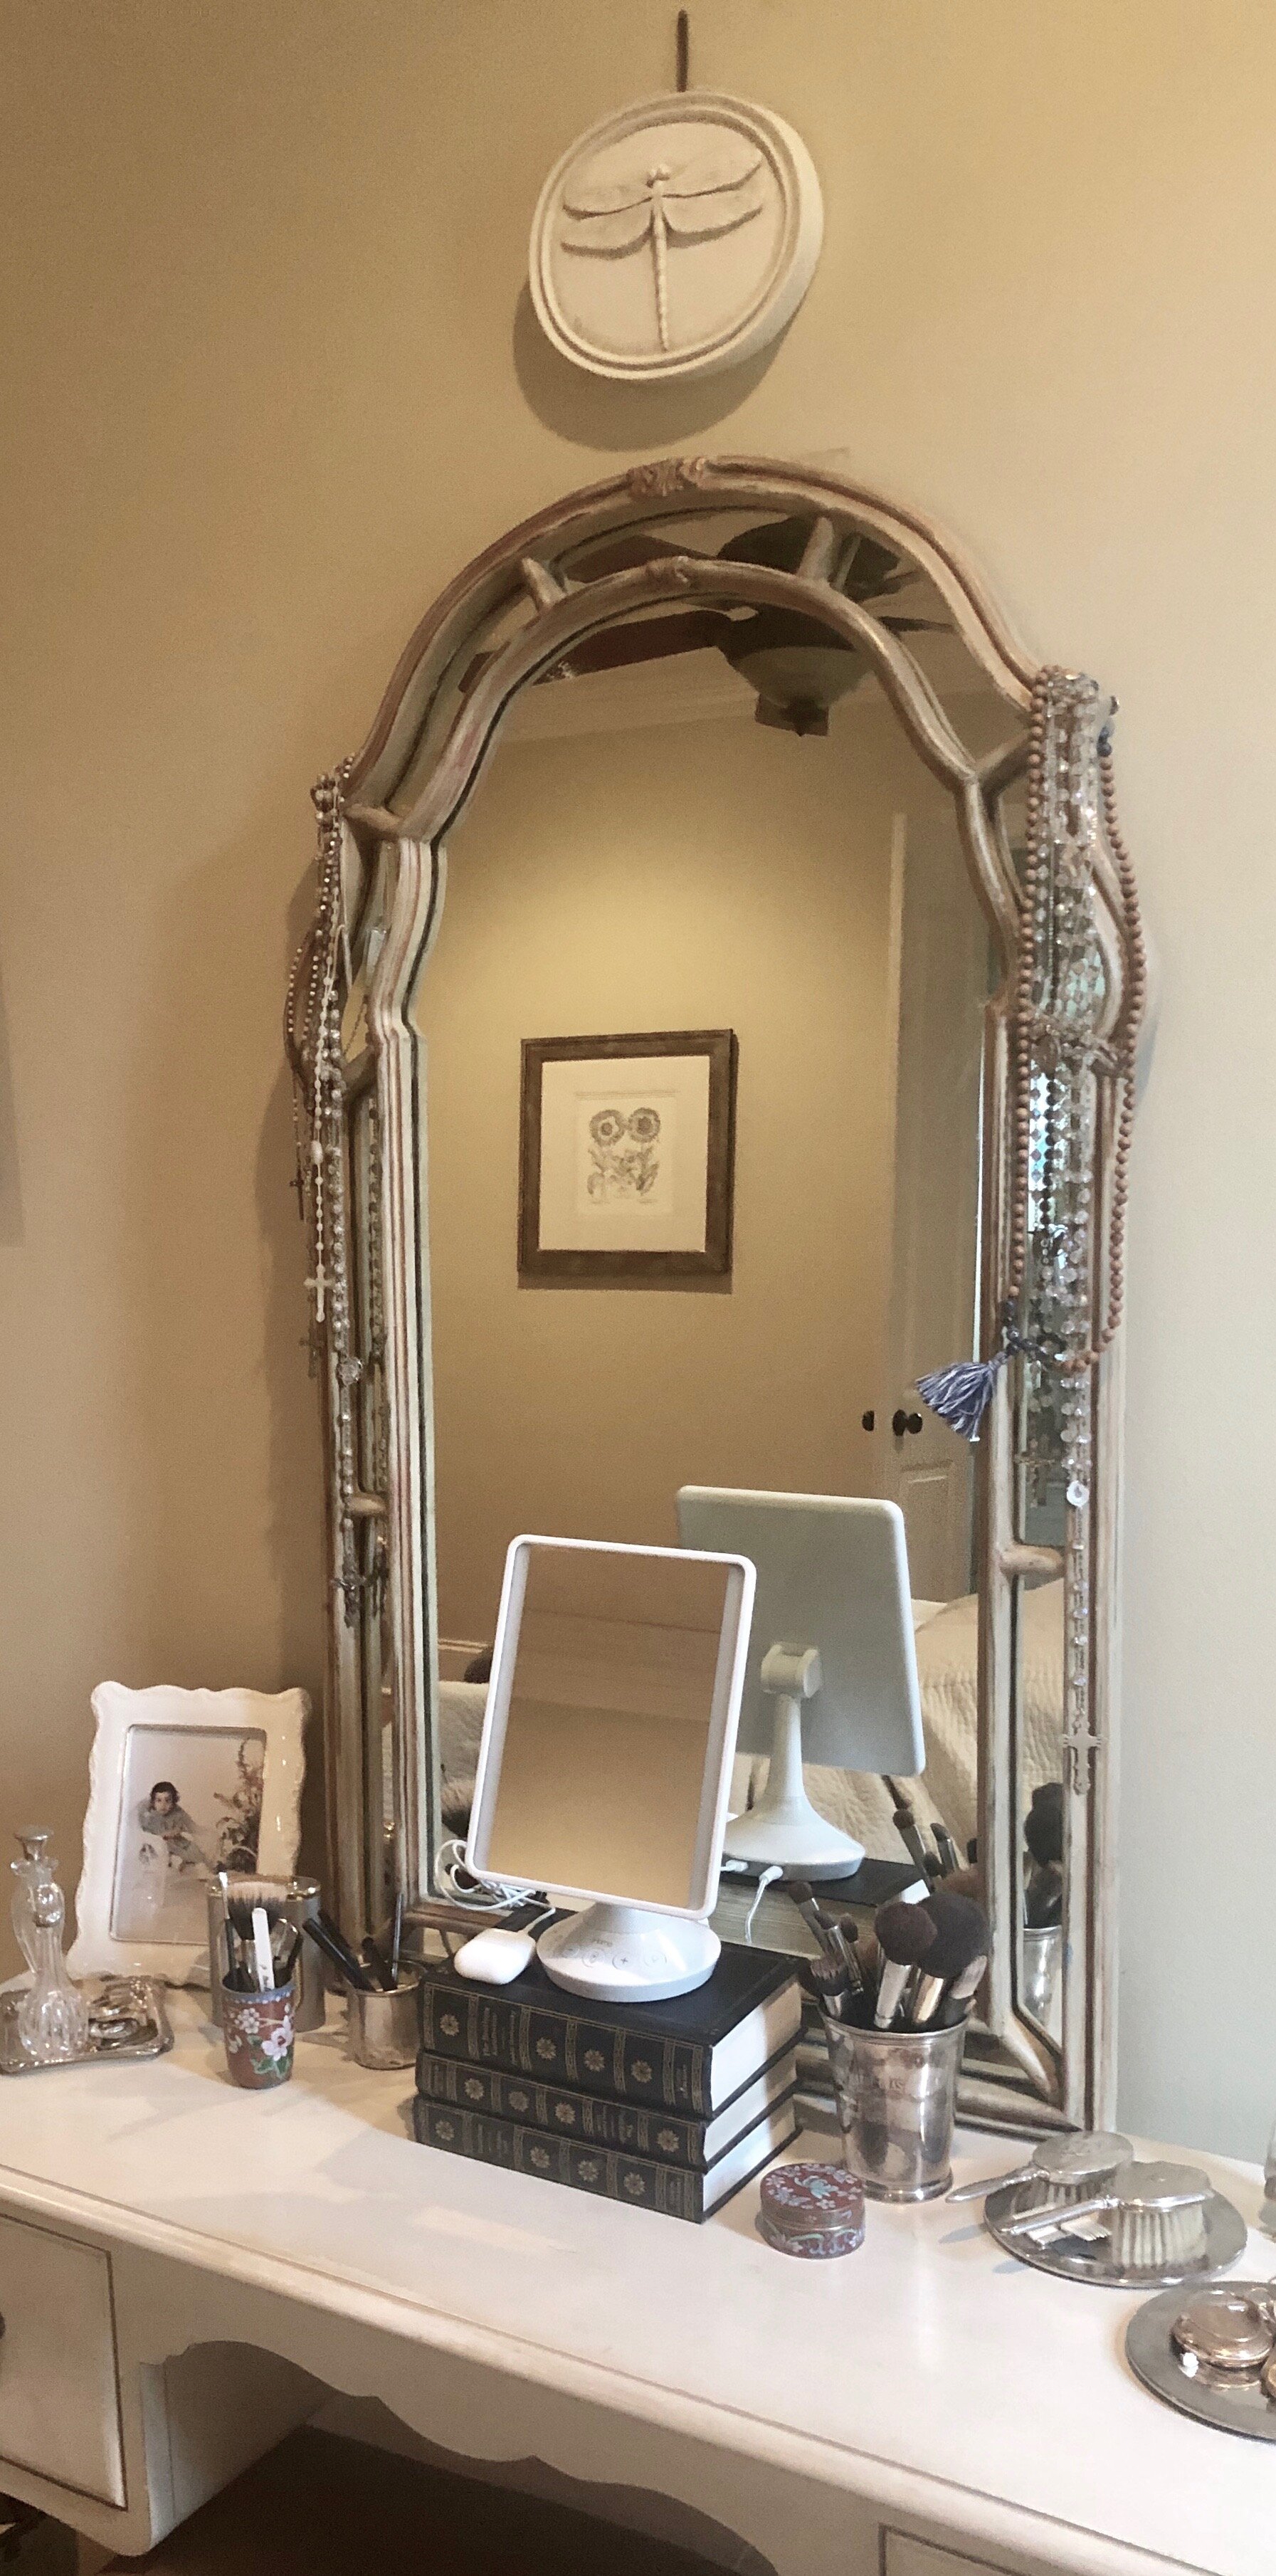
Photo #1: A boring gold toned mirror is transformed into a lovely vanity mirror. Photos #2 - Photo #6: I painted over the original gold with a base of off-white. Next, for this project, I layered several disparate colors instead of similar shades of white to beige. I added green, gold and even a bit of red. My goal was to simulated the look of a well loved antique, showing the wear and patina of use. I sanded liberally and added dark wax to corners and carving. For more on why we love antiques and their patina read this post.
Hall Mirror Transformation
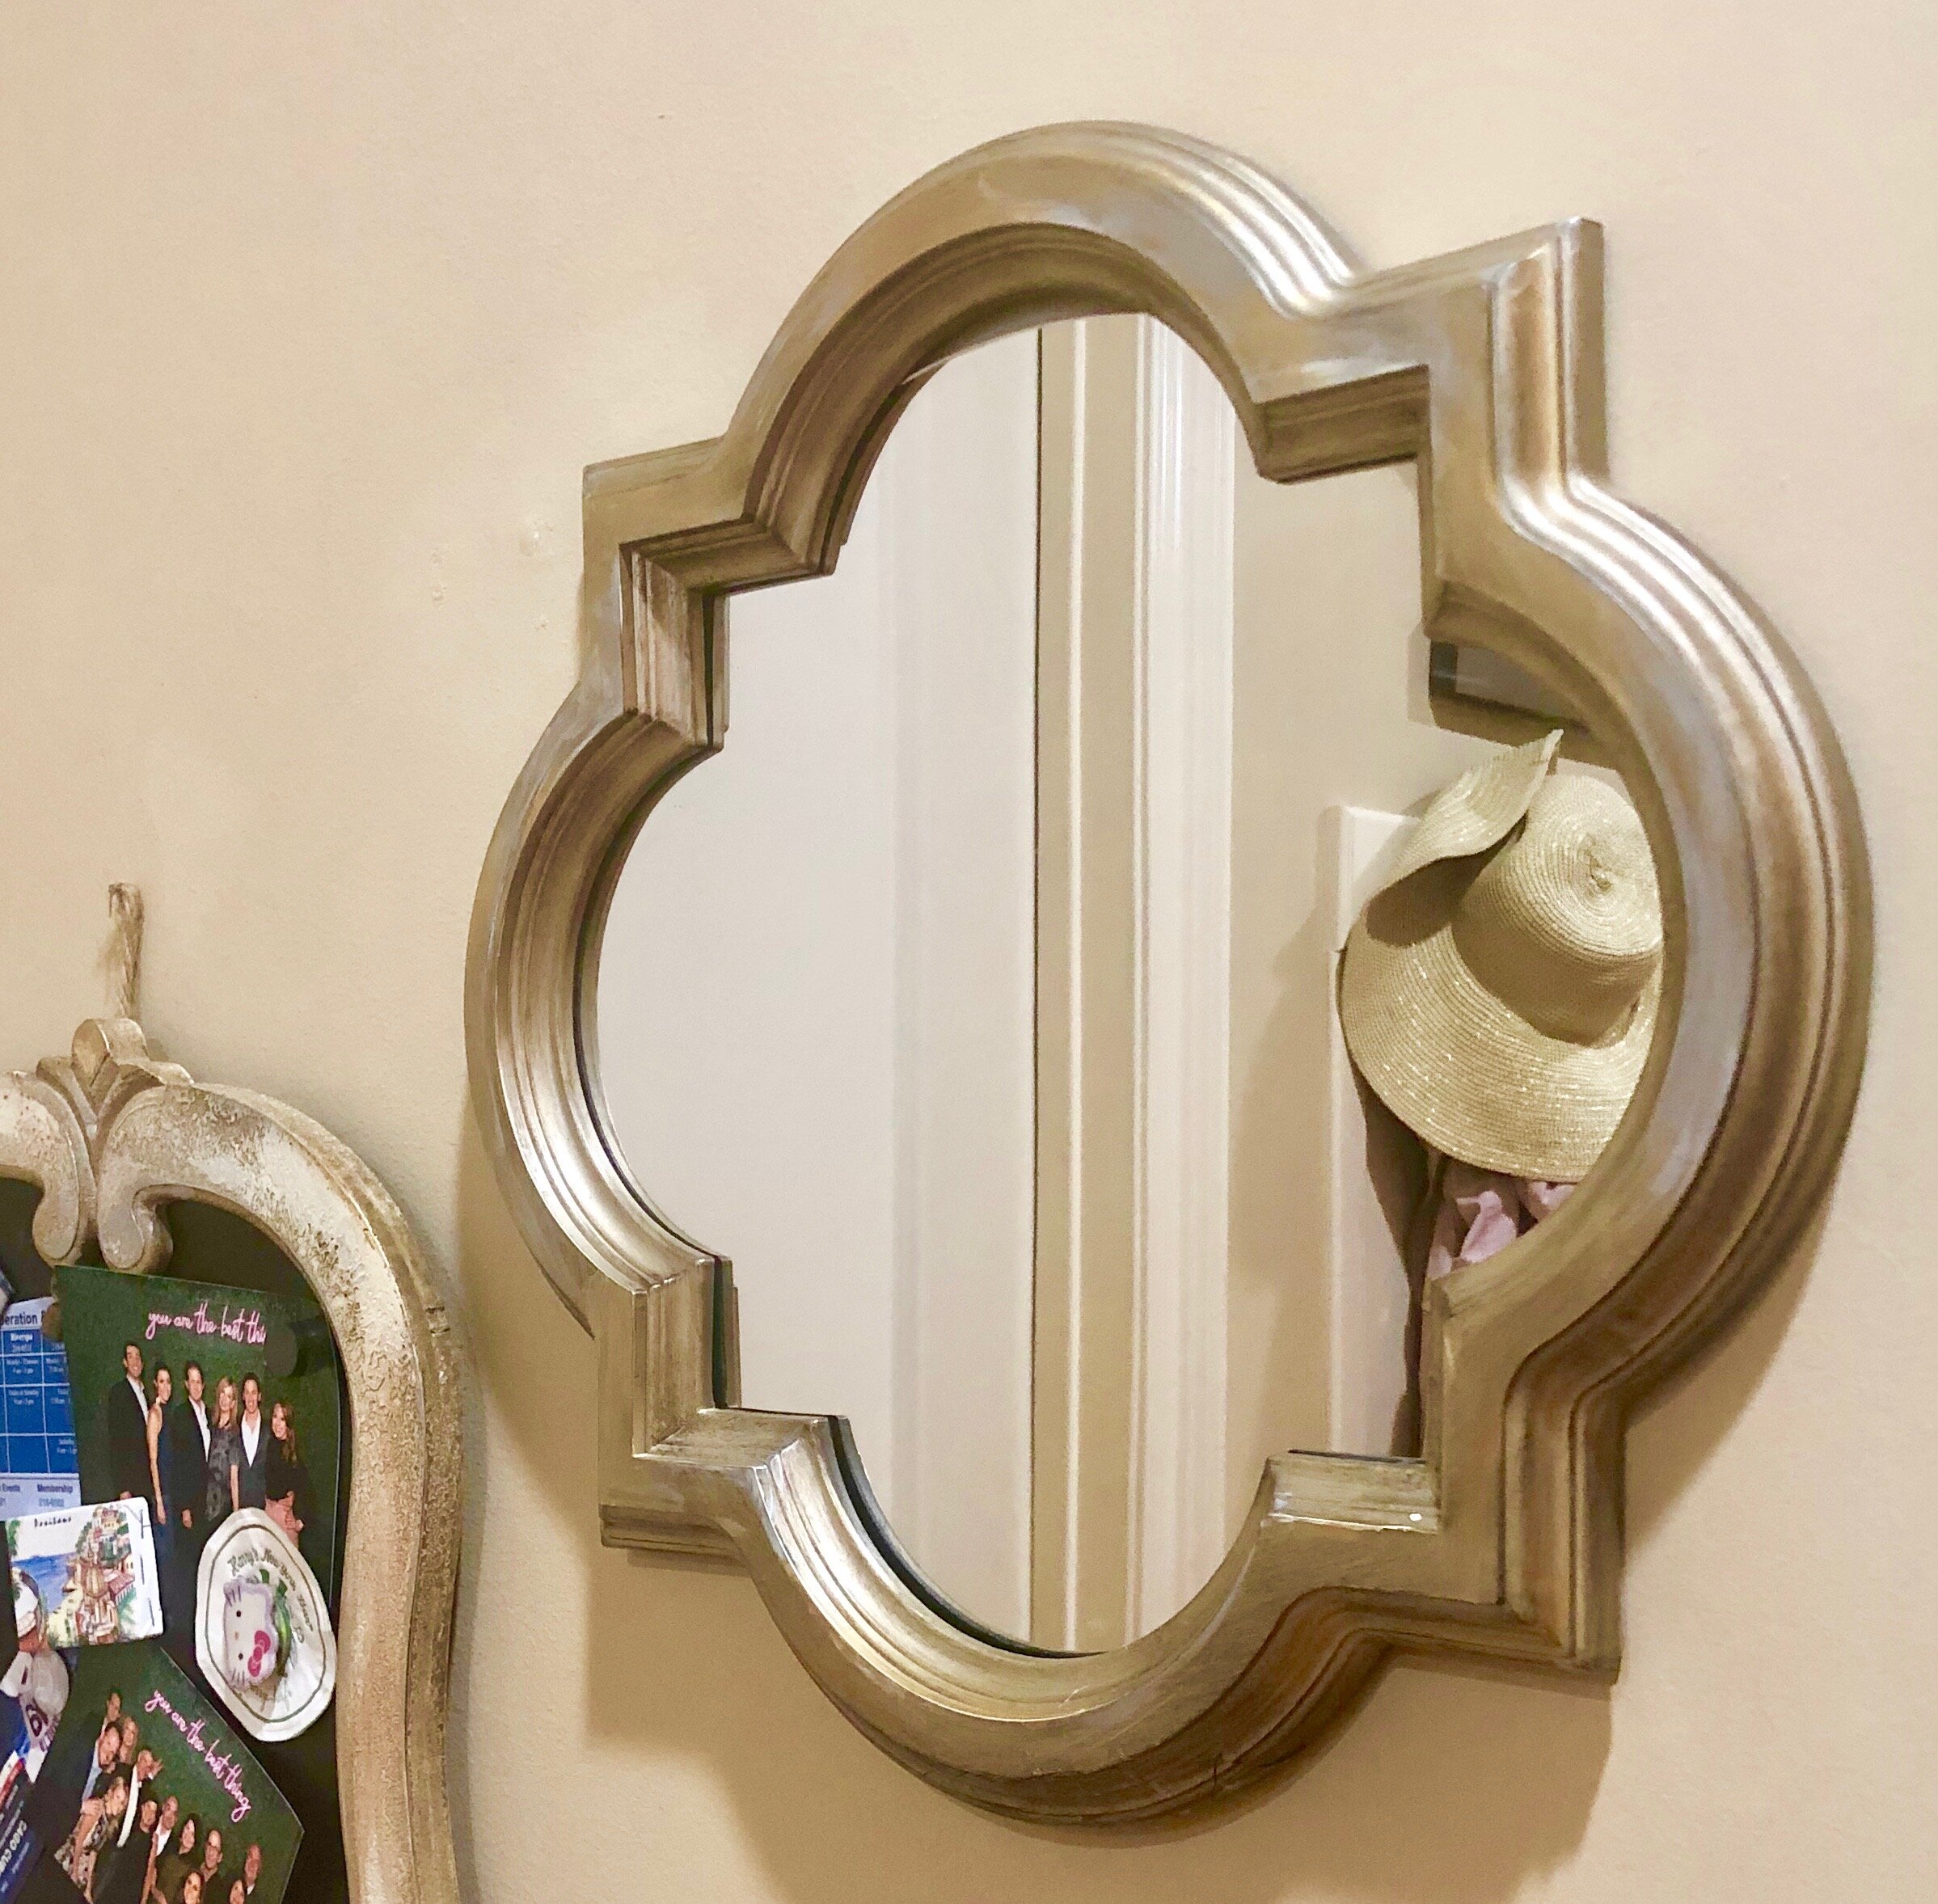
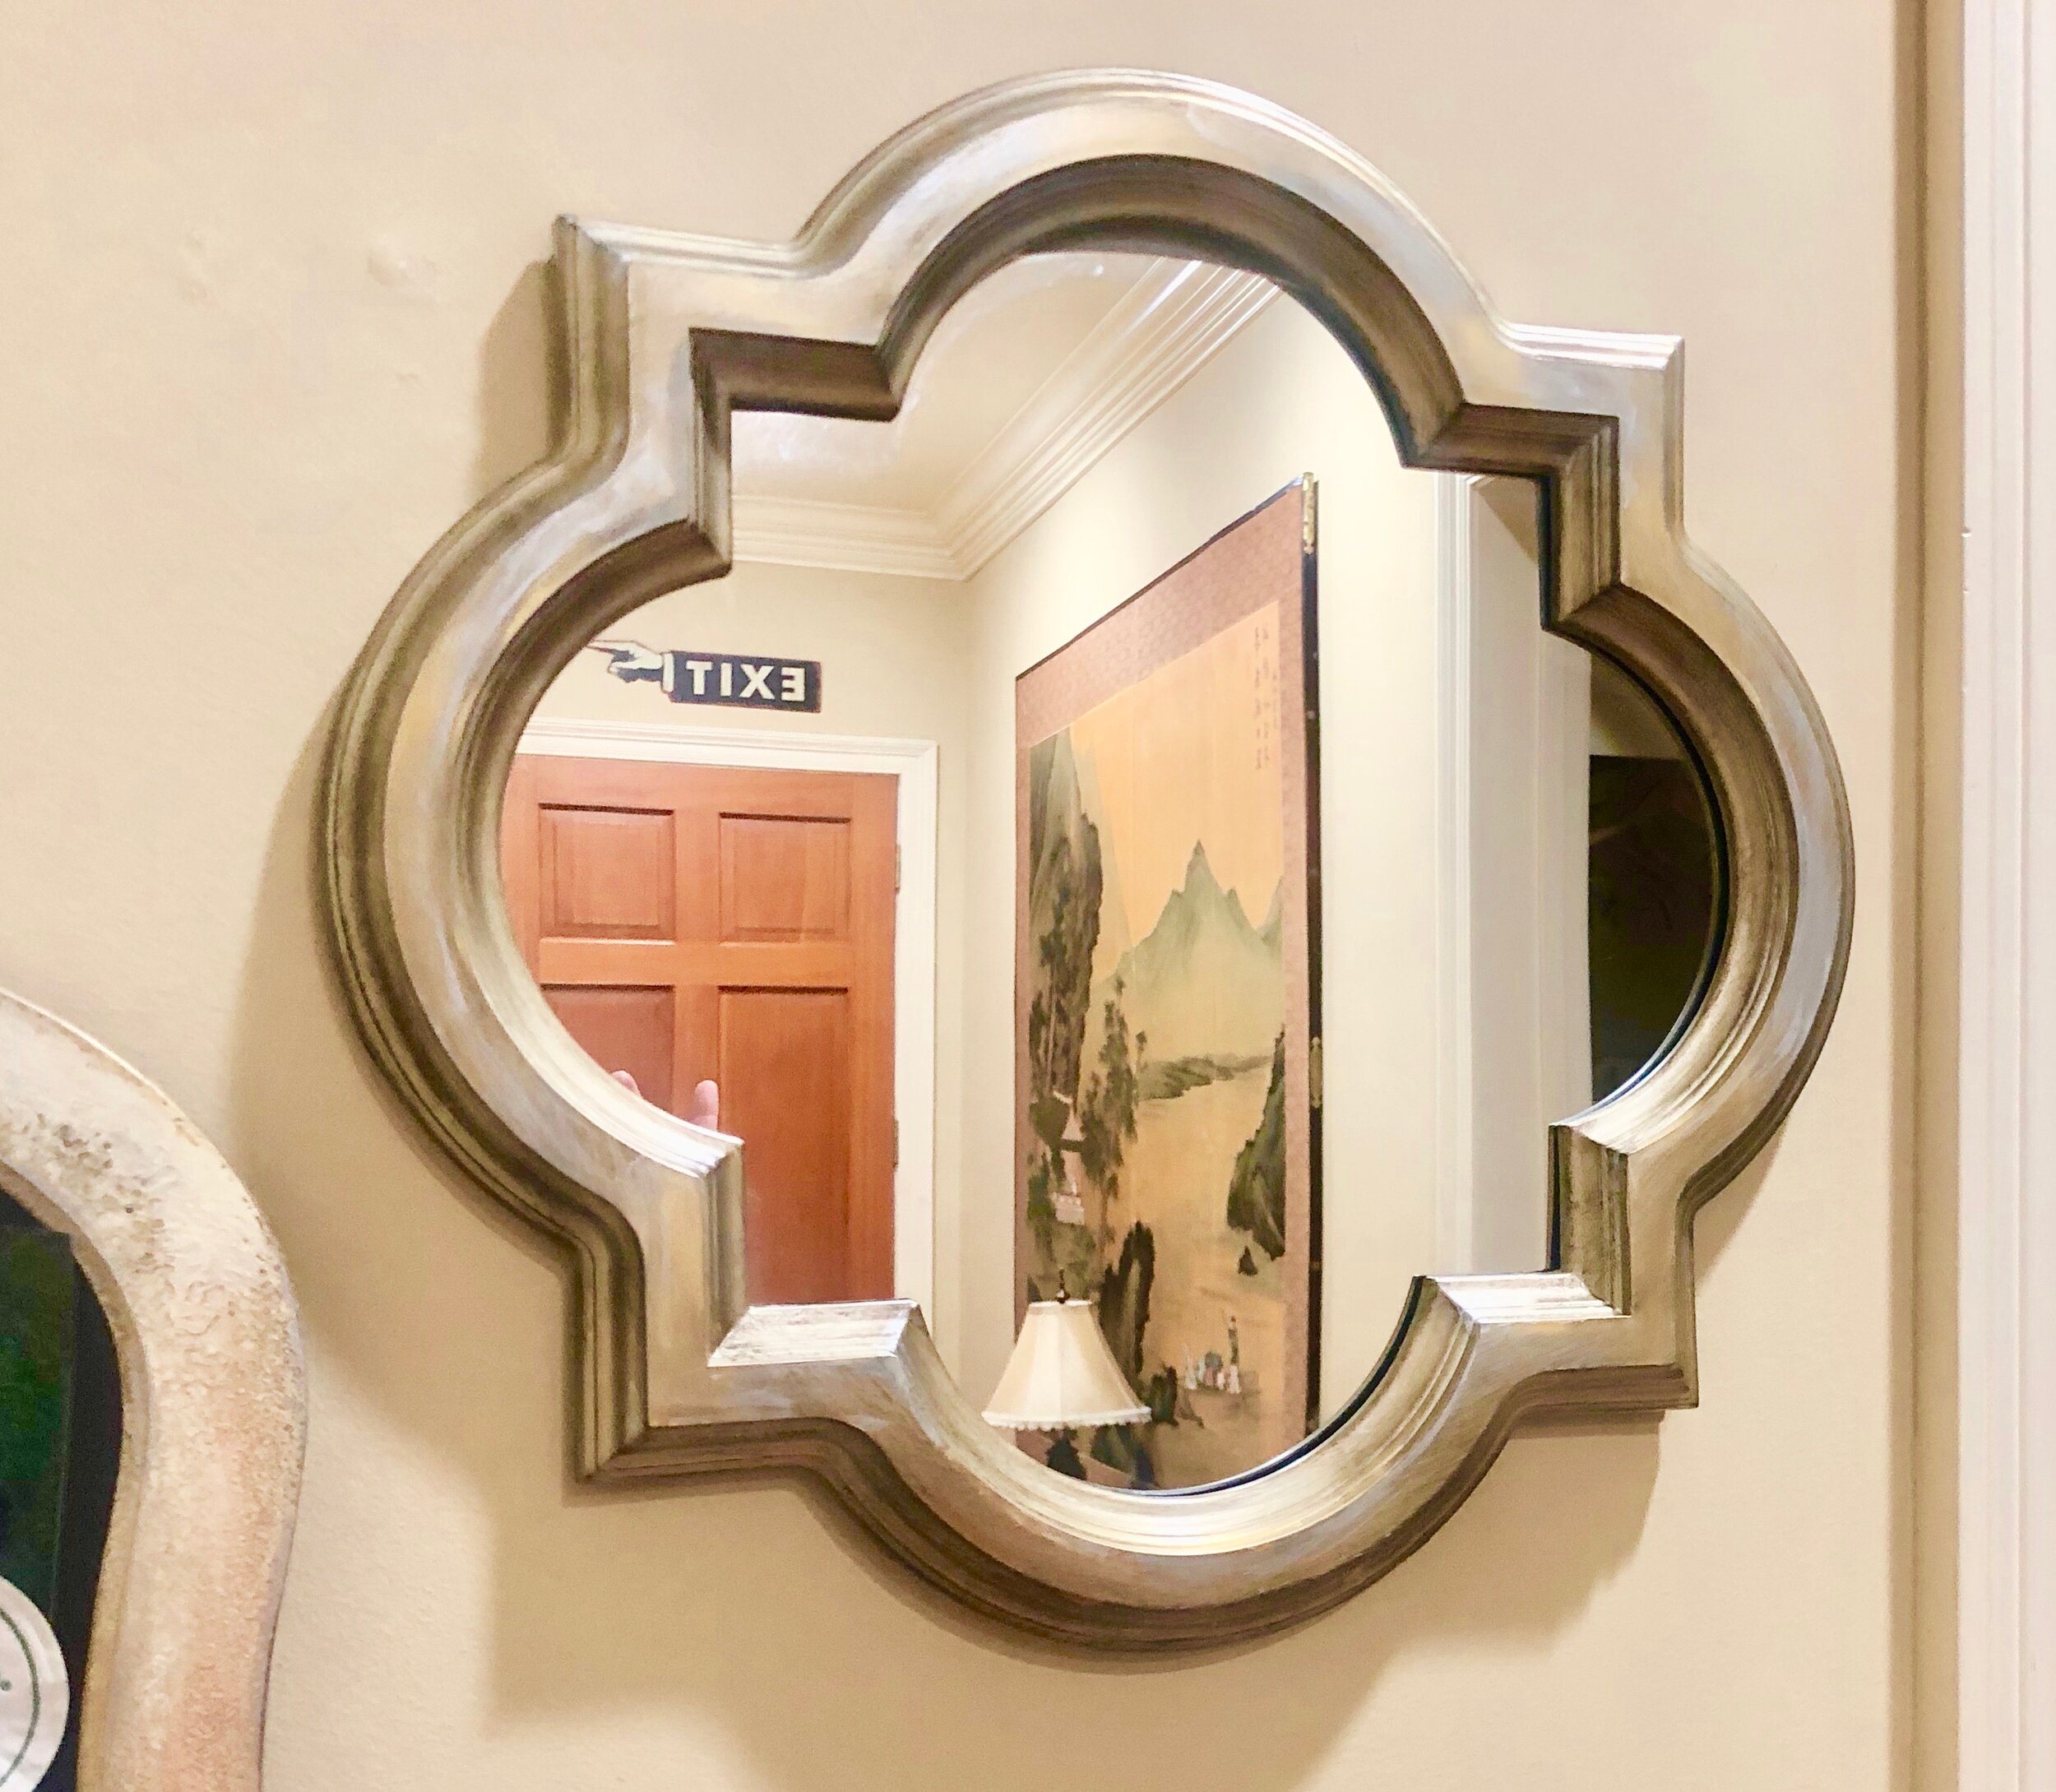
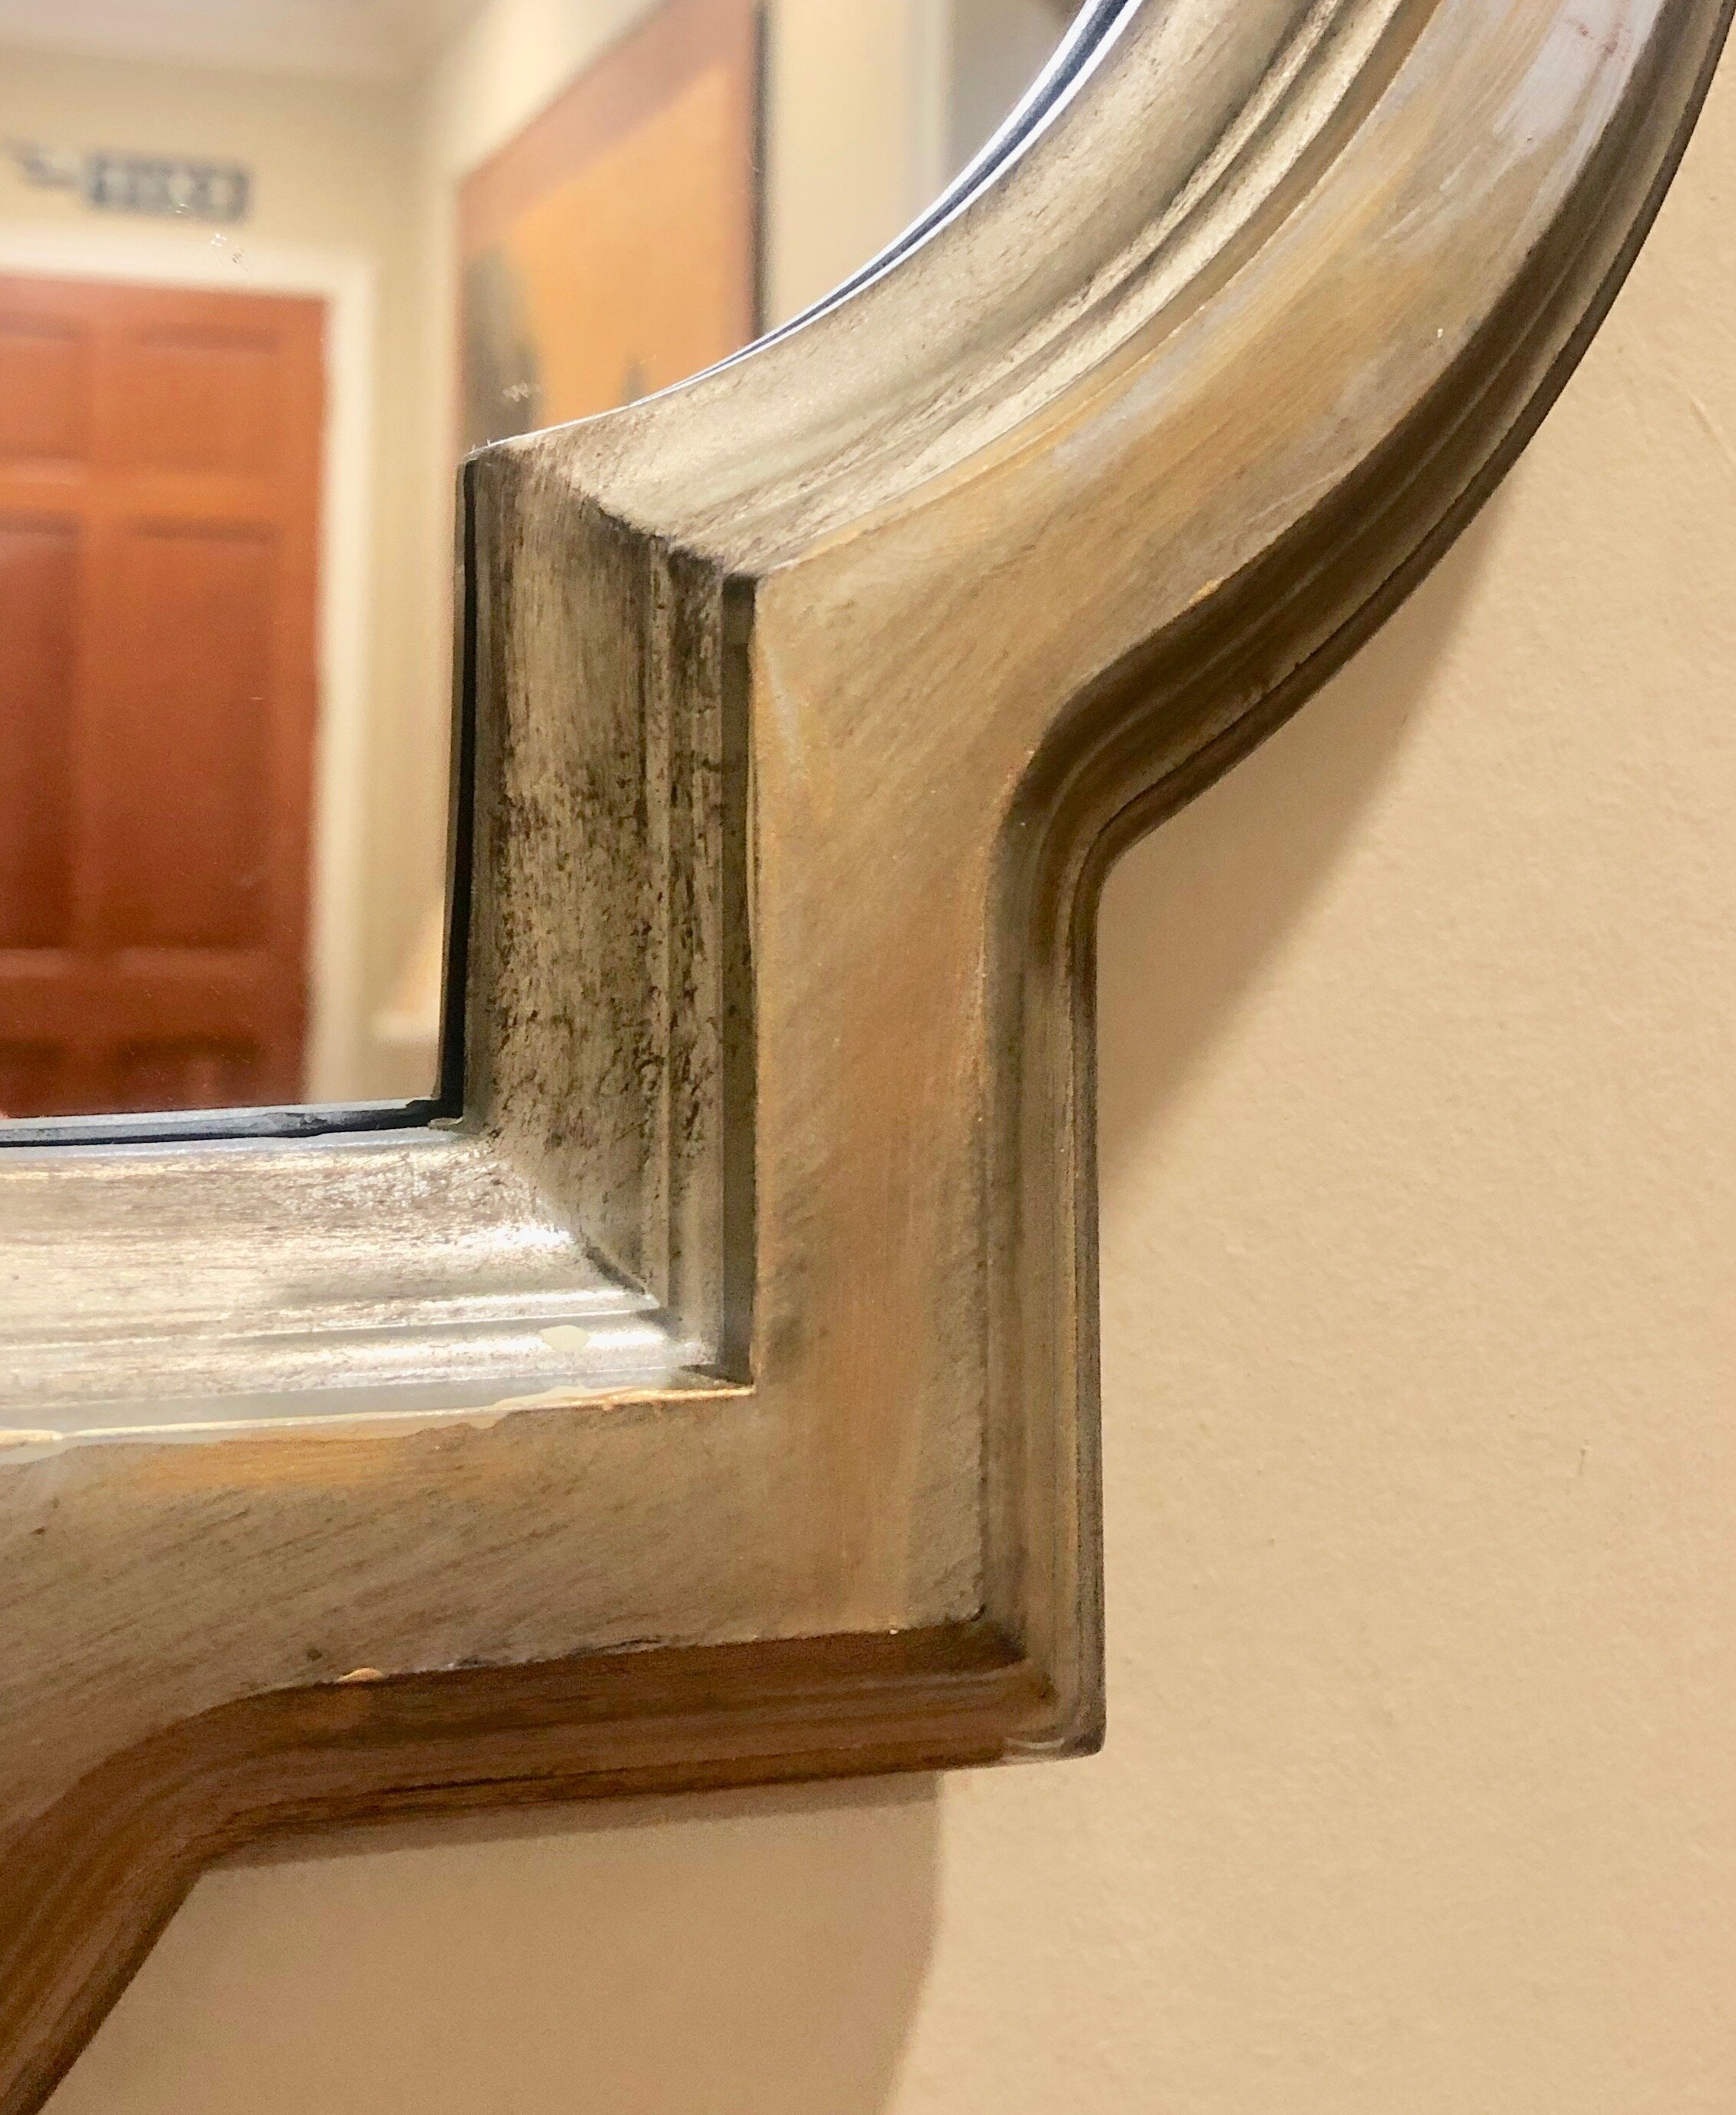
I loved the quatrefoil shape of this very inexpensive mirror. Problem was the silver metallic finish looked cheap. I added some gold, a bit of sanding and a touch of dark wax to the edges. Voila, a much improved look. Also shown: I touched up the beige chalk/magnetic board next to the mirror with the same tones for a congruent look. Watch for a future post on DIY refurbishment of frames of all types.
As you can tell I love to decorate in shades of off white and beige. However, my favorite accent color is blue. For more on how to incorporate this shade and why we love blue read “Why Blue is History’s Most Enduring Popular Color”.
Final Thoughts on Living Better at Home
Distressing pieces gives the wear and depth of color that an antique would naturally acquire through age and use. Its a bit incongruous, but a worn and used look makes a piece look more interesting. It gives it complexity and variety.
Reasons We Love The Distressed Look
Distressing helps the…
Inexpensive piece look expensive.
New piece incorporate your signature style or home decor
Mass-produced piece appear unique.
Mismatched piece blend better into a room or interior design.
Ugly piece become a thing of beauty.
Unbecoming object acquire a distinctive flair that draws the eye to the piece.
Common object become a work of art.
And, an already distressed piece helps the…
Clumsy - you will never worry about knocking around or scratching up a distressed piece - the more dents, the better.
Non-artistic among us - DIY mistakes are easily fixed. It's difficult to mess up. Hey, it's supposed to look worn out and imperfect!
AND BEST OF ALL: You can't scratch or dent a distressed piece...It's already been messed up, on purpose!
Related Posts:
Enjoy and please share on social media if you think someone else might benefit.
Show us a photo of your mirror art, add remarks or ask questions in the comment section below. Let us see what your’re creating!