
This is How To Display Cherished Family Photos In a Unique Way
/
The classic way to display family photos, through the ages, has been - silver frames atop tables. But here’s another creative way to show off your collection…. Keep reading!
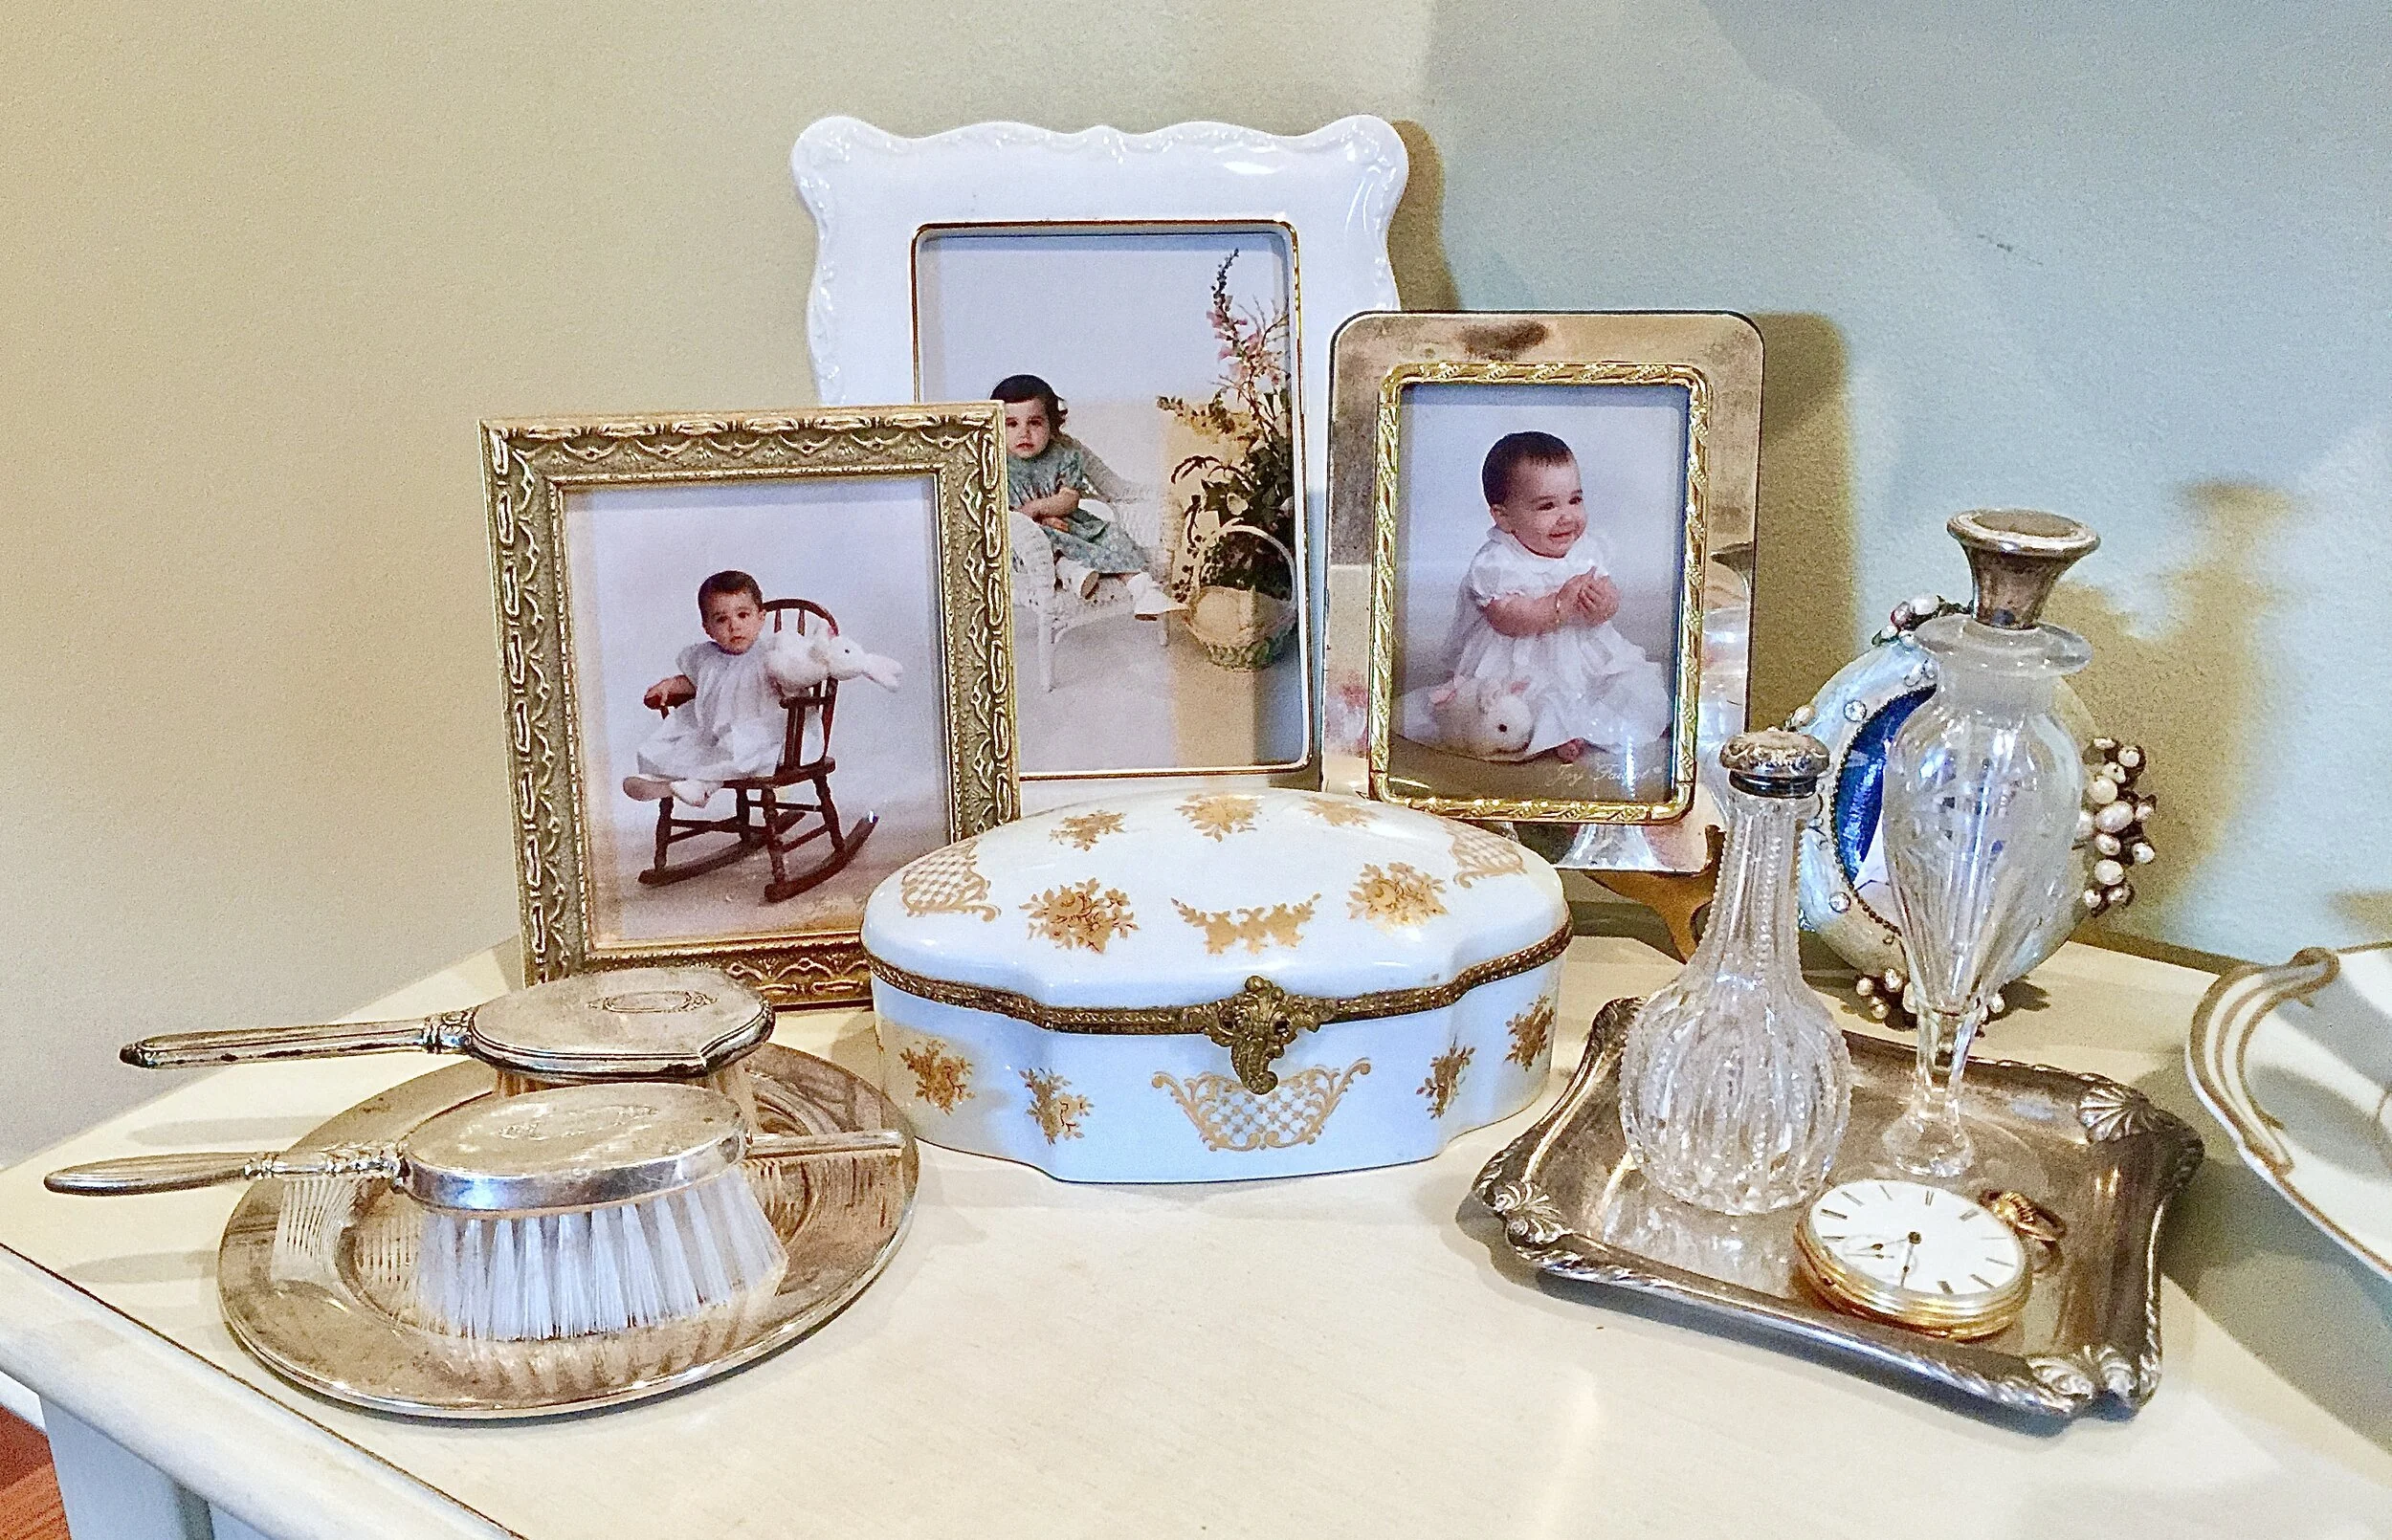
Before becoming parent, I did the typical. I placed wedding and family photos in classic silver frames and placed them in strategic locations around my home; tabletops, vanities, and piano. The same old same old.
Then, your first child makes the twosome into a threesome, and a photo explosion is ignited. Suddenly there’s not enough table space for all those baby pictures. So you move from tables… to walls.
When my daughter was growing up, I began displaying cherished photographs gallery-style on walls. In one home they lined a hallway. In our next house, it was still gallery-style, but staggered up the wall of a staircase. I added photos to the wall as new prints were added to my ever growing collection. My daughter is an only child but I can imagine the photo placement dilemma is multiplied exponentially as a family grows, even in this digital era.
When your children are young there are traditional ways your photo collection grows organically. Annual studio portraits during the toddler years is where it begins. Then school, sports and dance photos take over. Here in Louisiana, they’re joined by children’s Mardi Gras krewe and debutante ball photos. Here and there, you might add in an occasional adult party pic, but those are typically overwhelmed by your children’s photos.
The photo multiplication comes to an abrupt halt when formal Senior high school portraits and graduation photos are taken. After that, adding images of your children to the anthology becomes a, somewhat sad, and dwindling occurrence. Maybe, an occasional college picture dribbles in.
In subsequent years your photo collecting may pick up the pace again. Perhaps you’ll add your children’s wedding photos and then their children - your grandchildren’s portraits.
My early nesting years were the pre-phone photo and pre-digital years. My generation had hard copies and photo albums. But, even in today’s high tech era the dilemma of what to do with “all those photos” still exists. In a small home, it can overtake the scenery very quickly.


“But, even in today’s era of digital photography the dilemma of what to do with “all those photos” still exists. In a small home, it can overtake the scenery very quickly. ”

Voila! Photo display shelving!
Here’s a simple, easy, and yet beautiful, way to display family photos… create a vignette!
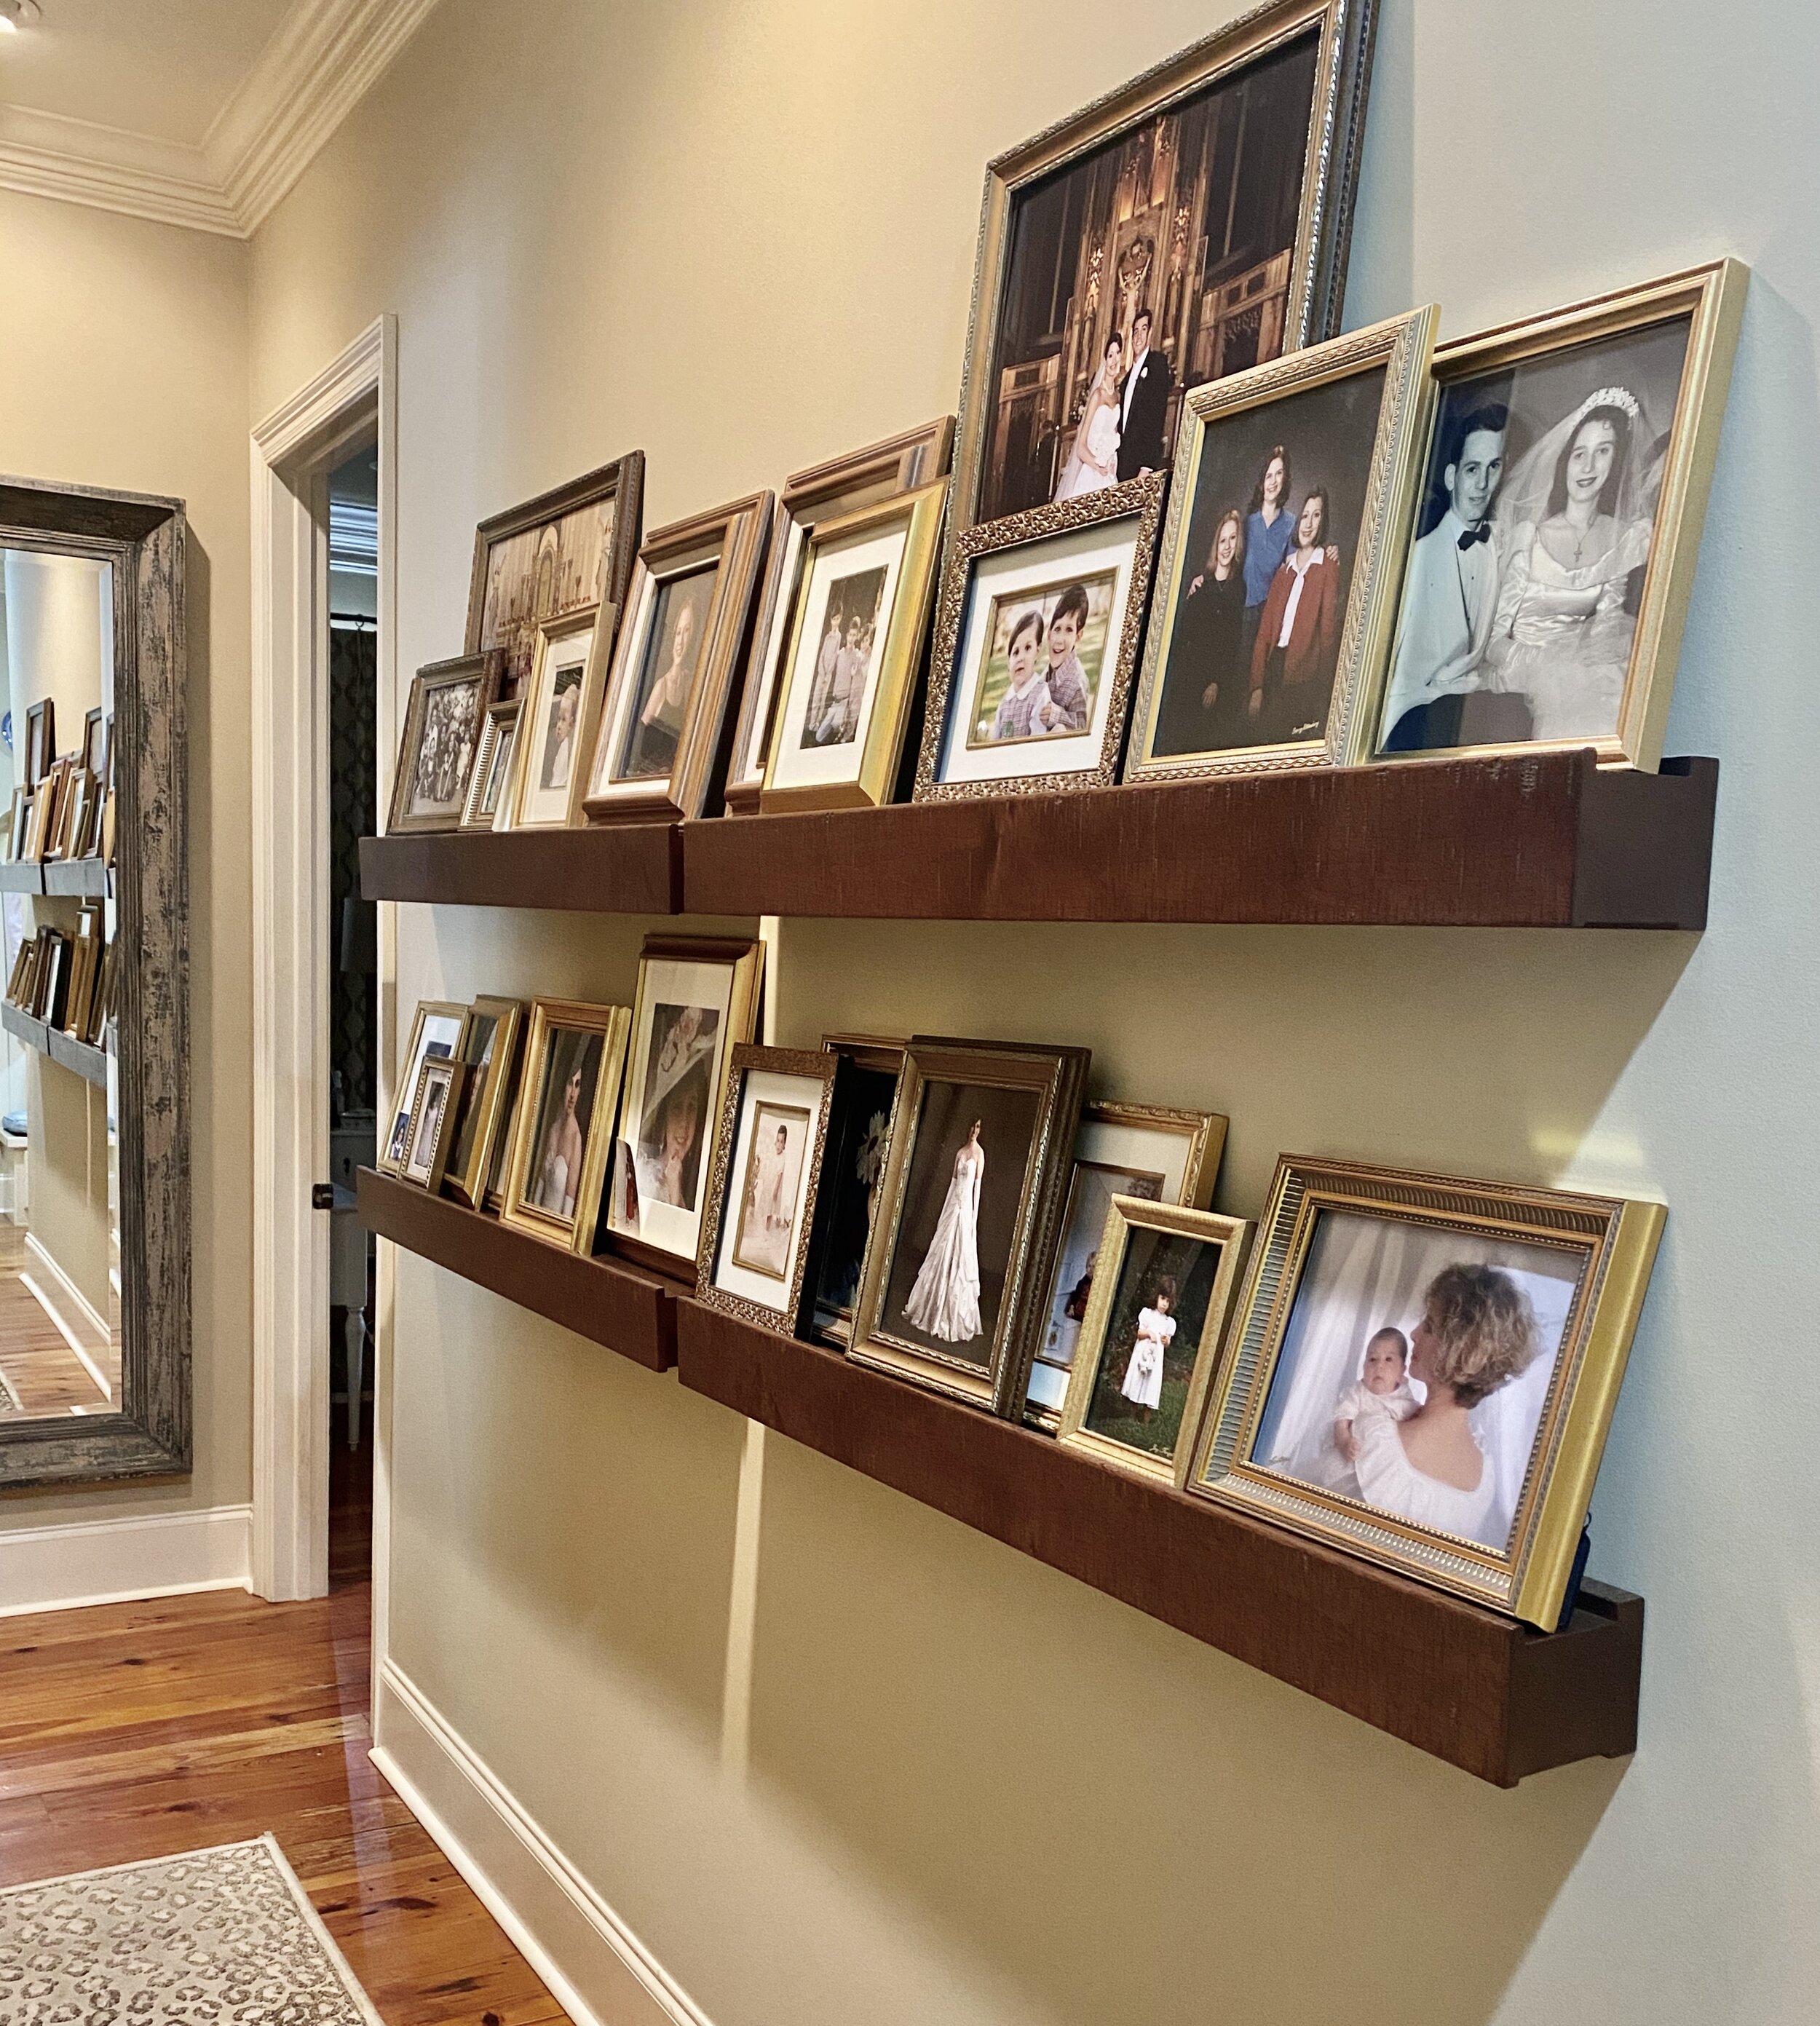
The Photo Display Shelf
The genius of this technique is:
You can rotate photos often if you have tons to display
You can switch out photos quickly (depending on who’s coming to visit) - yes, you are my favorite!
You can add new additions easily, without resorting to hammer and nails or Command strips.
It adds an elegant, interesting focal point to your decor.
This look can work in any style of abode, from traditional to modern.
It can be accomplished in a small space.
Or, it can be expanded to as large a space as you wish or can accommodate.
If you have a large wall area, your display can start out small and keep expanding to your heart’s, photo’s or growing family desires. Just add a shelf!
You can configure shelves in any number of ways. You can stagger them at different levels or line them up side by side as I did with two 4’ ledges to extend the length of the hall.
When I married, for the second time, I gained a beautiful new set of children and grandchildren to add to that of my daughter and I. The photo gallery required immediate expansion. Easy peasy, just add another shelf!
Tips for BETTER LIVING Photo Display Shelves:
Use a shelf design with a lip or ledge as seen in these photos - this is key. There’re lots of floating shelves available for purchase or to DIY. However, putting in a shelf with a lip allows you to lean your pieces without worry about falling photos. In the 5 years I’ve had my display I’ve never had a photo drop.
For the best decor look for any wall art, is always roughly at eye level. Hang the shelves so that middle of your total display is roughly at eye level. For my 2 shelf display - eye level is the middle of the top shelf because that is the halfway point between the top of the uppermost photos and the bottom edge of the lowest shelf.
If mounting two levels of shelving, the bottom edge of the topmost shelf should be about half way between the floor and ceiling.
When adding a second shelf leave a space of 4-6 inches between the top of the photos and the top shelf so that there is some wall showing in between. Avoiding a crowded look will achieve a better design aesthetic.
Layering photos over each other can make for a more interesting look rather than lining all of them up cleanly, side by side. Avoid the mug-shot-at-the-post-office look!
You can add other design touches, in addition to photos. Place statues, artwork, vases, plates, or other interesting pieces dispersed between pictures.
I purchased my shelving from Pottery Barn. The Rustic Wood Ledge comes in 2’, 3’, 4’ and 5’ ledge options. This option runs from $55 - $111. But there are versions for every budget. I’ve seen beautiful options at Home Depot and Target. (P. S. This is not a paid post).
Do you have any unique ways to display photos in your home? Share your ideas in the Comment Section below. Post your photos too!
If you know someone who would benefit from these photo display ideas please share through social media.
Do you love home decor, DIY or interior design? Check out this article on The Best Way to Make a New Mirror Look Old. It’s all about distressing and antiquing DIY style